Share

The sleek and modern look of traditional Japanese sashiko stitching has become wildly popular recently. This style of stitching can be used to mend clothes and decorate anything from jeans to pillows. This week, Maker Team member Dani Miller shows us the basics of sashiko stitching and helps you get started with this coaster set to show off four different sashiko patterns! Be sure to follow Dani's takeover of the Benzie Design Instagram feed the week of October 5th for even more tips about how to use sashiko!
Sashiko is a form of Japanese stitch work that is similar to hand quilting. It was originally developed to help mend and reinforce clothing and is now commonly used in the visible mending movement. But, it can also be purely decorative. Many of the patterns are geometric in nature, and with the availability of many pre-printed fabrics it is very easy to make your first sashiko piece. Today I am going to show you the very basics to get you started on this popular craft!
Skill Level: Beginner
Time: About 2 hours for the coaster set

In addition to the above supplies you will also need matching sewing thread and sewing machine (for finished project such as coasters).
Pre-Printed Panel or Coaster Set, Sashiko Thread, Sashiko Needle, Sashiko, Thimble, Scissors
Directions:
1. Lay out your pre-printed fabric. Do not iron the fabric, as this will make it hard to remove the water-soluble marks after you are finished your project.

2. Cut an 18-24” piece of sashiko thread and tie a single knot in one end. Thread your sashiko needle. (Note – there are three sizes of needle included in the Tulip set. You may use any needle you like, but I like the longest one as it allows you to load up the maximum number of stitches before having to pull the needle through.)
3. Place your sashiko thimble on your center finger with the wide part of the leather resting on the palm of your hand below your finger.

4. We will start with any horizontal stitches. All of the horizontal stitches will be stitched before you move on to all of the vertical stitches, and after that any diagonal stitches. There are a couple of reasons for this: 1) the horizontal and vertical stitches provide a nice stable “web” that keeps the fabric from stretching on the bias when you stitch the diagonal and 2) stitching all of one direction first means that any areas where the threads cross will be consistent with the horizontal running under the vertical.

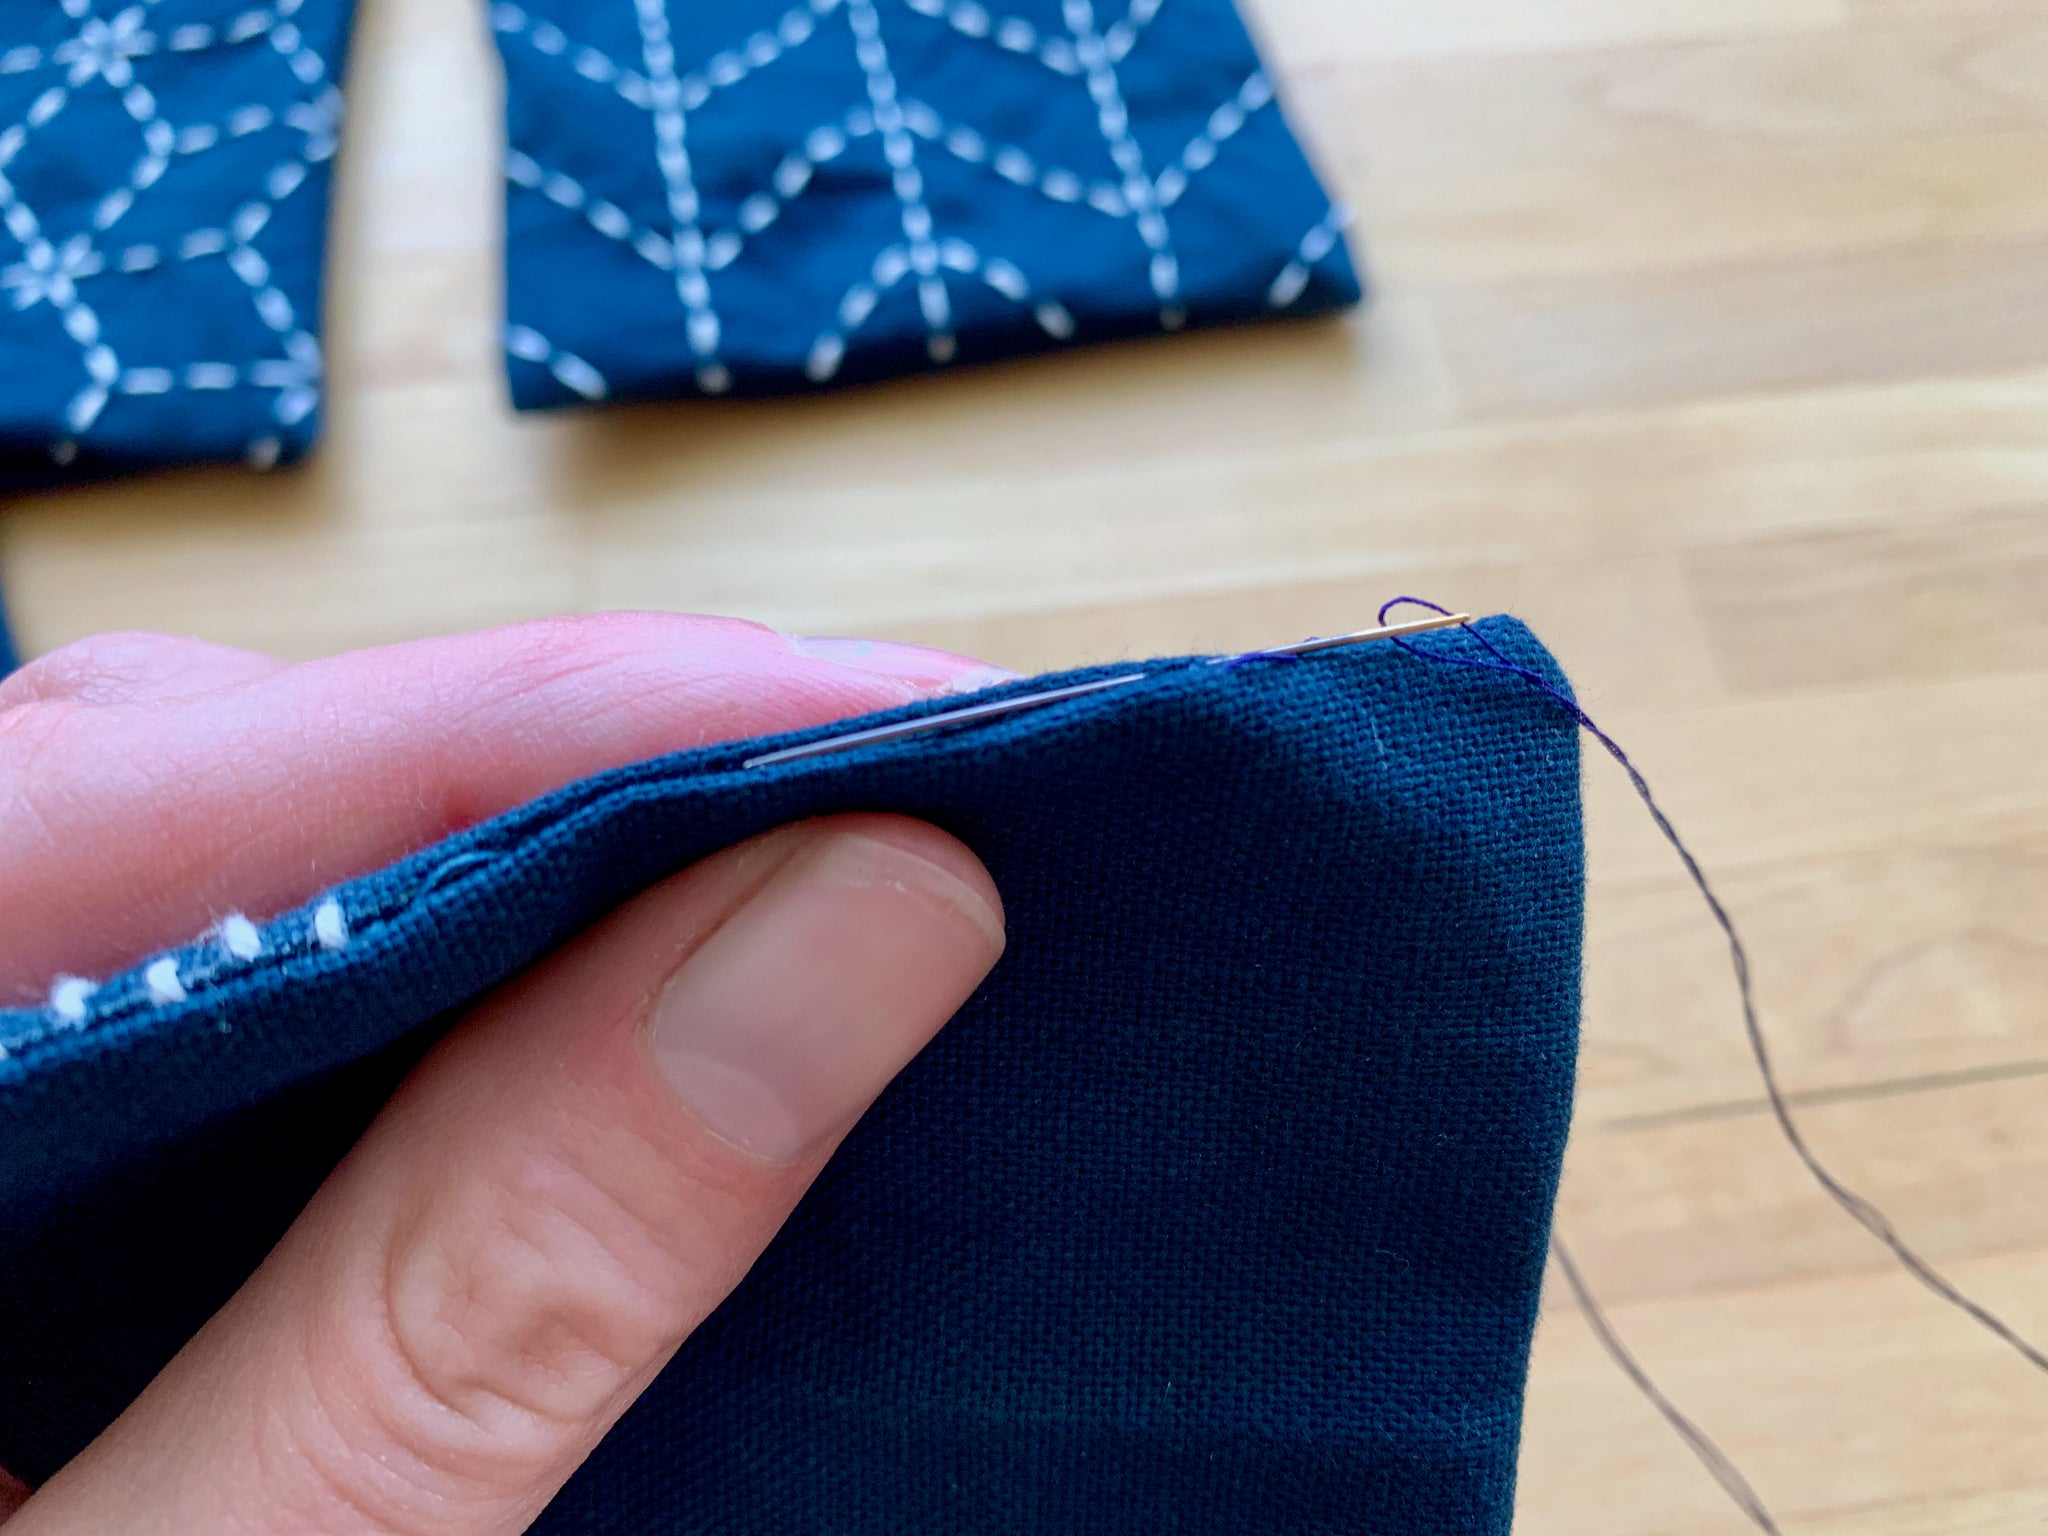
5. On your first horizontal row, bring your needle up from the back to the front, at the beginning of the first marked stitch on the right-hand side (feel free to reverse this if you are left-handed).

6. Rest the blunt end of the needle on the leather thimble and use your fingers and thumb to hold the sharp end of the needle. You are going to be using a rocking motion to load stitches up onto the needle, without pulling the thread through (not yet anyway!)


7. Rocking the fabric up towards the needle, pierce the needle through the fabric at the end of the first marked stitch. You are making very small movements.

8. Rocking the fabric down away from the needle, bring the tip up through the fabric at the beginning of the second stitch. Again, this is a very small movement.

9. Continue this process across the row, loading 5-10 stitches onto the needle. You may want to do less stitches at first until you are comfortable, and after that, go for it! Click here for a video demonstration!


10. When you reach the end of the row your needle should be on the back side of the fabric. Spread your fabric out flat and shimmy the stitches so that they are not causing the fabric to pucker or ruche, but so they look nice and tidy on the front side.


11. Turn your fabric 180° and begin stitching the second horizontal row. Leave a little extra thread between the rows on the back side. This will keep it from puckering up. It is really important in sashiko to not bunch the fabric up, because as it is washed the thread will shrink up a little on its own.

12. Repeat steps 7 and 8, rocking your fabric back and forth on the point of the needle. Repeat this with all the horizontal, vertical, and diagonal rows.
13. If you are making coasters, cut the fabric along the dotted lines. Layer a blank square over the stitched square, and stitch around with your sewing machine and matching thread leaving an opening for turning.


14. Clip the corners, turn the coaster and poke out the corners. Machine or hand stitch the opening closed.
15. For all pre-printed sashiko, you will need to gently wash your piece in warm water to remove the printed stitch markings. Once it is dry, press with a warm iron.
And that is it! You have made your sashiko piece! Just think about all the things you can use your new skill for – go mend those jeans with the big hole!

Thanks to Dani for designing and writing this tutorial! You can follow her on Instagram @knitty34. Stay tuned for more Benzie Design Maker Team tutorials from Dani and the rest of the Team!


