Share

If you're looking for a way to use up that growing pile of felt scraps, today is your lucky day! Maker Team member May from @craftwithmay has created a tutorial that puts your smaller felt pieces to good use. Follow along and you'll have a stylish scissor pouch in a snip, I mean snap!
Having a little felt pouch for my scissors is always a must for me. It makes finding my favorite pair, as well as traveling with them, a cinch! I was inspired by both shamrocks and the aqua color of these great little scissors, so I sat down, got to cutting out hearts, and the rest, as they say, is history!
Skill Level: Beginner
Time: 2+ hours

Supplies:
One 9x12 sheet of Peacock Wool Blend Felt
Assorted Wool Blend Felt - Swan, Aqua, Julep, Mint
Gold Metallic Felt
Embroidery Thread - DMC 3810, B5200
Scissors
Embroidery Needle
Iridescent Sequins (optional)
Directions:
1. The first step is to gather your assorted wool blend felt and cut out hearts (or shape of your choice). In this case, I utilized small scraps and odd leftover bits to cut a wide variety of hearts. Reserve the 9x12 sheet of wool blend felt for the base of the pouch.

2. Once you have your shapes ready, it's time to make the base! I created the angled shape by placing my scissors in the folded sheet of 9x12 wool blend felt. Cut along the sides (with regular scissors or pinking shears) at a slight angle so that the bottom will be narrower than the top. For my pouch I left about 2” on the back (higher than front) and cut a “heart” shape to keep with the theme.
3. Leave the sides of the pouch open to decorate the front. Starting at the bottom, I began stitching on the hearts one at a time. You can overlap your shapes and mix and match stitches - just have fun!
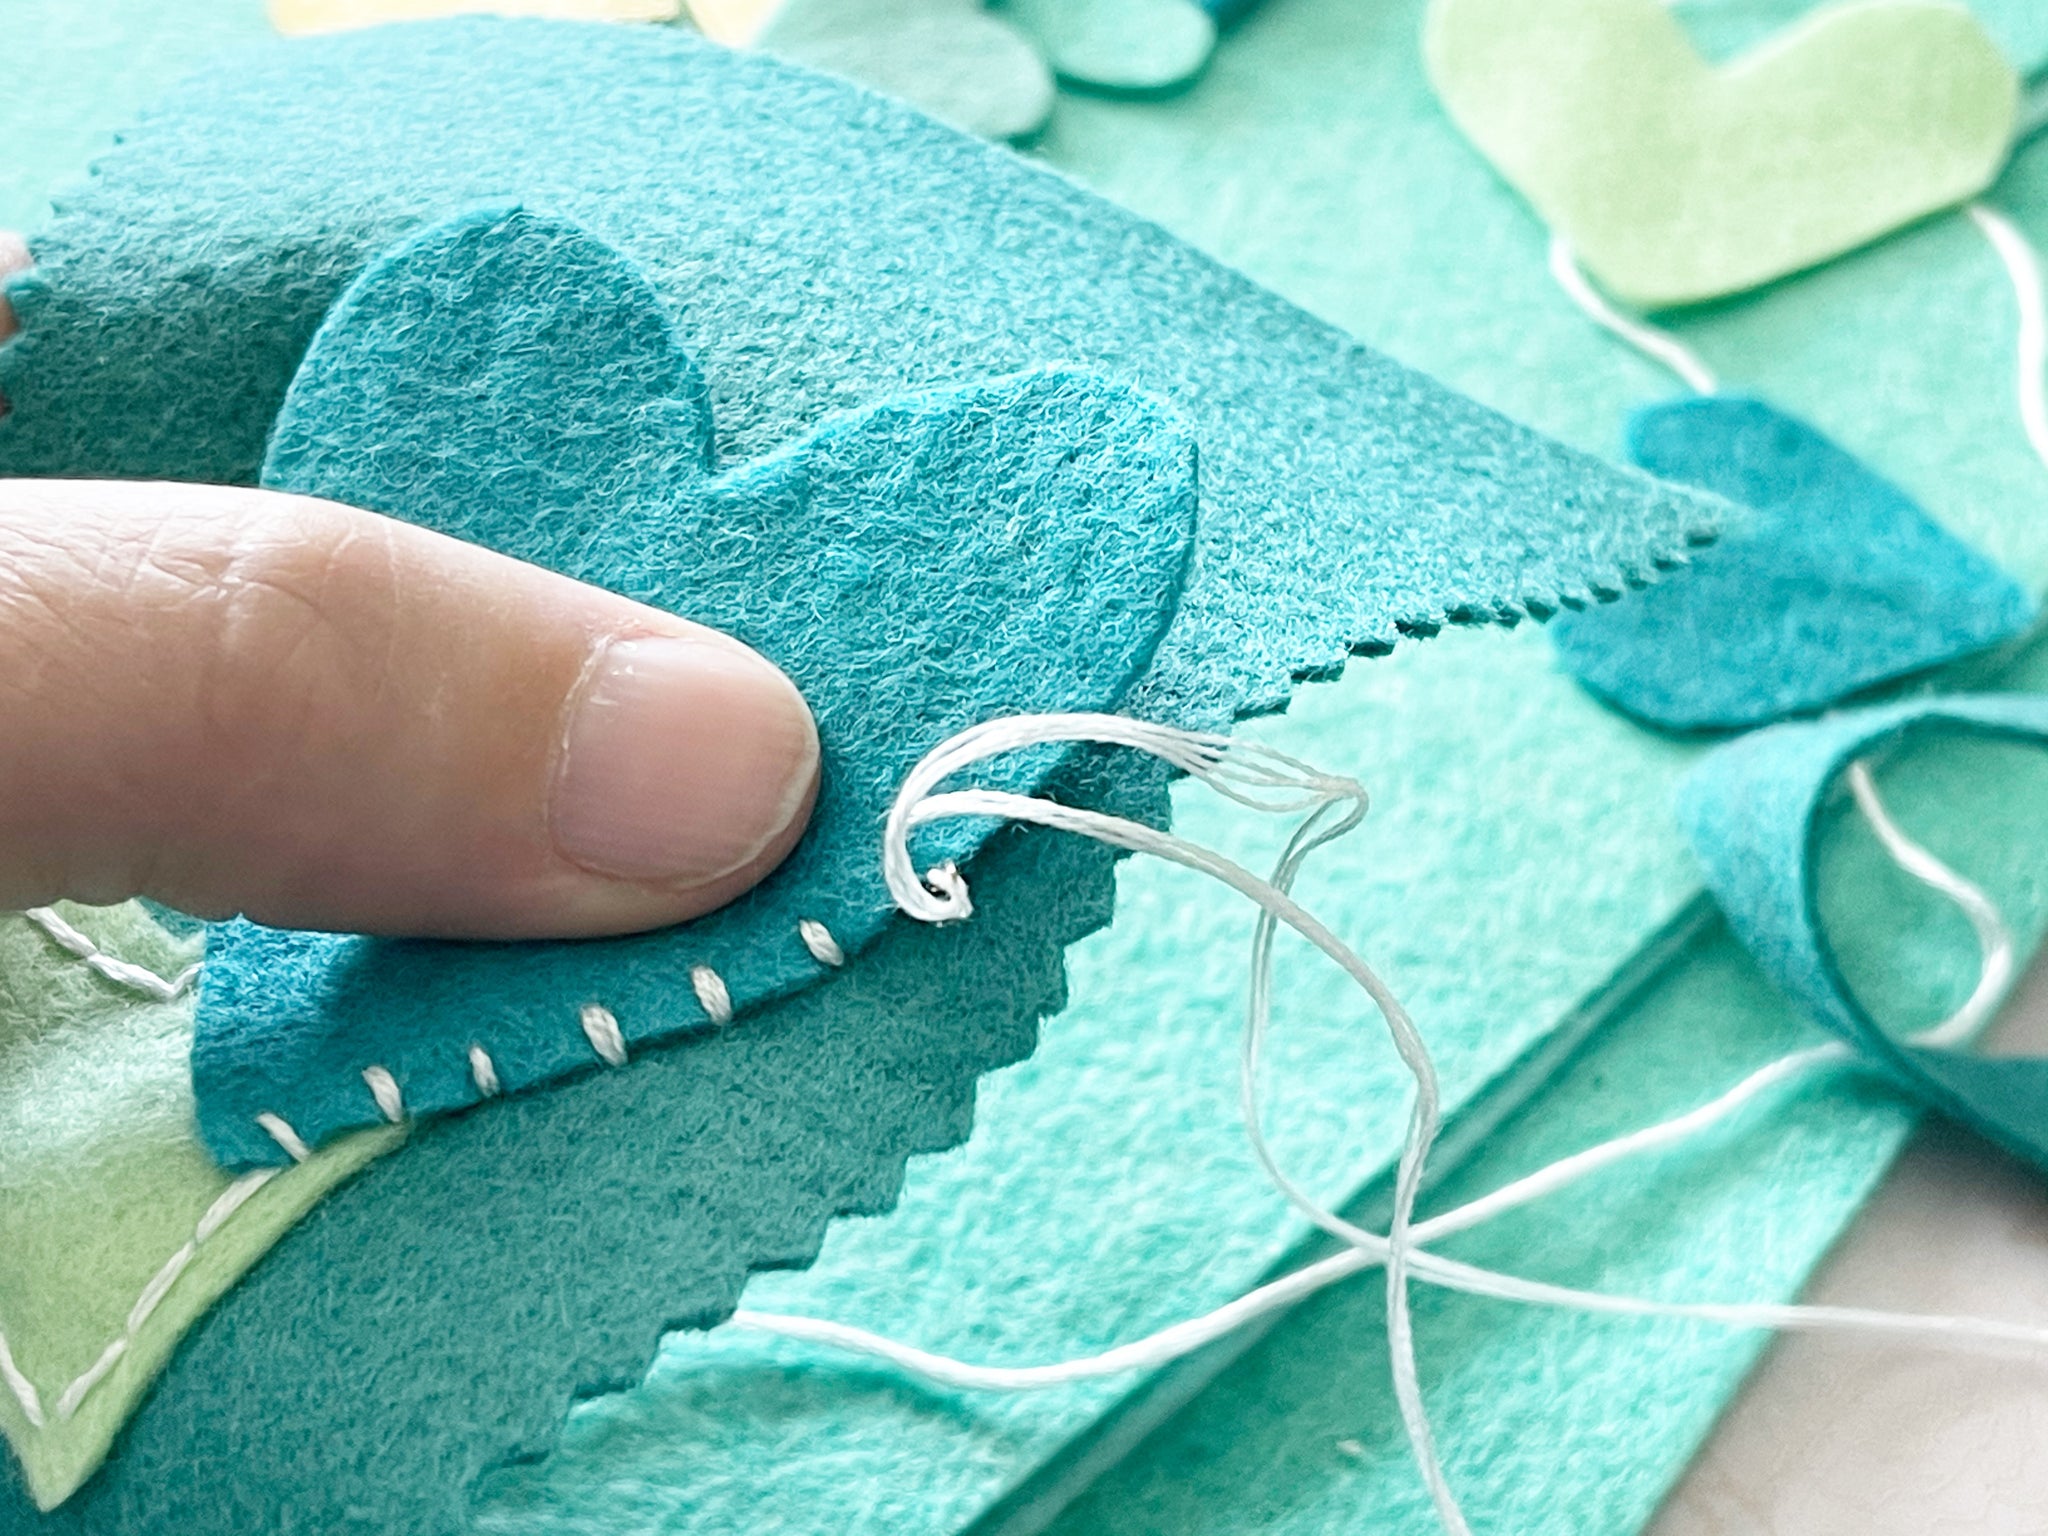
4. Continue adding shapes while experimenting with different stitches. Sometimes my hearts overlapped, but that was okay because I love the practice. In fact, overlapping is your friend! For example, I started doing some loopy stitching along one side and decided I hated it! What to do? Just layer another heart over it!

5. With all the shapes in place, you can now add additional details such as sequins, French knots, and any other details you can imagine!

6. To finish the project, take a scrap of wool blend felt and cut it slightly smaller than the front of your pouch. Stitch along the top to connect the front decorative piece to the scrap. The purpose of this piece is to conceal your stitches and keep your scissors from cutting any of those threads! Once the front piece is secured to the liner, connect the front, back, and liner by stitching along the two sides.


7. If you’d like to add any additional touches, such as decorative stitching along the top or a ribbon loop for hanging, now is the time. Once finished, your pouch will coordinate with your scissors and brighten your maker space!

I hope you have enjoyed this tutorial! It was my pleasure to create this project and now I want a scissor pouch in every color - along with matching scissors!

Thanks to May for designing and writing this tutorial! You can follow her on Instagram @craftwithmay or visit her website. Stay tuned for more Benzie Design Maker Team tutorials from the rest of the team!


