
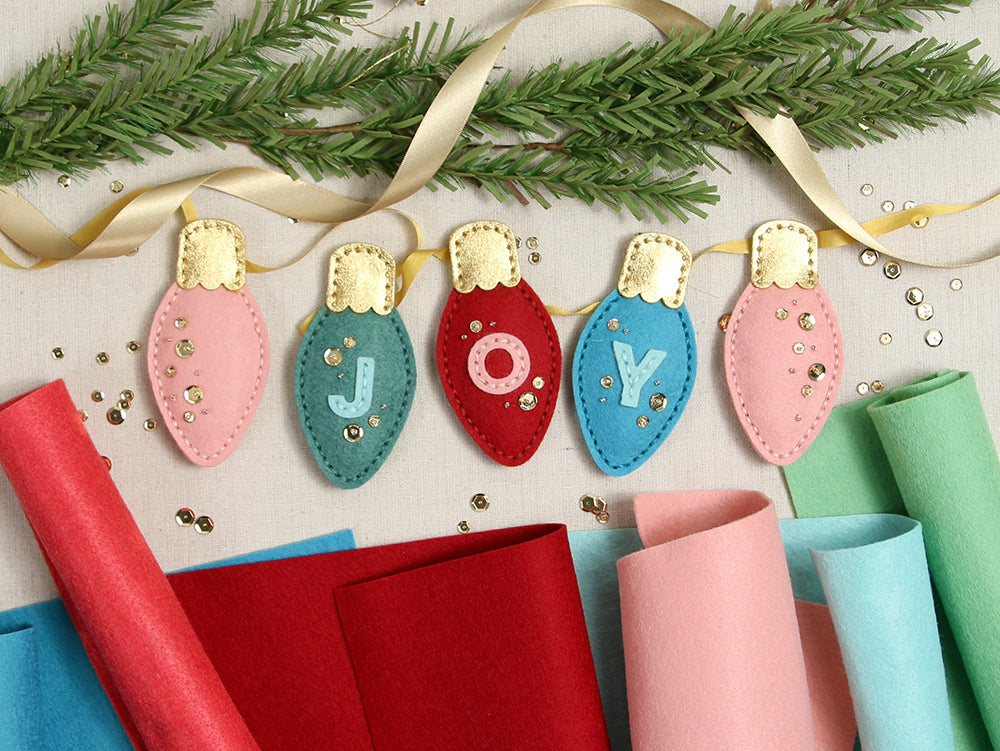
We made these vintage Christmas bulbs using stitchable dies and they couldn't be easier! You can keep these light bulbs simple with just a few sequins or personalize them with letters for monograms or holiday greetings. We've curated a beautiful felt medley but you can choose from our huge felt assortment to find the colors that match your holiday decor. It's time to light up the night!
Skill Level: Kids / Beginner
Time: 1 hour
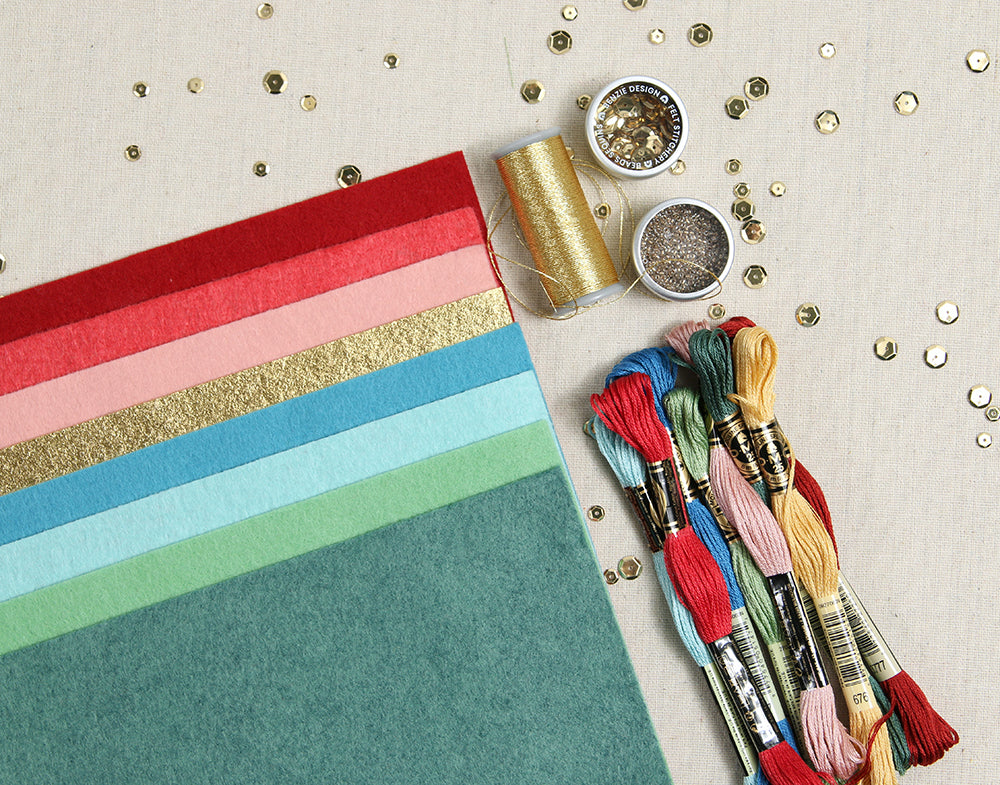
Additional Supplies:
Classic Christmas Bulb SVG Pattern (if you don't have access to a die cut machine)
Directions:
1. Cut out the felt. For the ornament shown you will need two felt bases, two felt tops (we used metallic), one decorative piece and one letter.

If you are new to die cutting, read up on our tips here. We like to cut metallic felt from the top (shiny side up) with two passes. Unlike regular felt, metallic felt will need to be peeled or punched out. Keep in mind that not all the stitch holes will punch out, but you can still use them for placement.
2. Line up a base and decorative piece. The decorative piece should be placed just above the 7th stitch hole from the bottom on each side (see picture). Use four strands of coordinating floss and a running stitch to attach the letter. Read more about the running stitch here. Mini Wonder Clips will keep the felt from shifting while stitching on the letter.

3. Adding cupped sequins and beads really make these lights shine! Use one strand of floss and a beading needle to attach. Read this tutorial for guidance on stitching sequins.

4. Position other base in line with the decorated base. Use four strands of embroidery floss to stitch a running stitch around the perimeter of the light bulb. Stop before closing to add a few pinches of stuffing. You don't need a lot to make these plush! Continue the running stitch around the perimeter to close.

5. Position the metallic top to the front and back of the base. It should attach to the third hole down from the top. (Refer to Step 2 photo for placement.) Use one strand of Diamant Light Gold to stitch a running stitch from one side to the other and back again to secure.

6. To complete the ornament, string gold floss through the top as a hanger!

How will you customize your ornaments? Will you leave them classic and simple or add initials for personalized gifts?

However you style your lights, we hope they bring you J-O-Y this holiday season!
Thanks to Renae for designing and writing this tutorial! Stay tuned for more tutorials from Benzie Design!


