Felt headbands? We'll take one in every Benzie felt color! These felt covered headbands are easy to make and work as a great base for embellishment. In this simple tutorial, we detail two assembly methods - machine sewing and no-sew. Sew. . . what are you waiting for?
Skill Level: Beginner
Time: 30 minutes
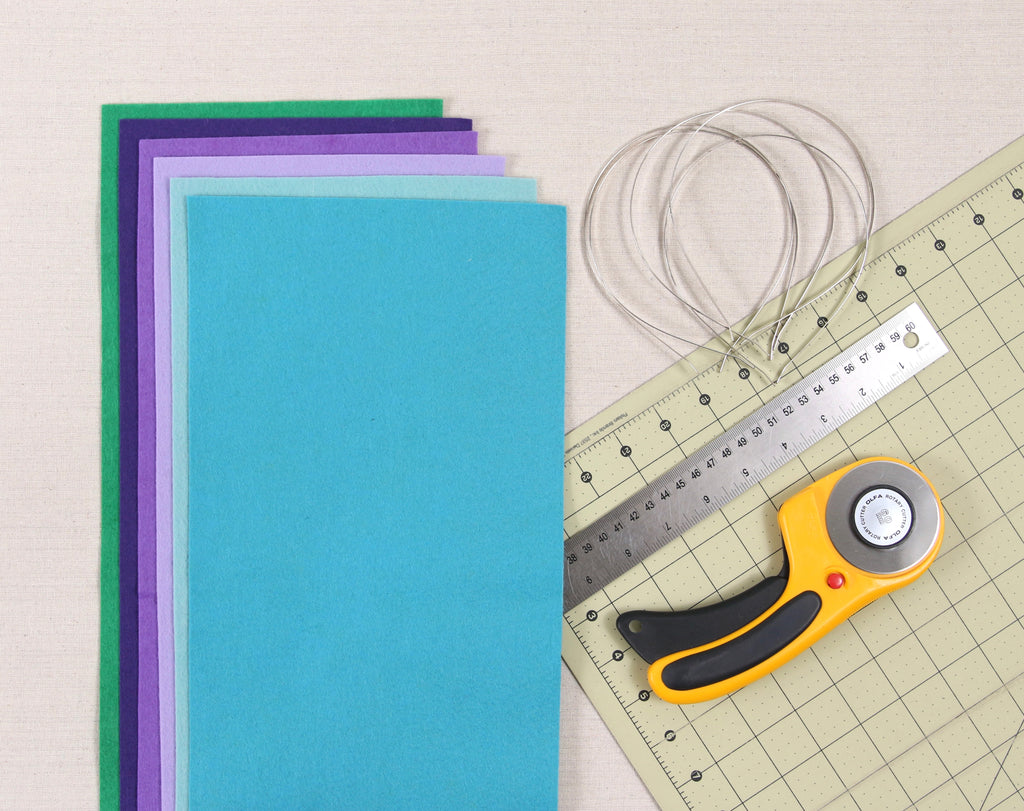
Supplies:
12x18" sheets of Felt
Rotary Cutter and Mat
Sewing Machine, for sewing method
Tacky Glue, for no-sew method
Thin Metal Headbands
Directions:
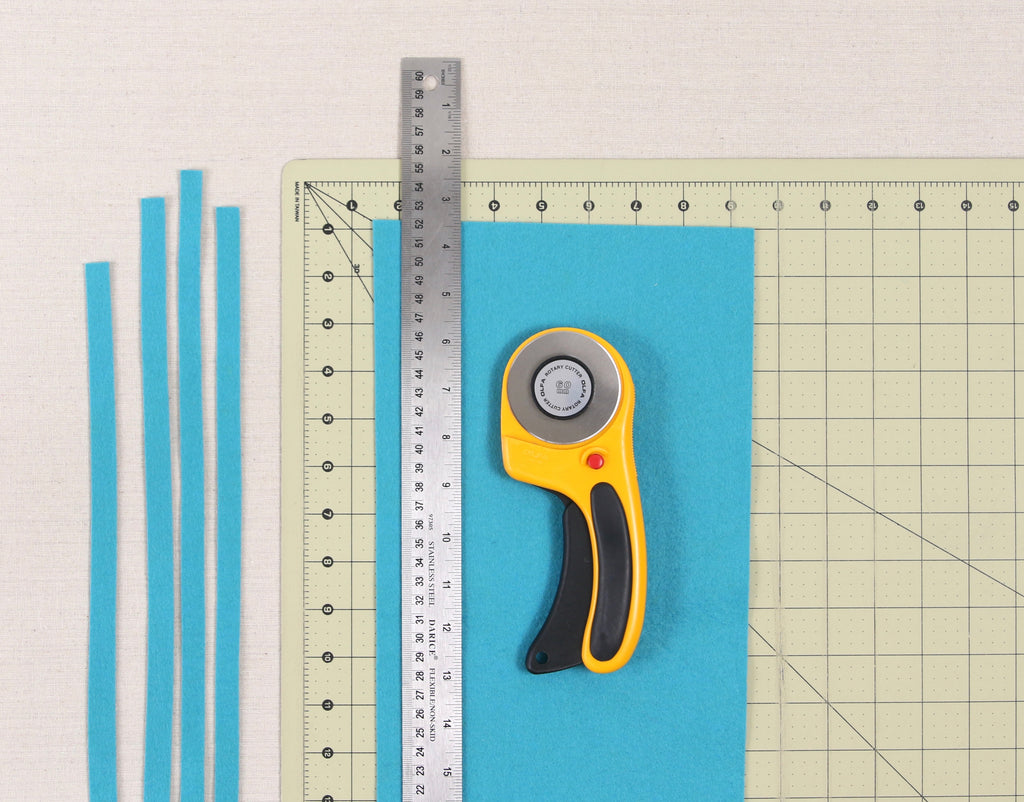
Cut two 1/2 x 16 1/2" strips of felt for each headband. Vary the width of the headband by cutting wider strips. Use a rotary cutter and mat to cut easily or use a Frixion pen and ruler to cut strips with scissors.
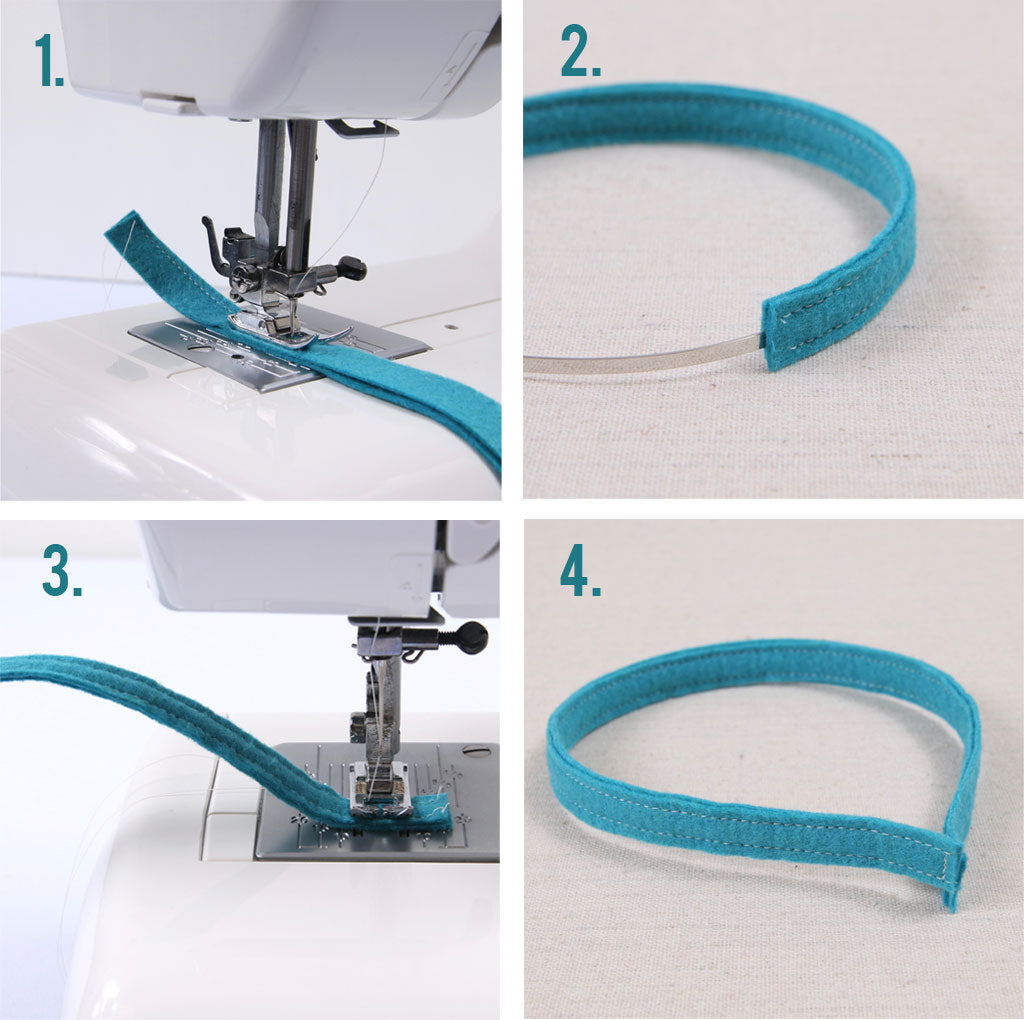
Machine Sewing Method
Machine stitching is fastest, but you can also hand stitch this step.
1. Carefully line up two strips of felt. Start at one end and stitch around perimeter, leaving other end open.
2. Slide metal headband into open end.
3. Stitch end closed.
4. Trim excess felt.
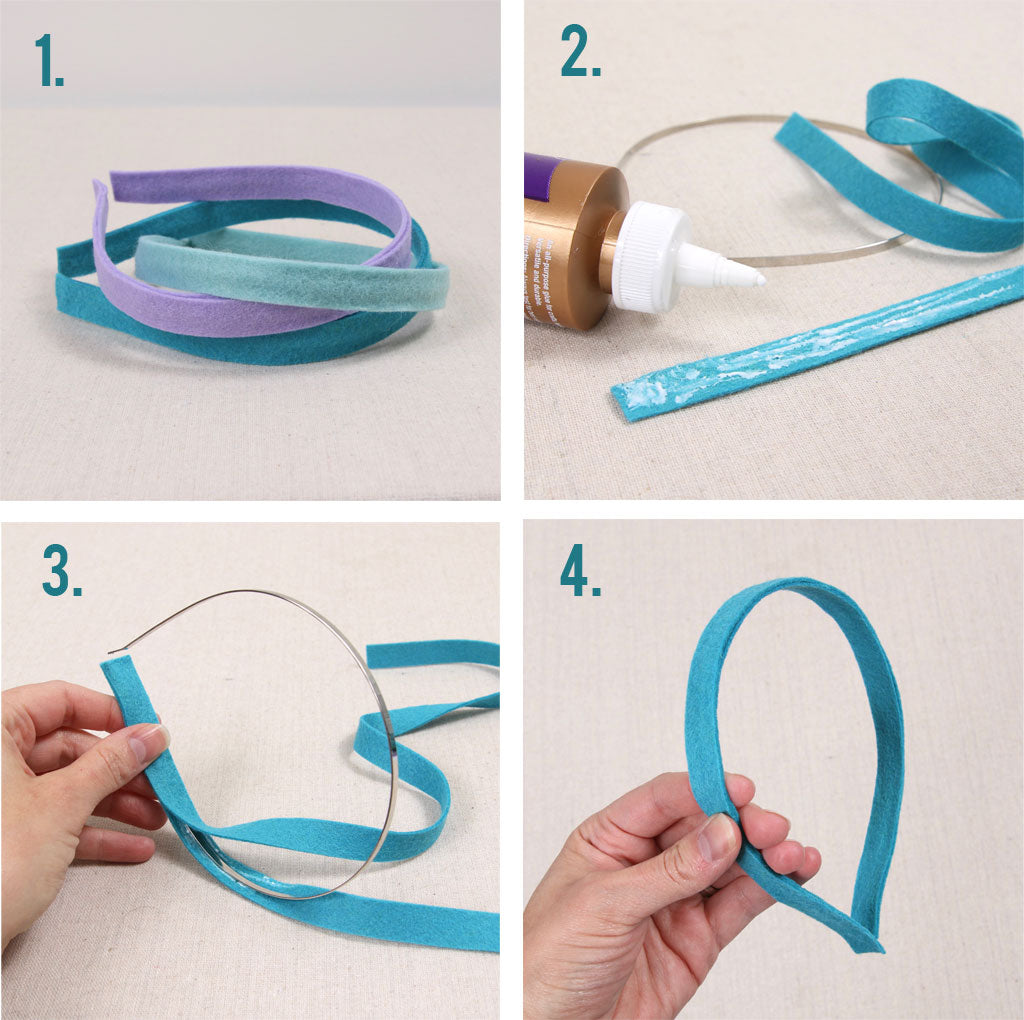
No-Sew Method
1. This method requires extra time to dry to ensure a headband sturdy enough for wear and embellishments.
2. Apply tacky glue to one side of felt strip. You only need a little bit to get a strong and flexible hold.
3. Carefully sandwich headband between two pieces of felt, pinching felt together to secure.
4. Trim excess felt.

Search for "headband" in our DIY Tutorials to find awesome ideas for embellishing your Felt Headband!


