Share
Maker Team member Emily of @givemeastitch has a gift for adding depth and detail to her embroidery. Her hand stitched portraits help people preserve their memories in a creative new way! We are so excited to have her introduce herself and some of her techniques in her first Benzie tutorial. Needles up!
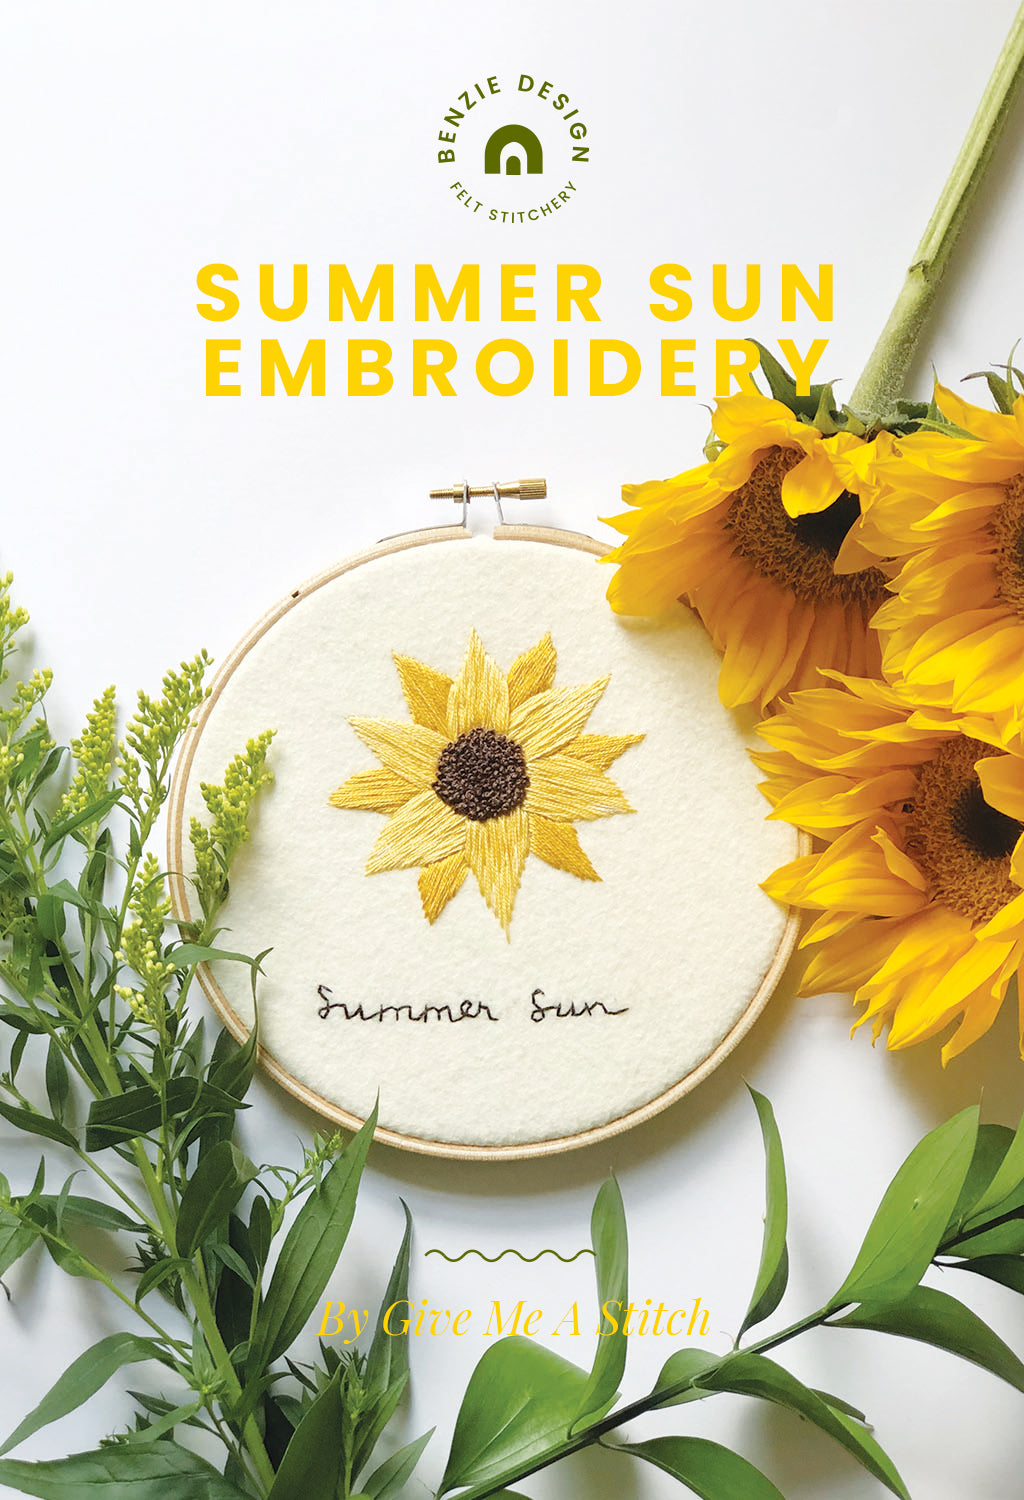
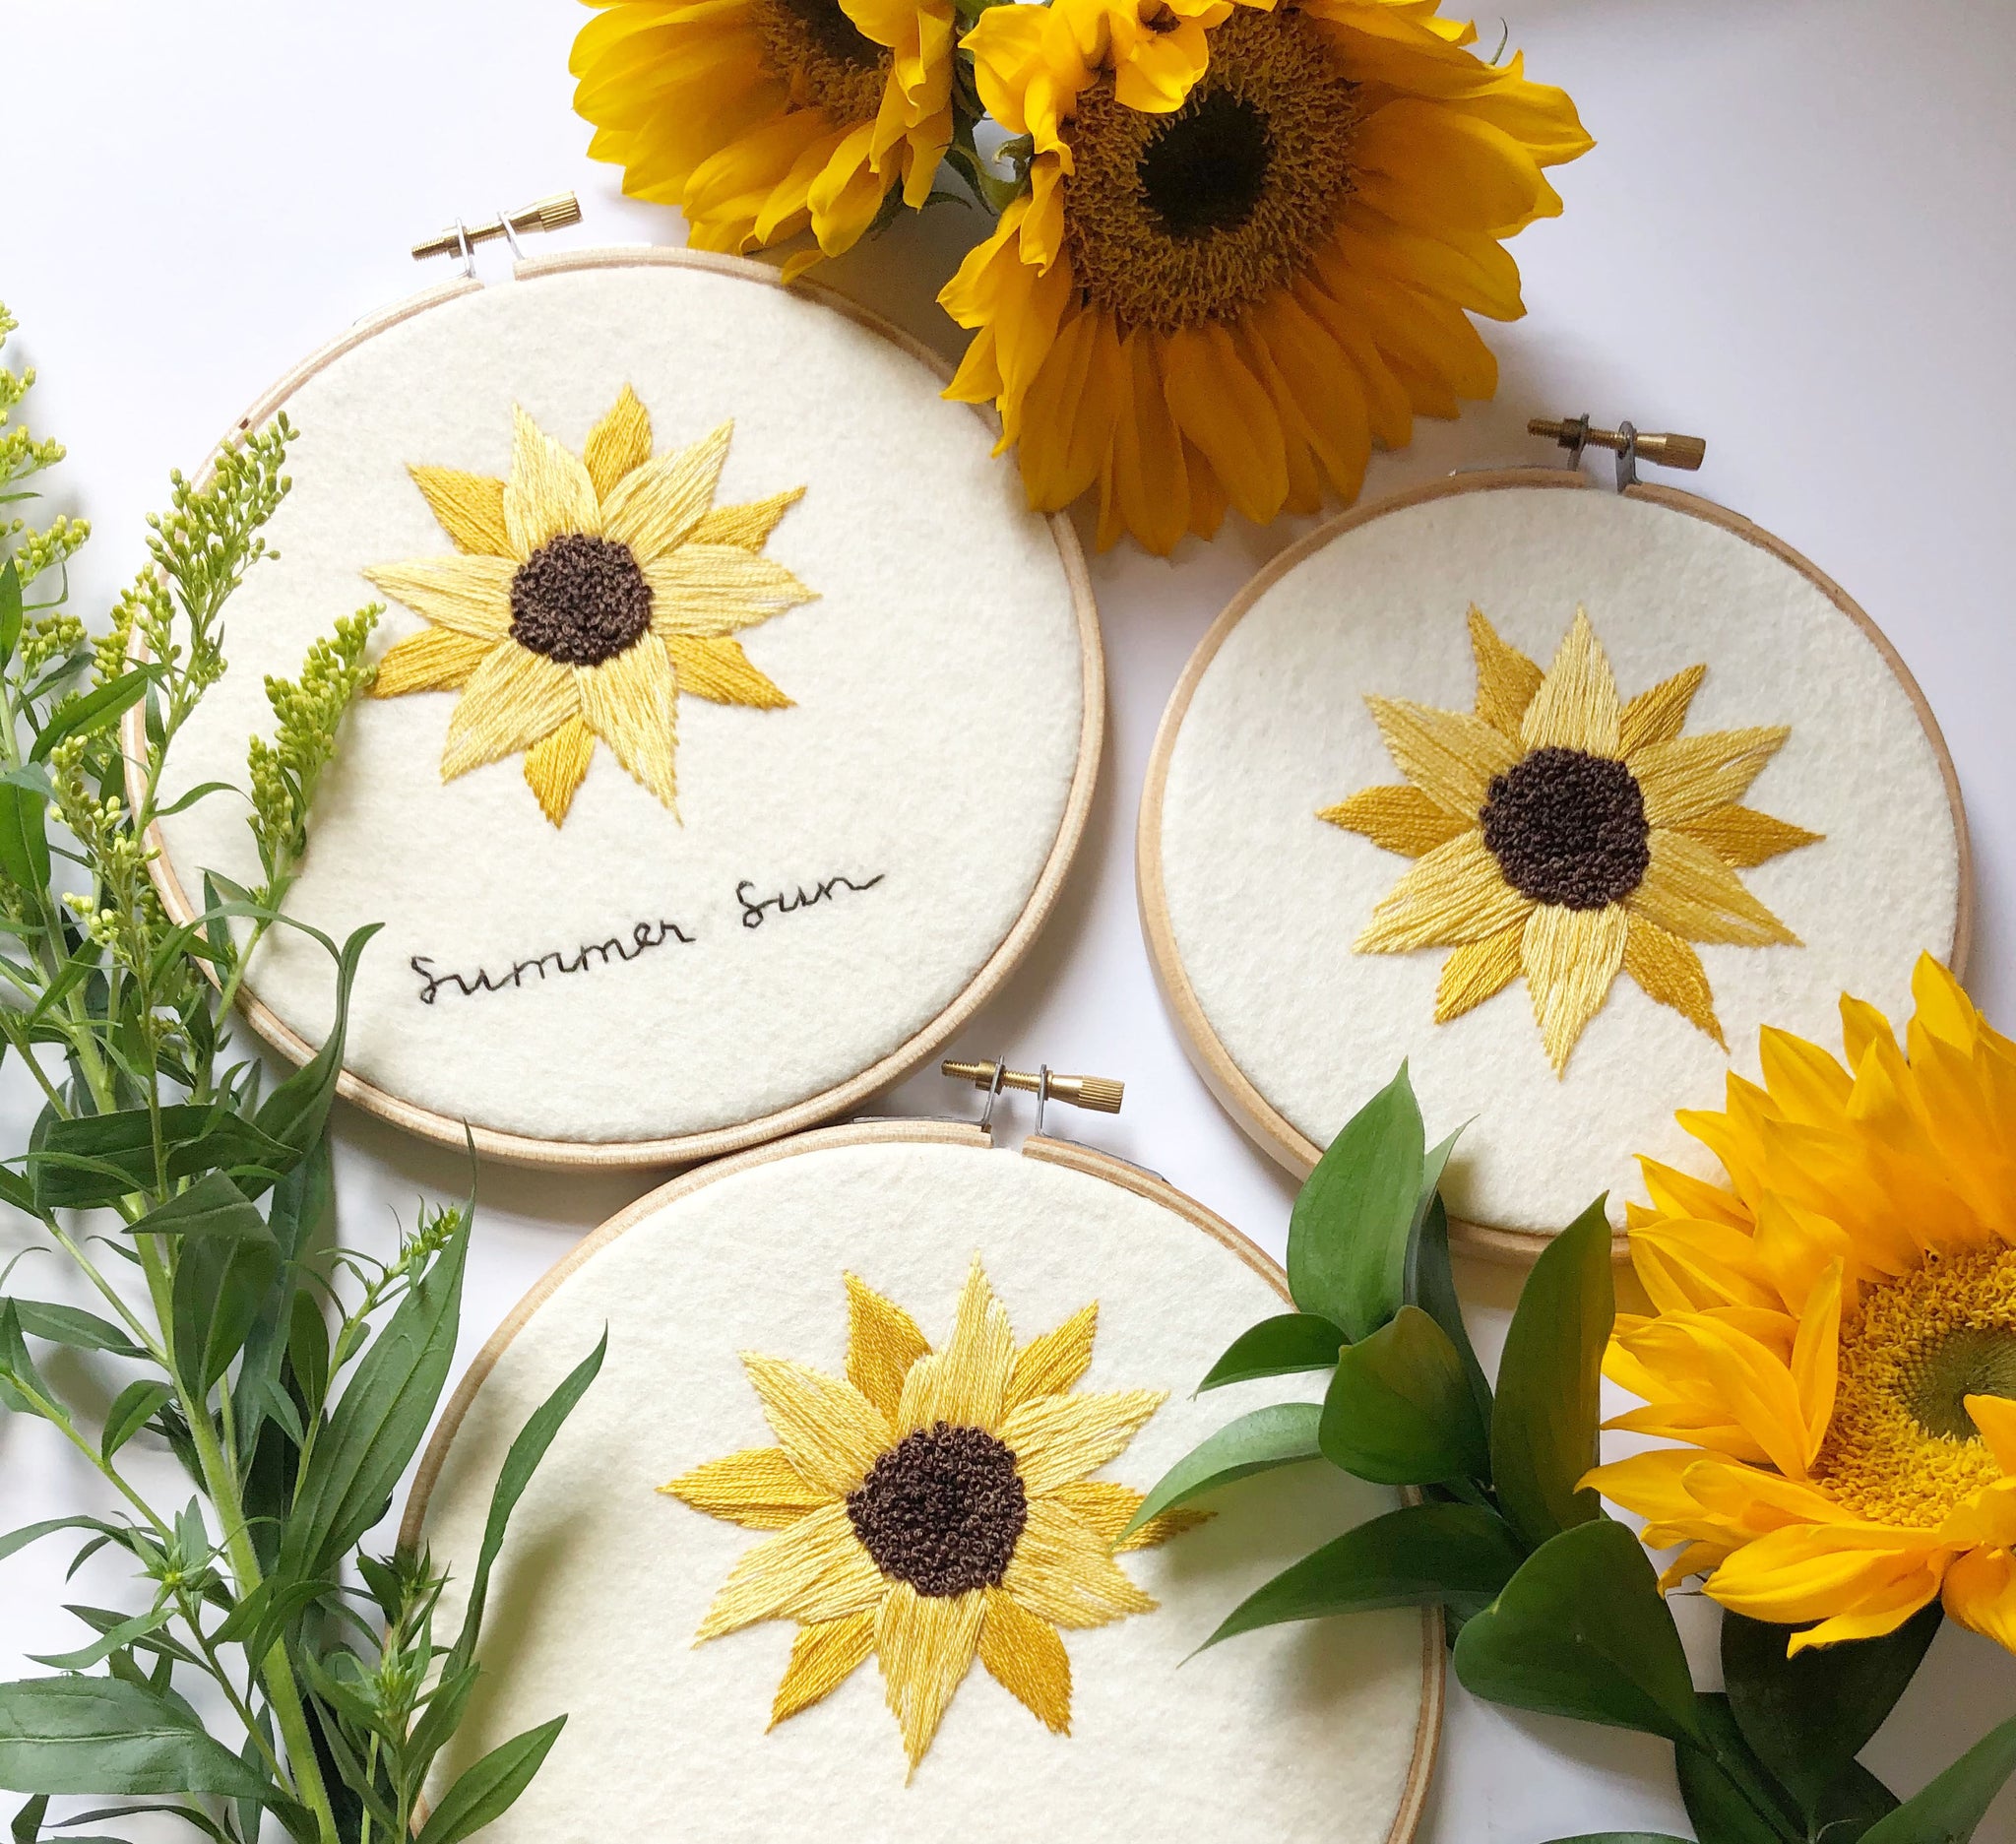
Summer is upon us and what better way to enjoy this beautiful summer weather than to create a DIY inspired by it. Summer Sun is an exciting way to dip your toes into the embroidery world or practice your skills, if you are familiar with it. In this tutorial, you will use four common stitches to complete the piece. Grab the supplies needed and enjoy creating!
Skill Level: Beginner
Time: 3 hours

Supplies:
Two sheets of 9x12” Ecru Wool Blend Felt
Wood Embroidery Hoop - 6"
Embroidery Needle
Tracing Paper
Tracing Pen
Embroidery Thread - DMC 422, 746, 838, 839, 3371 and 3828
Scissors
Tacky Glue
Summer Sun Stitch Guide
Summer Sun Pattern
Directions:
1. Download and print the Summer Sun Stitch Guide and PDF Pattern above. Lay out all the supplies.
2. Unscrew the wooden hoop and place one piece of Ecru felt between the two wooden circles and screw tightly. Make sure the felt is tight in the hoop to ensure it won't slip.

3. There are a few different ways to transfer the pattern onto your felt. I used my iPad as a light box and a Frixion pen to trace it onto the felt. You can also use a window as a light source or trace the printed pattern using tracing paper.

4. Once the pattern is transferred, begin by stitching the text in DMC 3371. You will use a backstitch. Please reference the Stitch Guide for tips on each stitch.
5. For the center, use DMC 838 (dark brown) and DMC 839 (light brown) to add dimension. To create the texture, use french knots. I did a small center circle of dark brown and then filled in the rest with light brown.

6. Once the center is complete, use DMC 3828 to stitch the outside flower petals with a satin stitch.

7. Fill in the front petals with DMC 422 using the same satin stitch.

8. To create depth and more dimension, add one strand of DMC 3828 and make short straight stitches on the front petals. Add highlight marks to the front of the petals with DMC 746, again using one strand and a single straight stitch.

9. Follow the directions for removing the pattern marks from your felt. For a Frixion pen, use a hair dryer. To finish your hoop, cut the felt around the hoop leaving 1”. Glue around the wooden hoop and place the 1” of felt down. Once it is dry, add another round of glue and place the other piece of felt on top, cutting the extra material.


You’re finished! Now you have a lovely sunflower wall hanging or accent piece. The best thing about embroidery is every piece you make is unique. This pattern can be adapted for larger or smaller hoops or even added to clothing. Imagination and creativity is amazing. Show off your work and be proud of the maker you are!
Thanks to Emily for designing and writing this tutorial! You can follow her on Instagram @givemeastitch or visit her website. Stay tuned for more Benzie Design Maker Team tutorials from Emily and the rest of the team!


