Share

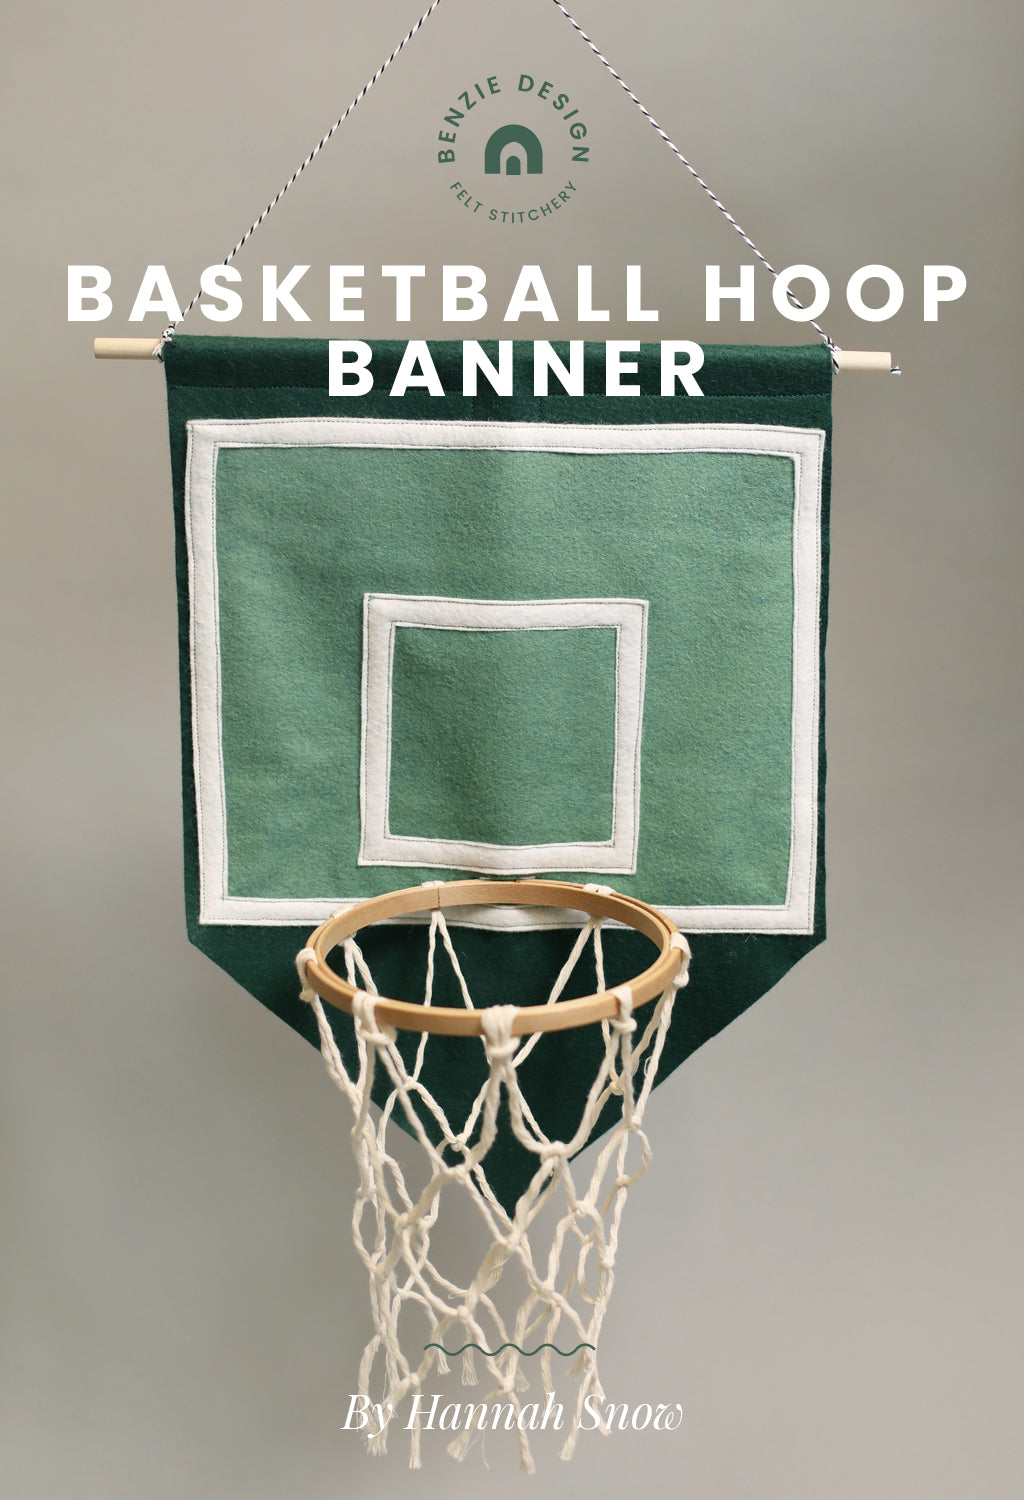
Maker Team member Hannah of @hannahsnow.design is bringing her bold signature style to a new tutorial that's an absolute slam dunk! Like much of the country, she's got basketball on the brain and she dreamed up a fun craft that can be made courtside - or at least in front of the television. Lace up those sneakers and let's play!
March is my favorite month for many reasons, but one of the biggest reasons is the NCAA College Basketball tournament! I love filling out a bracket, watching multiple games at the same time, and cheering for the underdogs. This basketball hoop would be the perfect craft for you to practice your layups and jump shots. You can even choose felt colors based on your favorite team. Let the games begin!
Skill Level: Intermediate
Time: 2 - 3 hours

Supplies:
One 12 x 18" sheet of Evergreen Wool Blend Felt
One 9 x 12" sheet of Blue Spruce Wool Blend Felt
One 9 x 12" sheet of White Wool Blend Felt
Two 14" Wooden Dowels
6" Embroidery Hoop
Macrame Rope
Bakers Twine, Black
Pins
Directions:
1. Find the center of the short side of the Evergreen rectangle. Draw lines from the center point out to 5" on either side to make a triangle. Cut away the triangles on either side to form the point of your banner.

2. Trim 1” off the Blue Spruce and White felt sheets to make them 9 x 11".

3. For the backboard, draw lines to create the following rectangular shapes from your White felt:
9 x 11” – 1/2” thick
5 x 5” – 1/2” thick

4. Cut out the backboard lines.

5. Place the Blue Spruce felt on the banner, leaving 3” of space at top for the pole pocket. Sew it on close to the edges.

6. Place the White outlines on the backboard. Center the square piece along the bottom middle, leaving a 1/2” gap above the bottom line.

7. Sew on the backboard lines close to the edges on each side.

8. Cut out a small 1/2 x 1" rectangle in the center of the gap between the backboard lines. Sew around the rectangle.

9. For the pole pocket, fold the top 3” of the banner in half. Use stick pins to mark off a 1” space in the center of the pocket that aligns with the rectangular opening.

10. Start sewing the pole pocket 1” wide. When you reach the marked off point, stop, rotate the banner 90° and sew down until you reach the backboard. Mirror the same process on the other side, creating a T-shape.

11. Place one dowel in the pole pocket and the other dowel perpendicular, fitting it into the little pocket and aligning it with the rectangular hole.

12. Unscrew the embroidery hoop all the way. Put the metal clasps of the embroidery hoop through the rectangular hole on your banner and place the wooden dowel between the metal clasps. Put the screw back on, tightening the hoop into place.

13. Cut a 24” piece of bakers twine and tie it around each end of the top dowel.

14. Unravel the macrame rope to create eight smaller strings, measuring 36” long.

15. Fold each 36” string in half and loop the folded ends onto the hoop. Evenly space them around the hoop.

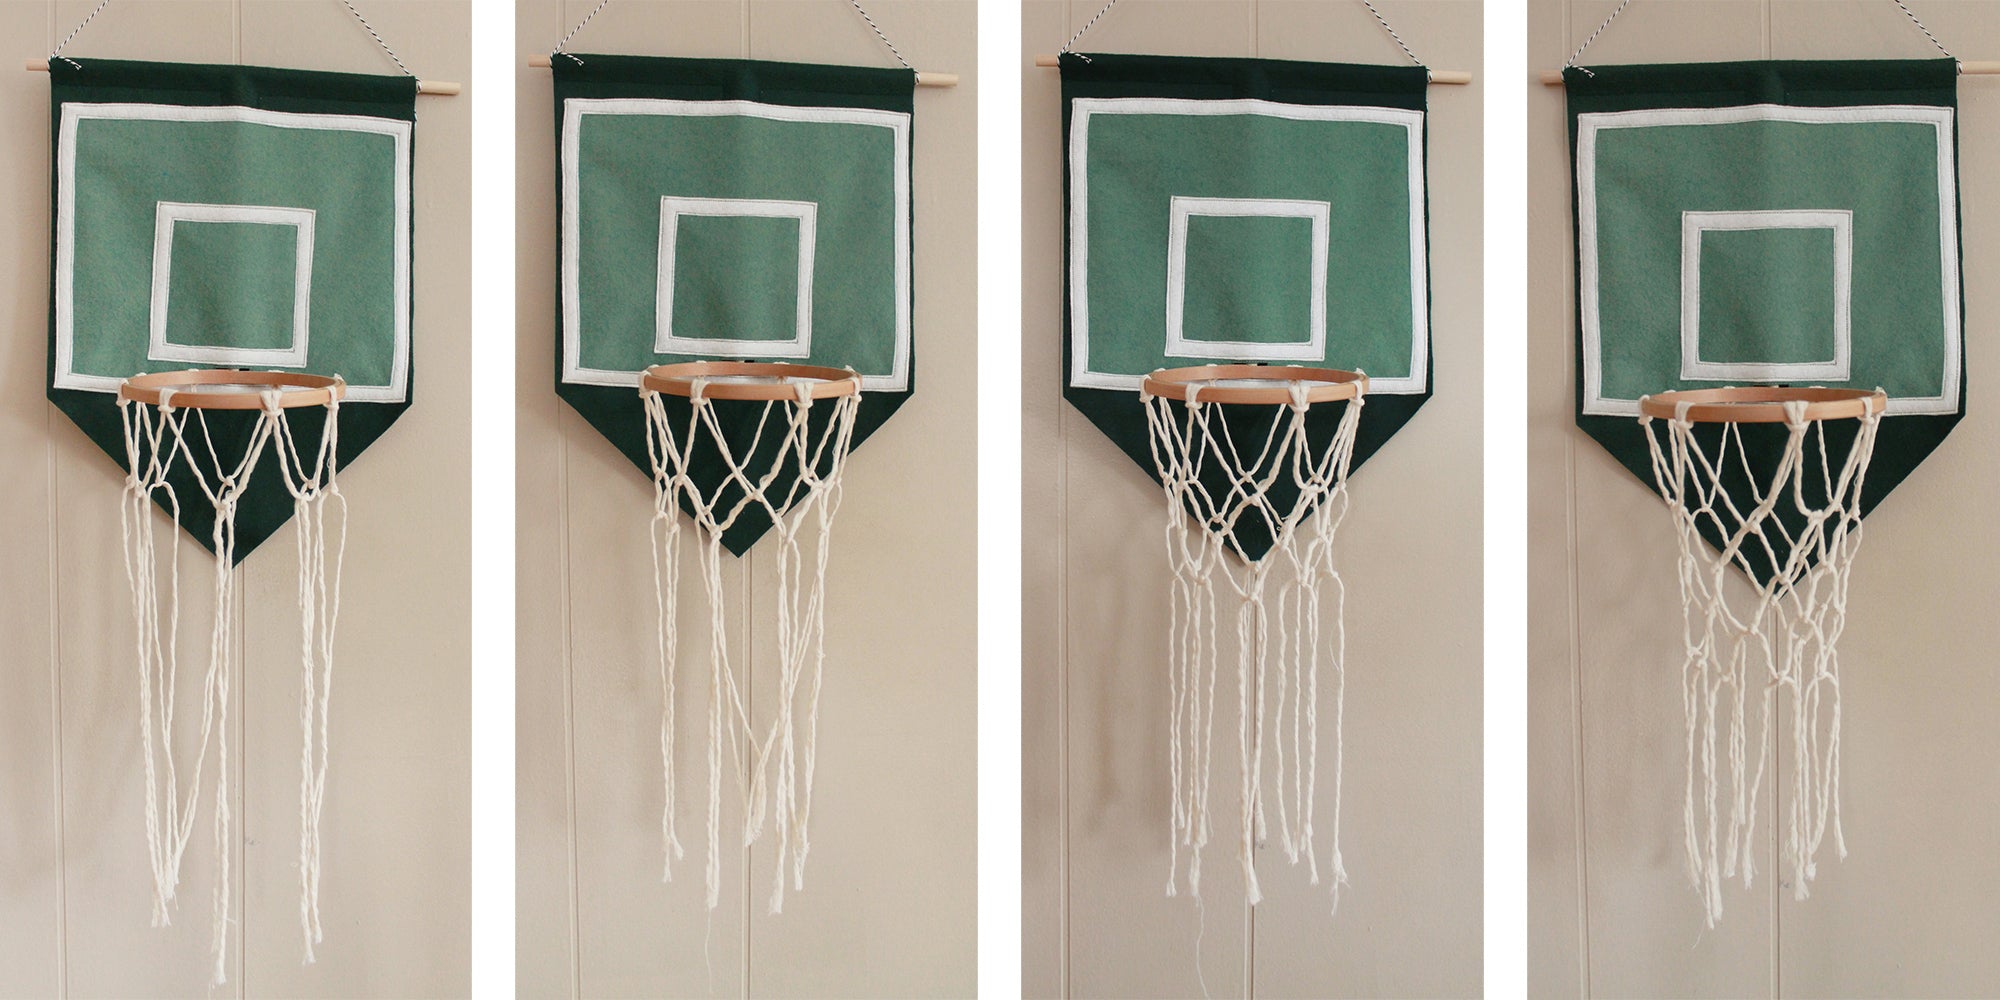
16. Take two neighboring strings and tie the left-side string from one and the right-side string from the other. Tie them together 3” down from the hoop. Repeat with all strings for one row.

17. For the next row, tie in the same pattern 1” down from the previous knots. Repeat for two more rows. You’ll end up with four rows total.

18. Trim the ends and your hoop is complete!

MVP, you did it! Please accept this imaginary trophy for completing your basketball hoop. Hang your hoop on the wall and practice your trick shots!

Thanks to Hannah for designing and writing this tutorial! You can follow her on Instagram @hannahsnow.design or visit her website. Stay tuned for more Benzie Design Maker Team tutorials!