Share
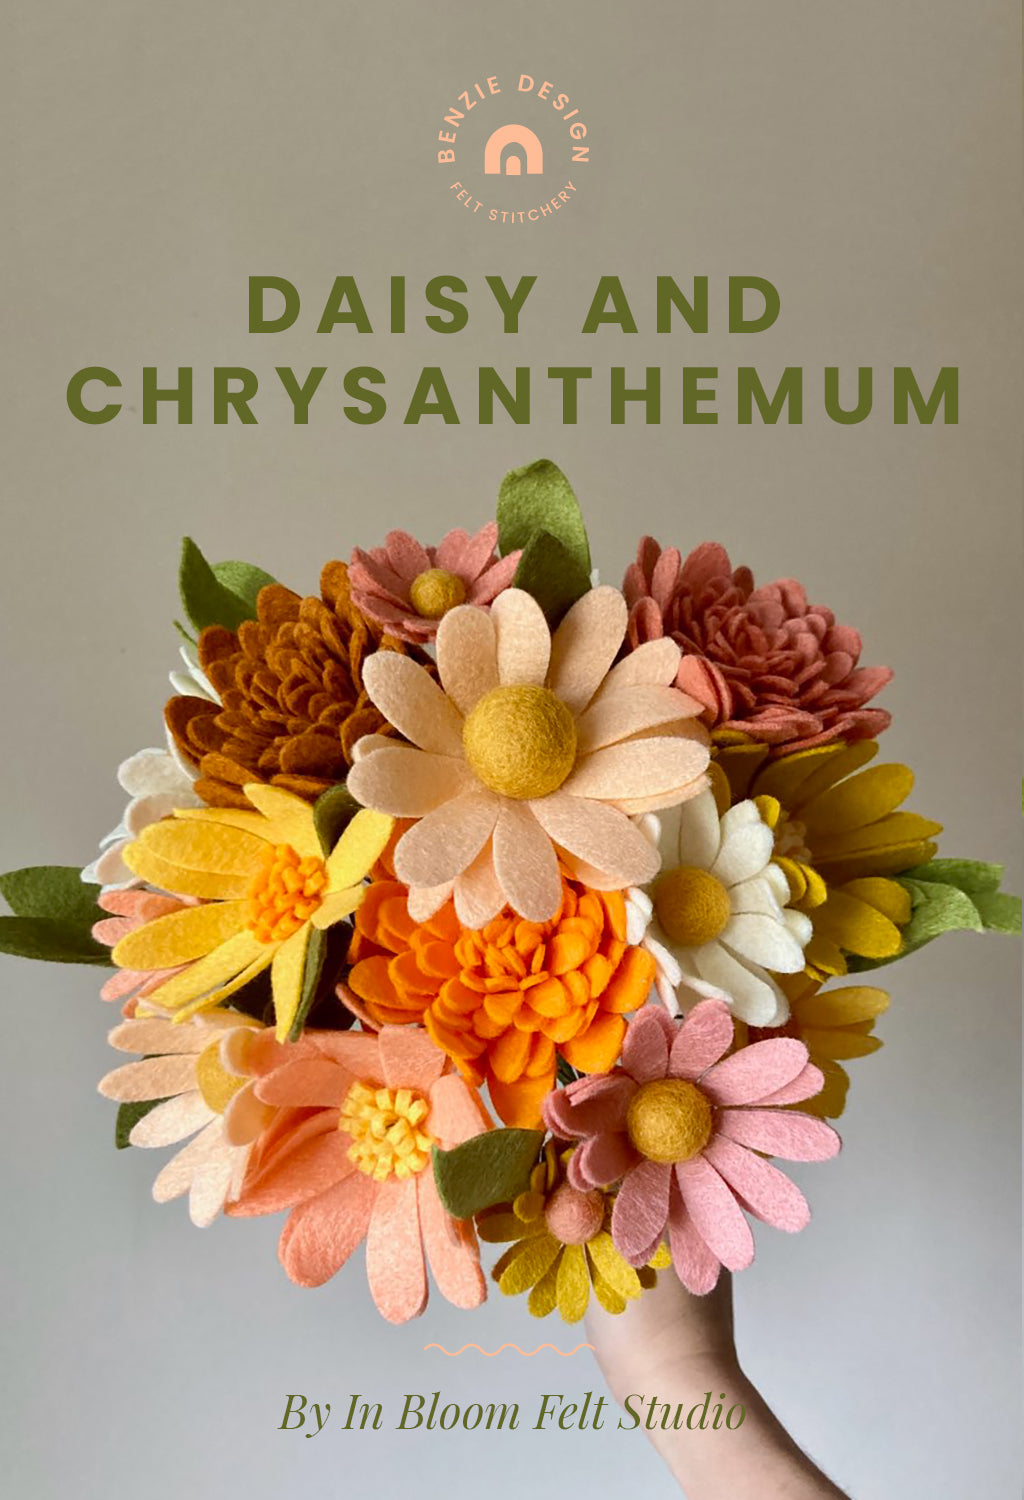
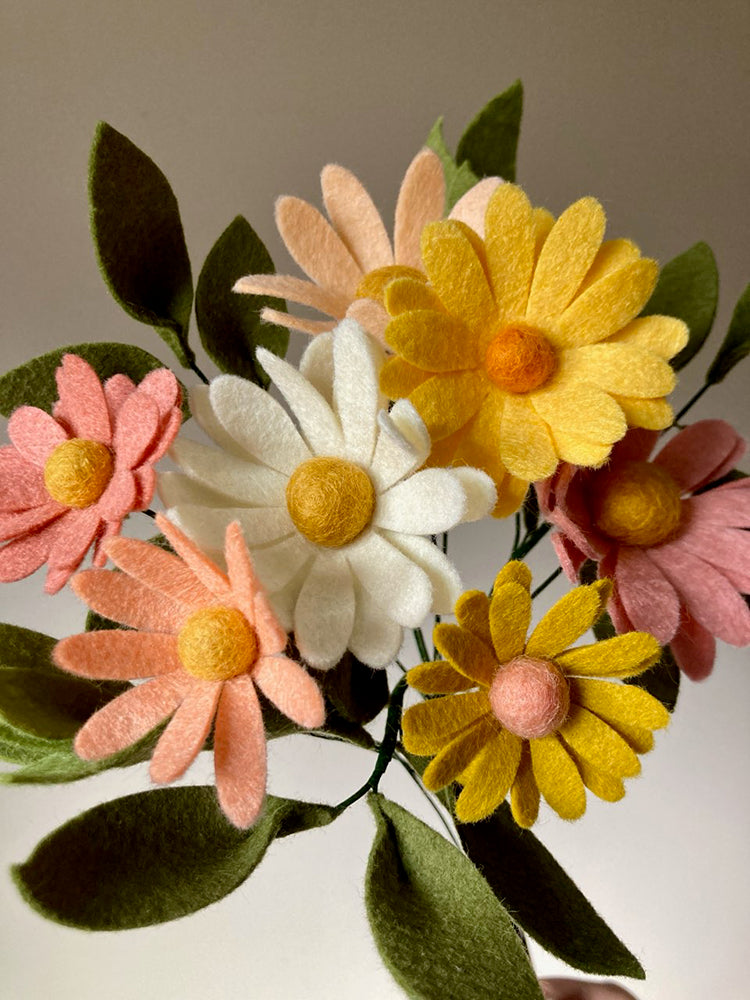
Is there any flower more adorable than the daisy? Our new floral die allows you to create a beautiful bouquet of daisies in various sizes that you can mix with other felt flowers. Designed by felt artist Kelsey Linville, the Daisy Deep Etch Dies can be used individually or in conjunction to create a bonus flower - the chrysanthemum! Follow along as Kelsey assembles a felt daisy made with the daisy dies and combines them to make a whole new flower!
Skill Level: Beginner
Time: 10 minutes
Additional Supplies:
Wool Blend Felt, in petal and leaf colors of your choice
Felt Poms in Extra Small, Small and Medium, for flower centers
As an alternative to using a die, these shapes can be easily cut by hand or with an electronic cutting machine. Use our SVG and PDF file and follow the instructions below.
Directions:
Daisy
There are four different petal sizes, and each can be paired with a different size felt pom:
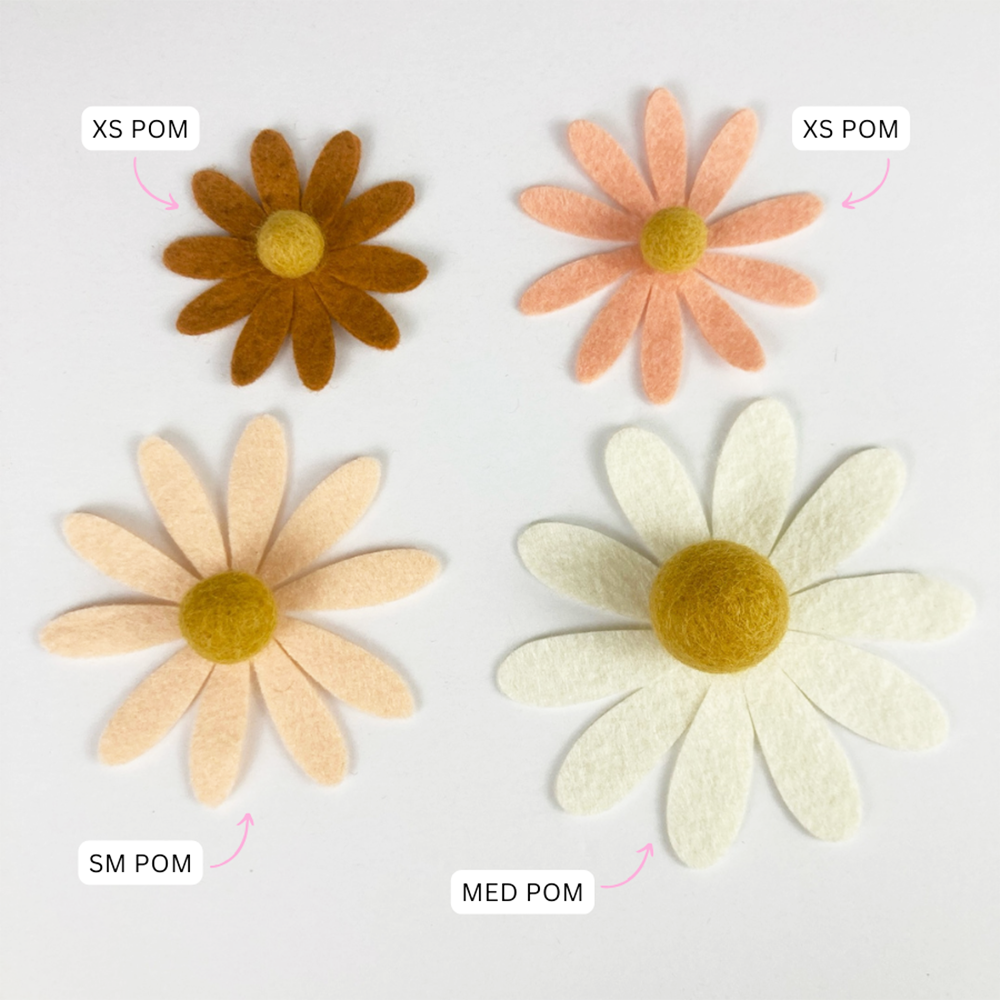
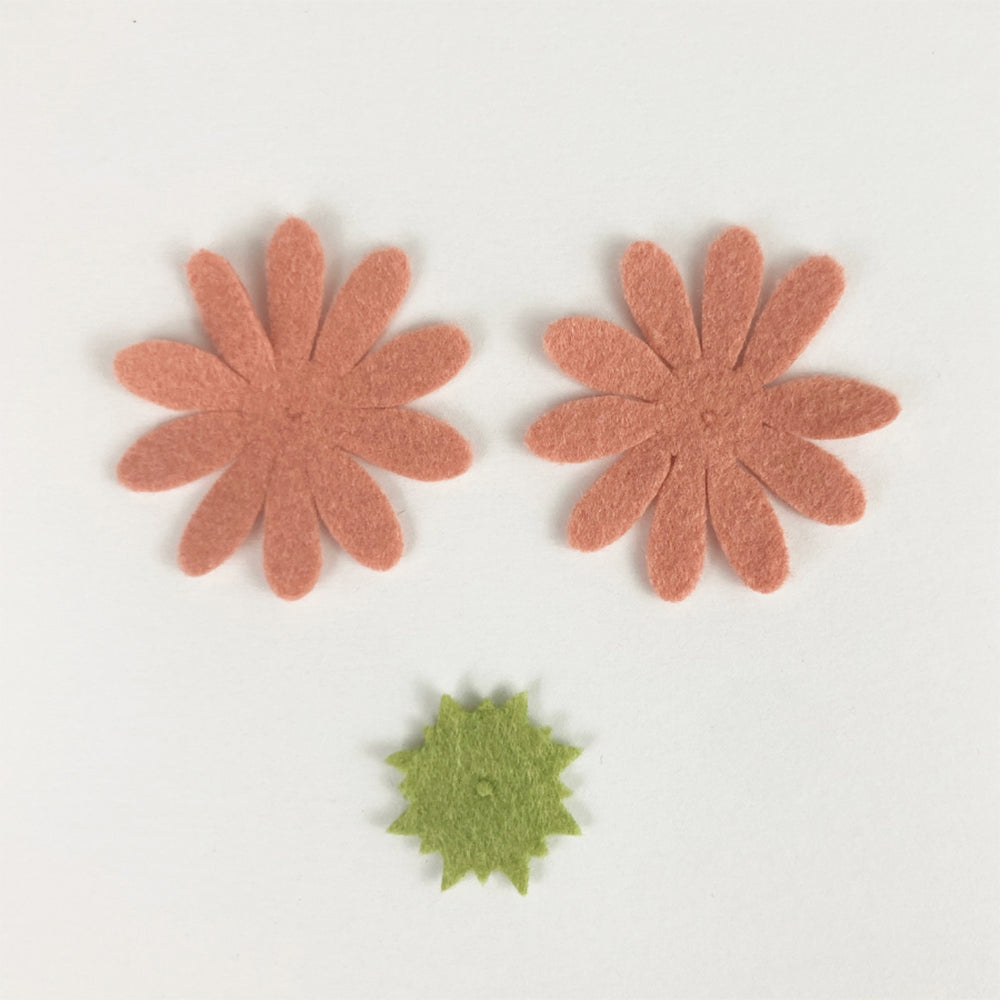
1. Cut one or two petal shapes and the sepal for a daisy. Select the corresponding pom size. Feel free to use any color for petals and leaves.
2. Use an awl or sharp scissors to carefully make a small hole in the felt pom. Fill the hole with hot glue. Insert an 18-gauge wire and let dry.
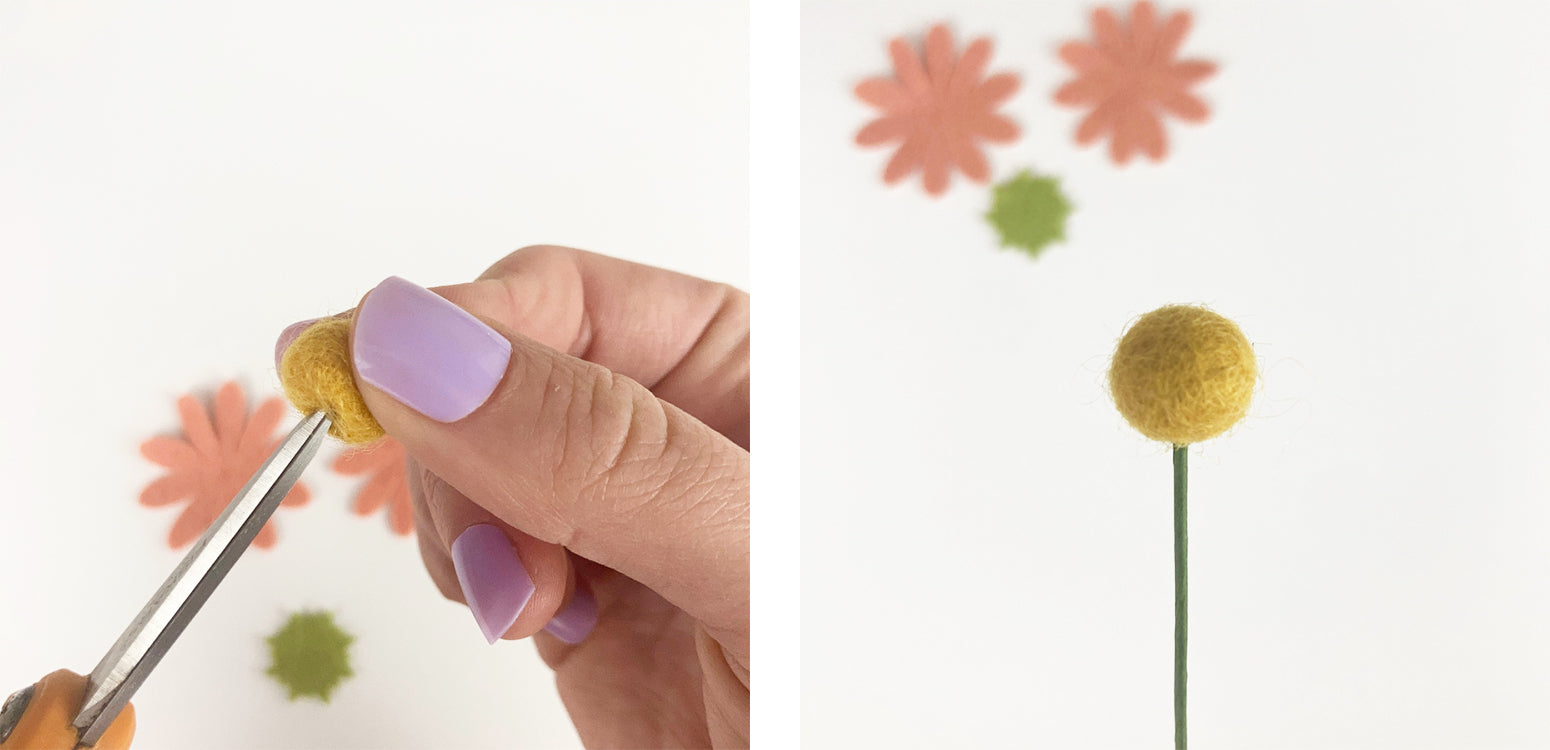
3. Thread a petal onto the stem. Add a circle of glue around the center and glue to the underside of the pom.
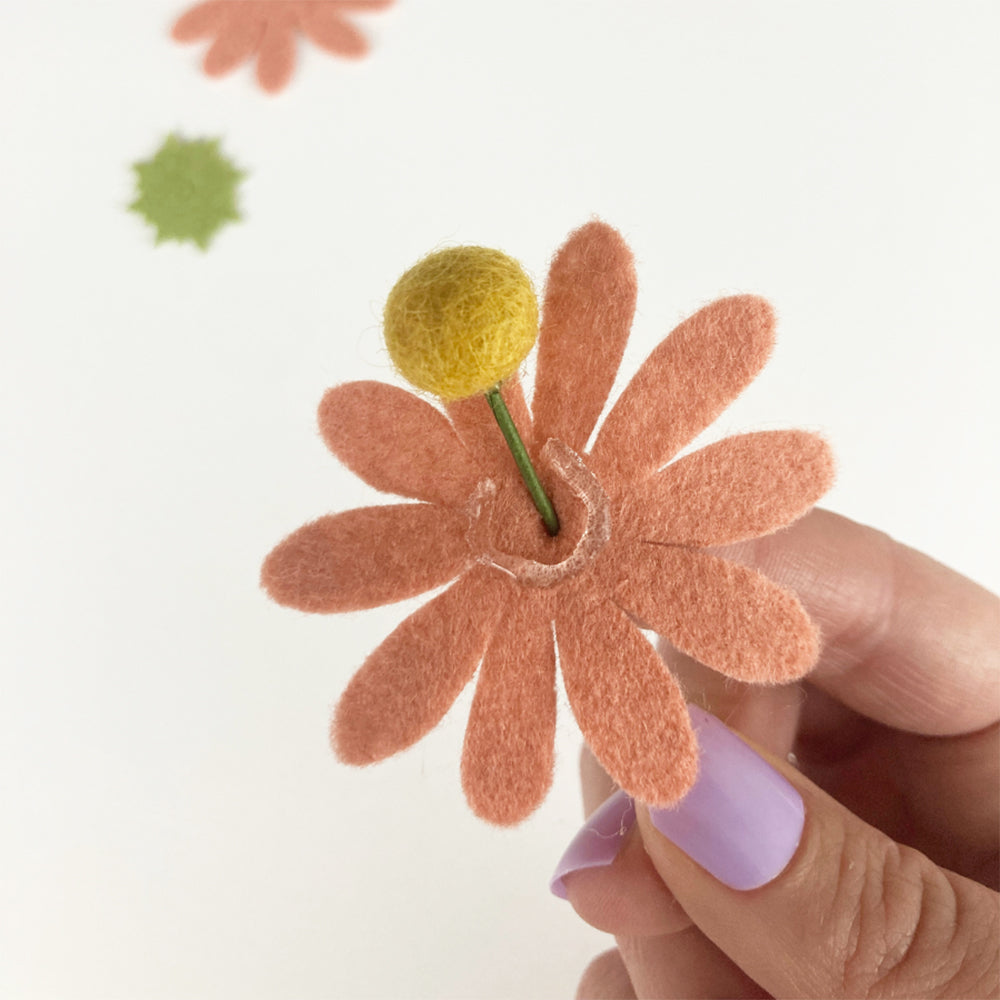
4. Stop with one layer of petals - or add another! Thread the same sized petal shape up the stem and secure with hot glue. Line up petals so the second layer are between the first.
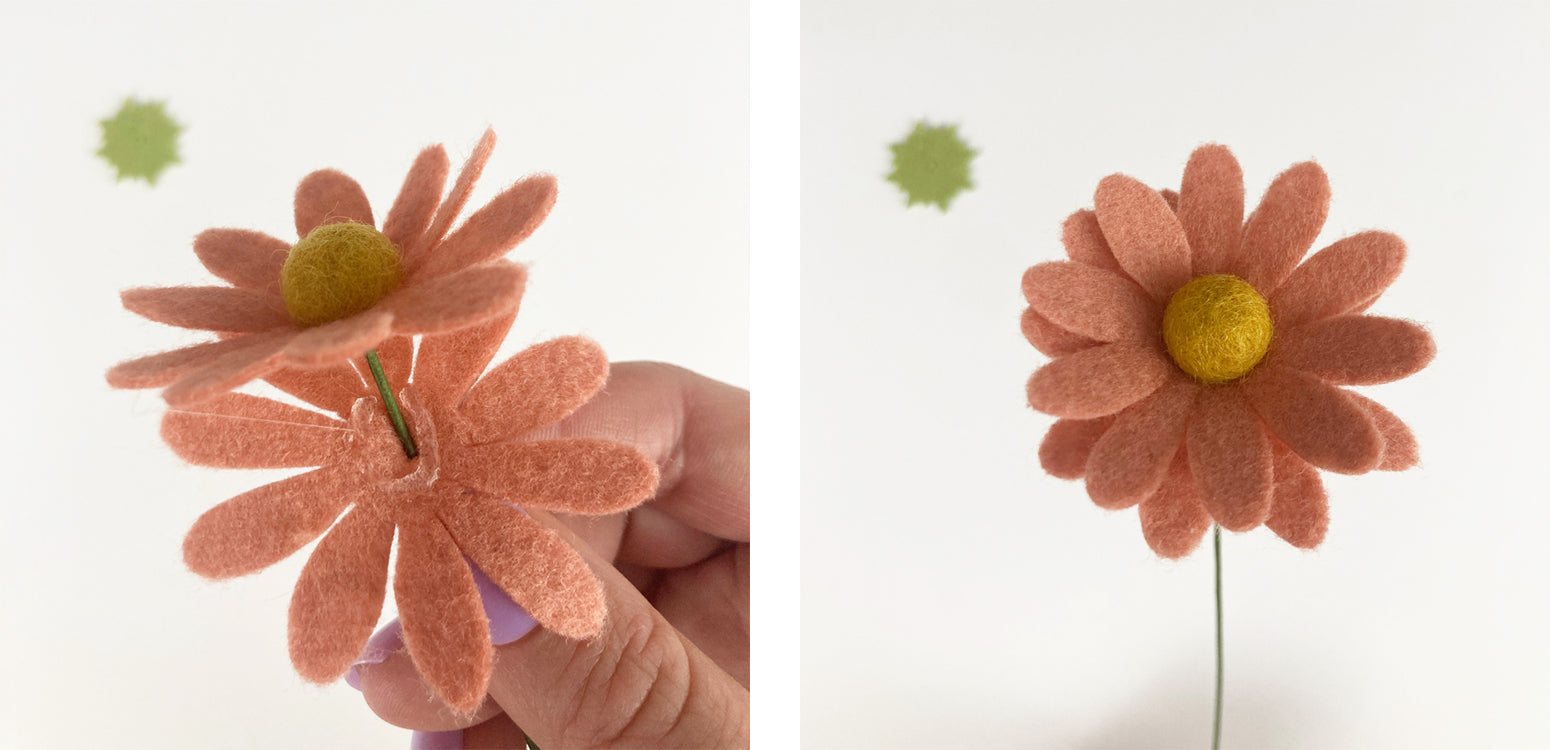
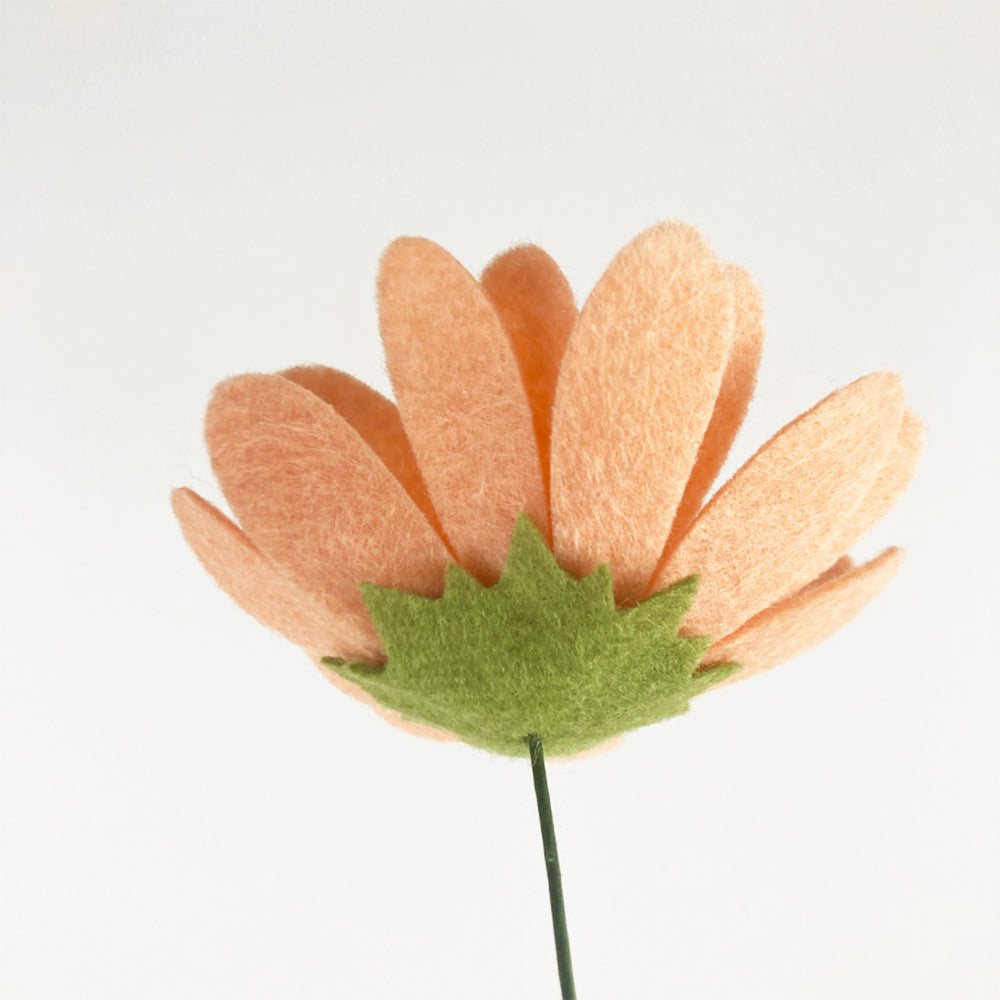
5. Thread the sepal up the stem and glue to underside of petals.
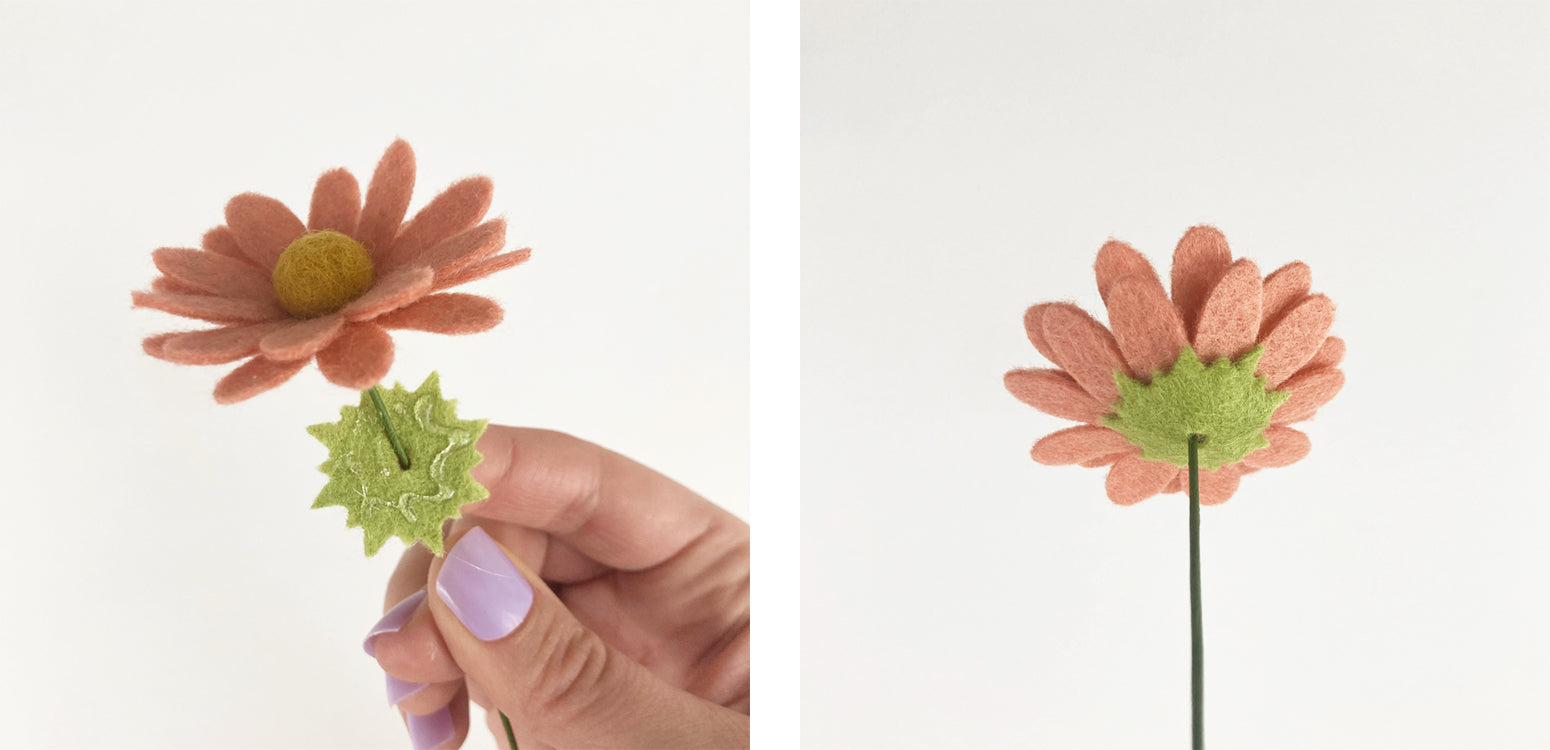
6. Repeat Steps 1-5 to make daisies in other sizes.
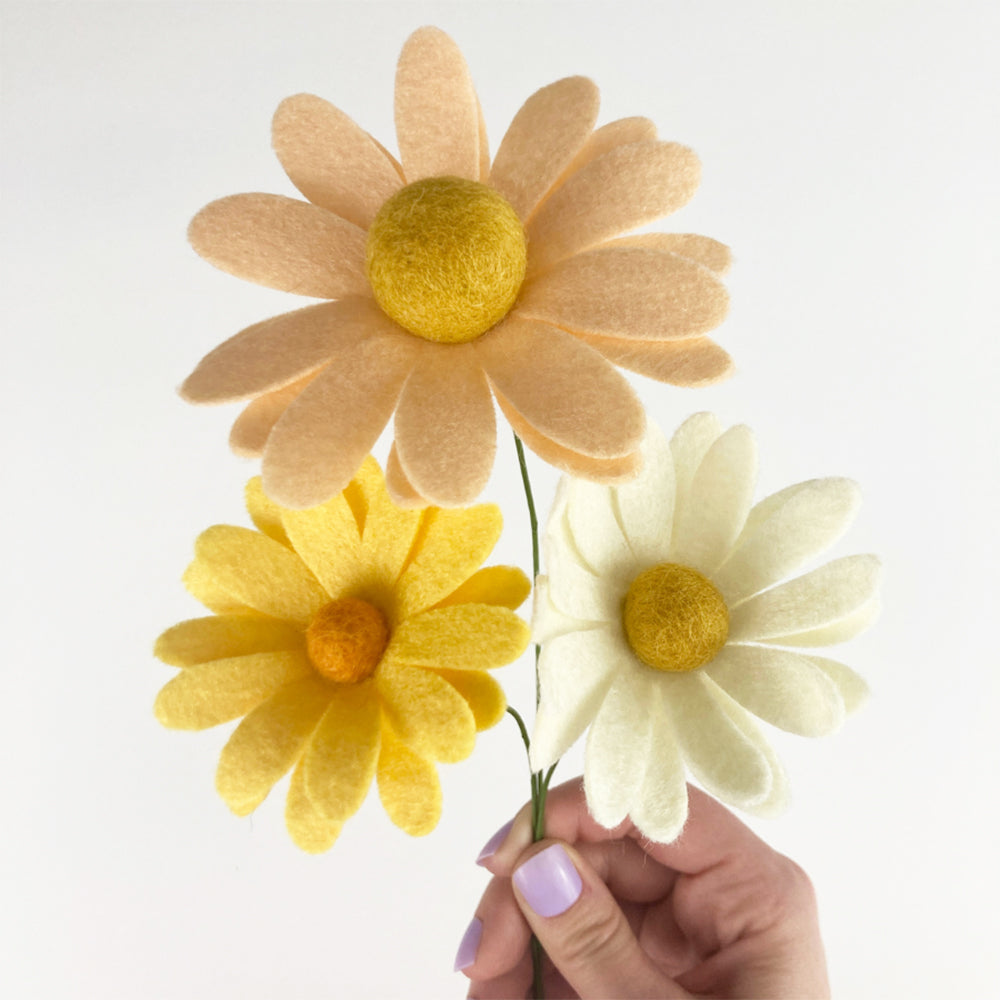
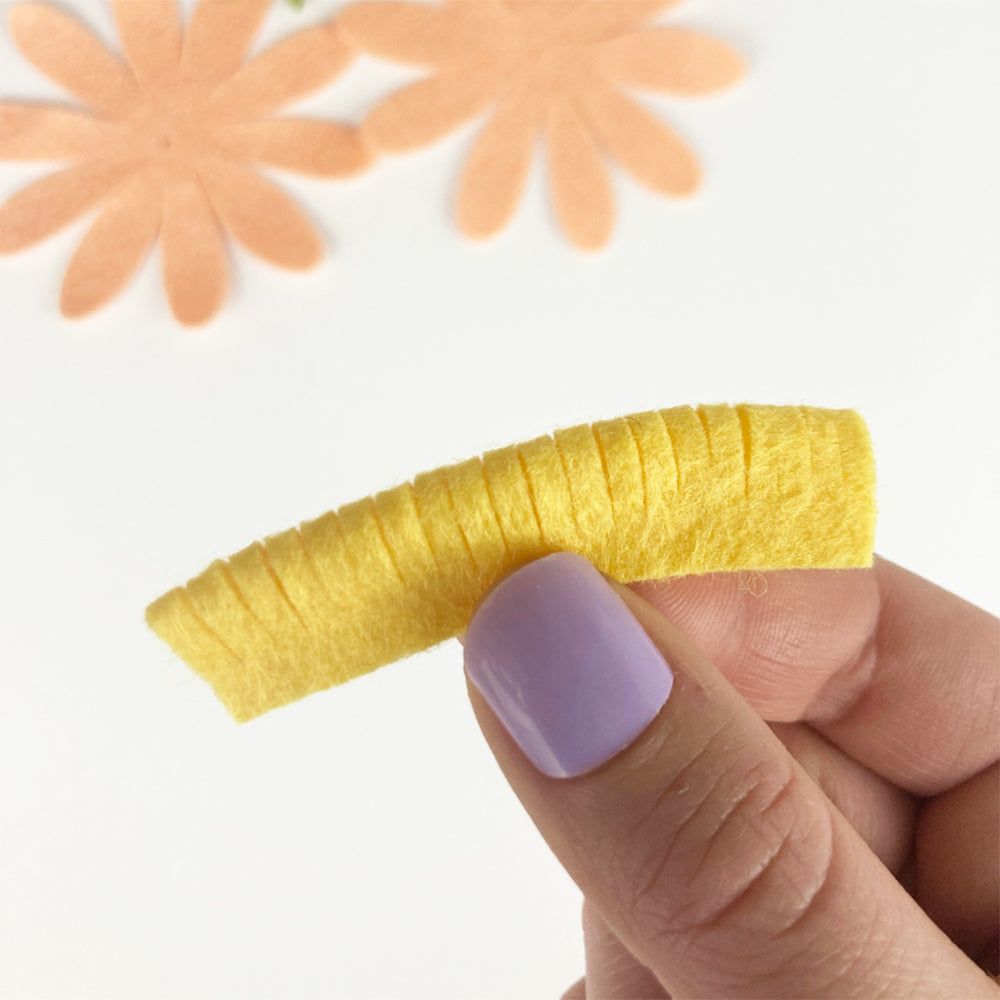
7. As an alternative to a medium pom, the largest daisy in the Large Daisy Die includes a center option. To make the center, add a line of glue lengthwise to the rectangle and fold in half.
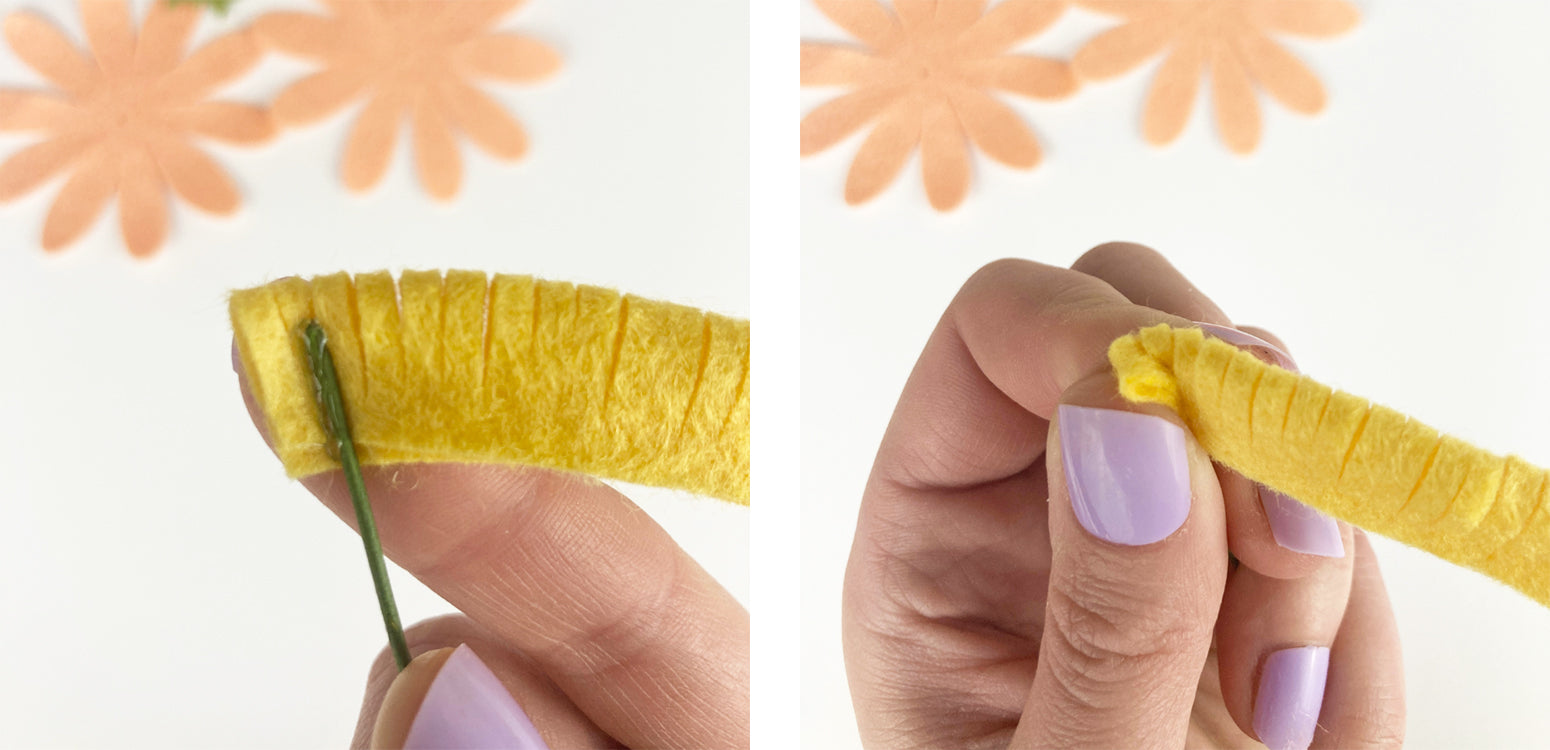
8. Line an 18 gauge wire ¾ of the way up the second loop of the center piece. Add a line of glue over the wire. Fold the first loop over the second loop and hold in place until dry to hide the wire.
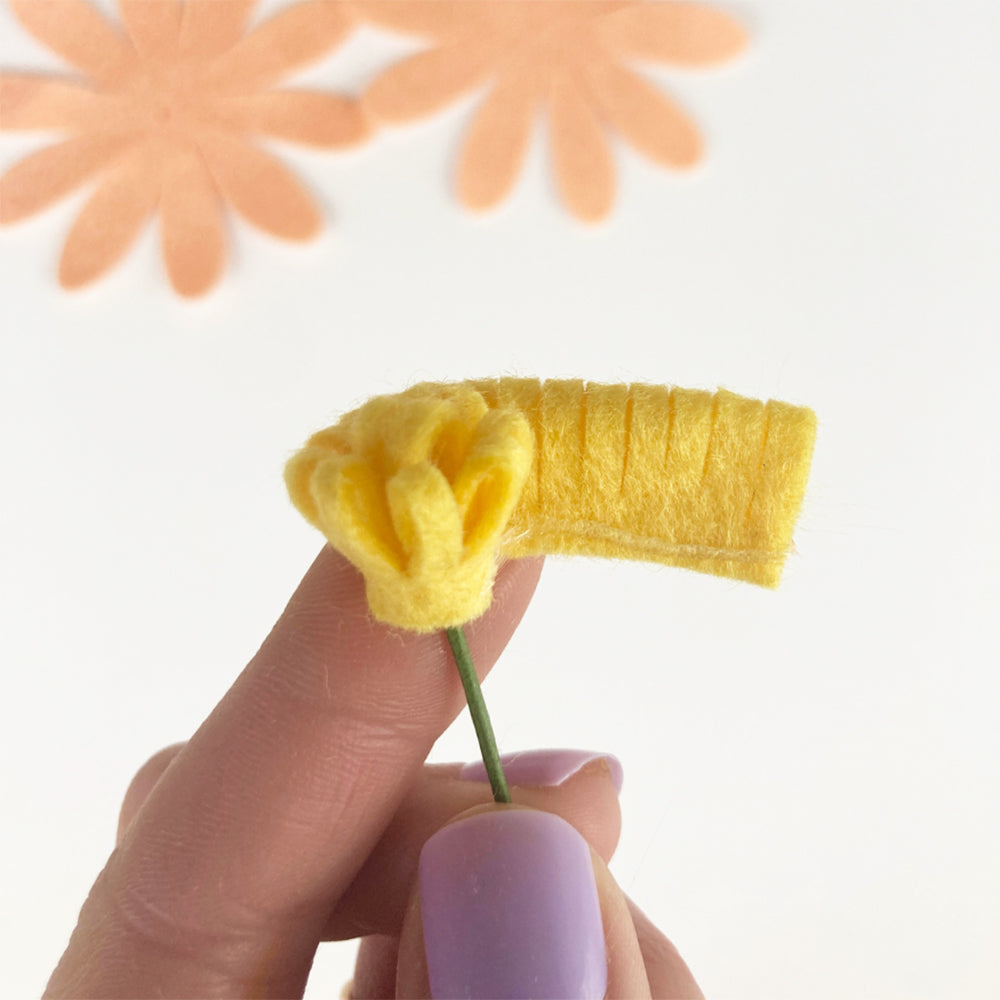
9. Roll remainder of center piece tightly around the center, securing with glue along the bottom edge. Add extra glue to the underside for stability.
10. Thread large daisy petals onto stem. Glue petals to the underside and lower outside edge of center piece.
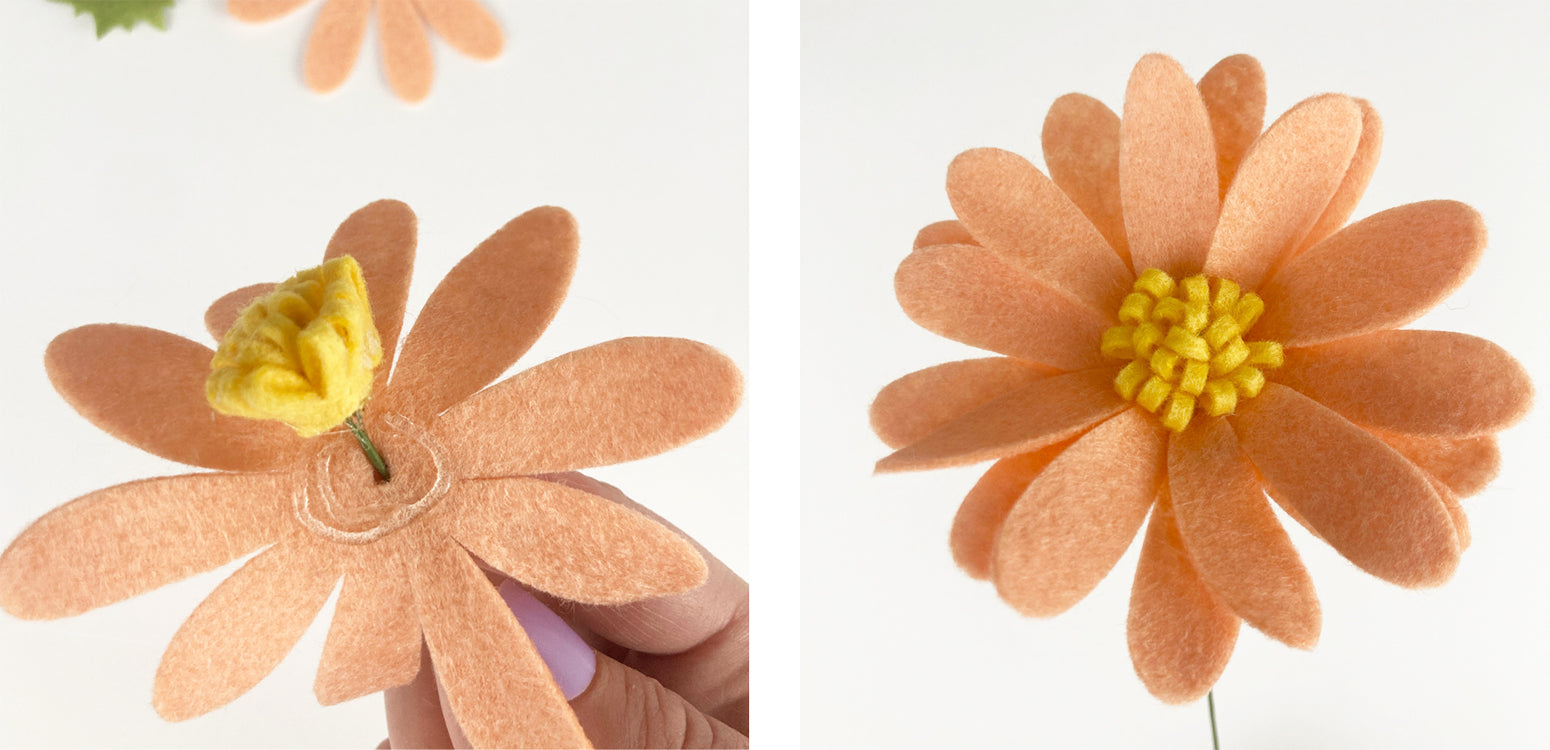
11. Thread sepal up the stem and glue to the underside of petals.
Chrysanthemum
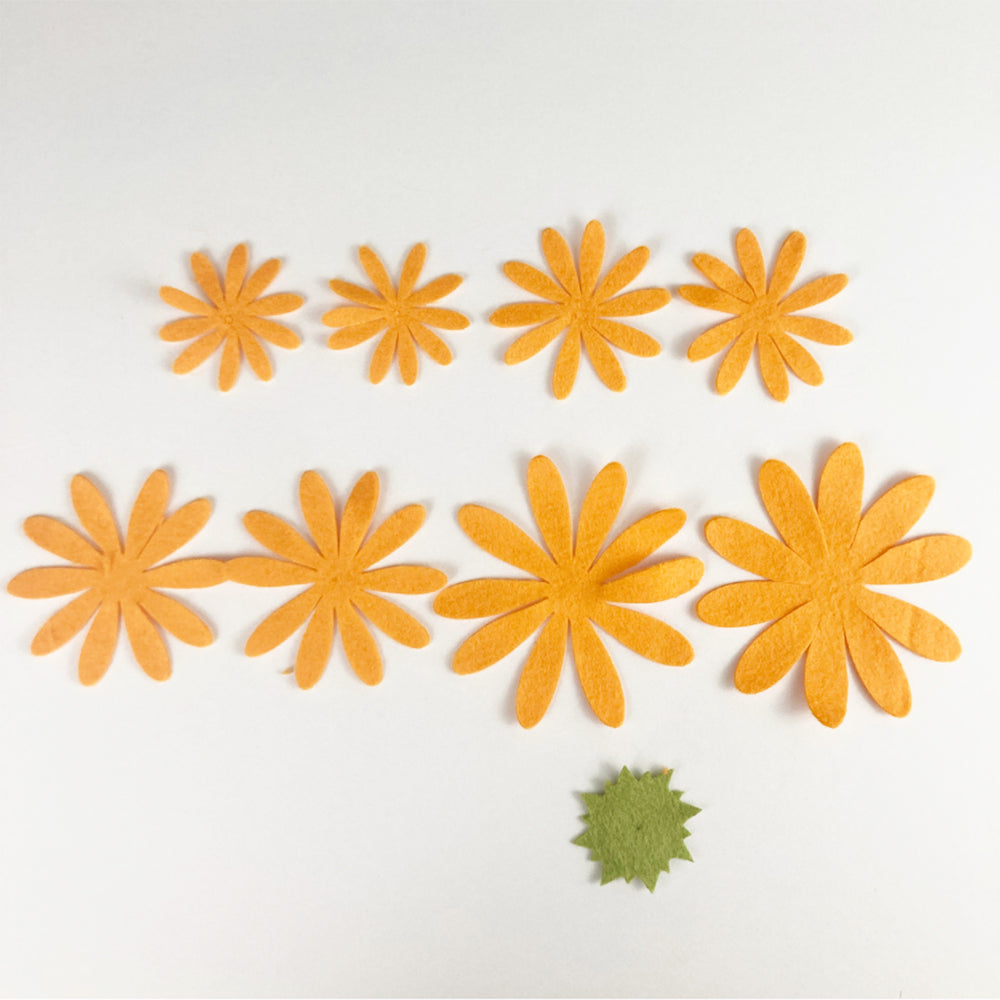
1. Cut two of each petal size and line them up from smallest to largest. Cut the larger sepal and select one extra small pom in any color. Pom will be completely covered.
2. Use an awl or sharp scissors to carefully make a small hole in the felt pom. Fill the hole with hot glue. Insert an 18-gauge wire and let dry.
3. Thread a petal onto the stem. Add a circle of glue around the center and glue to the underside of the pom.
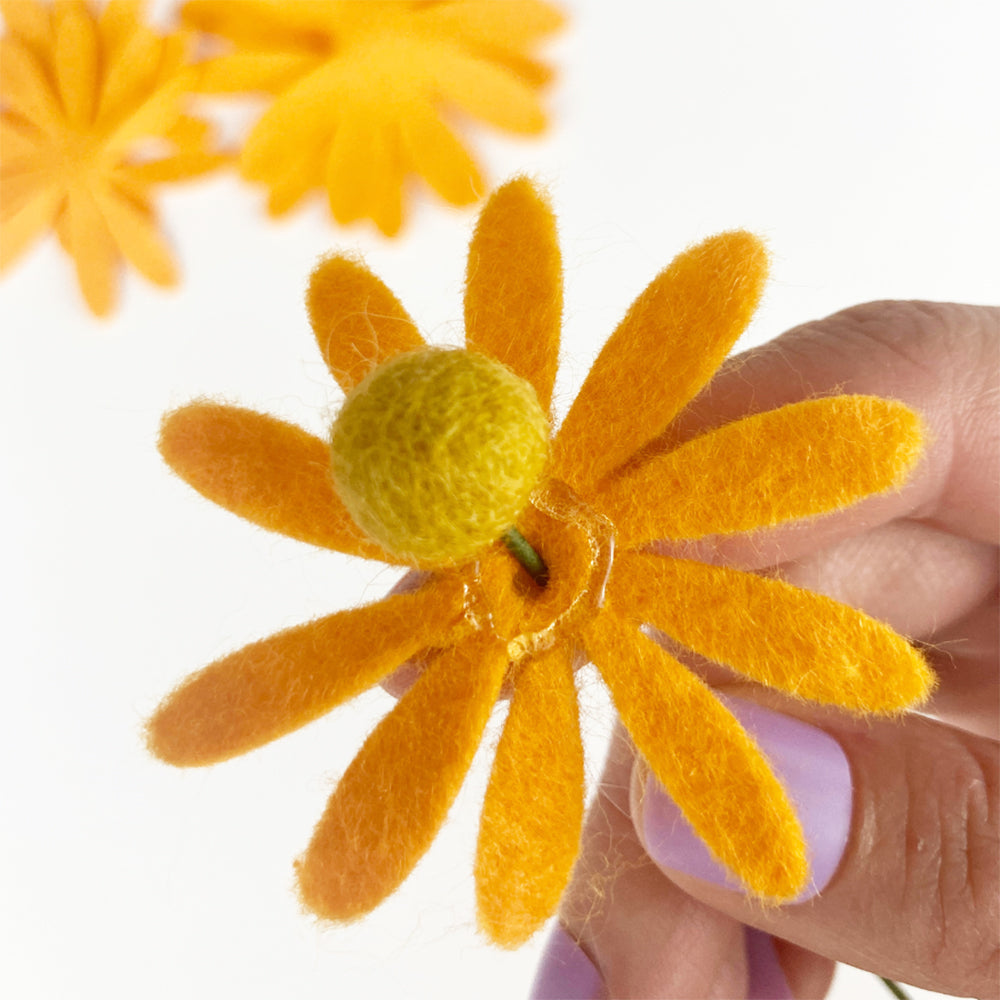
4. Add glue to top of pom and pinch petals upward, covering pom completely. Use extra glue as needed to secure the petals.
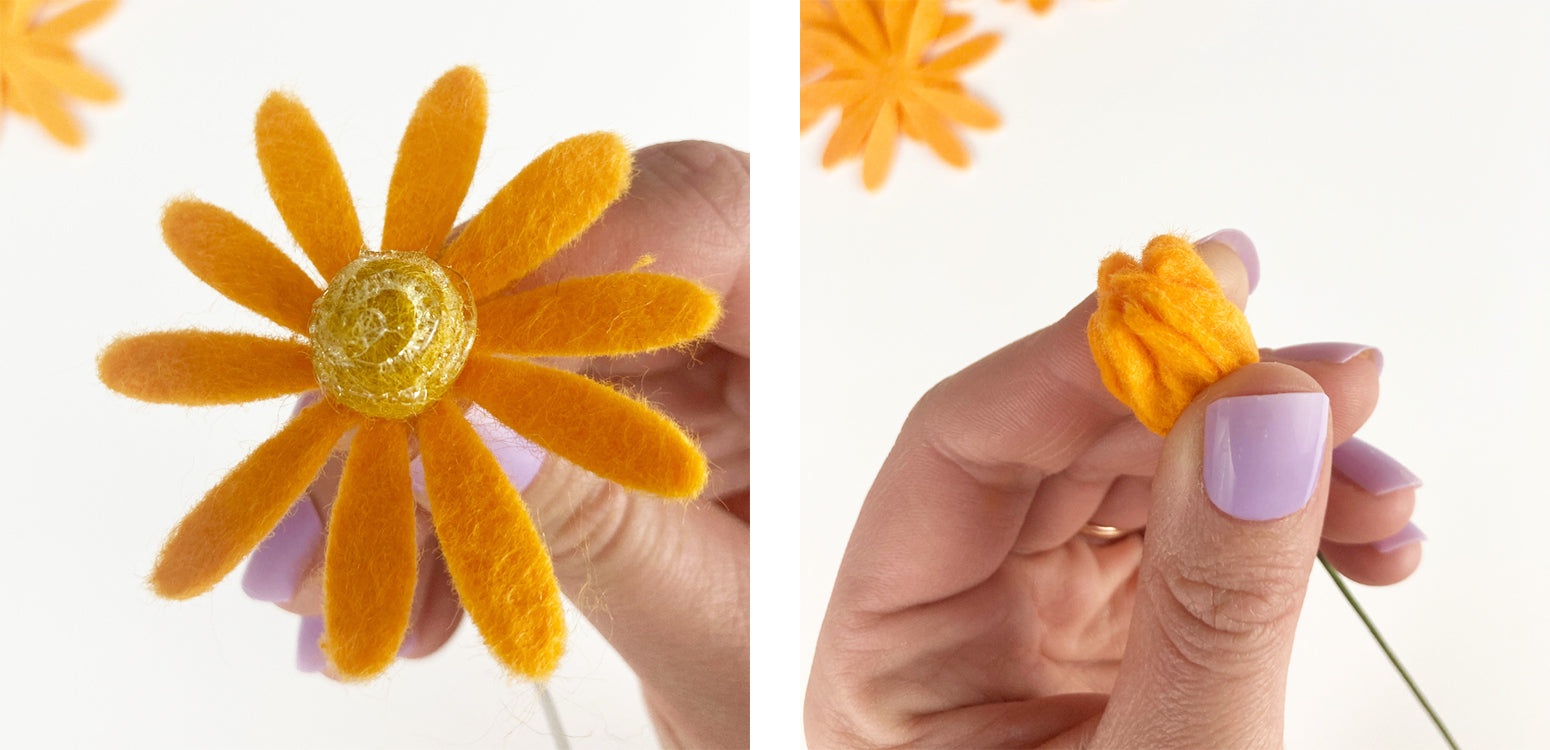
5. Add the other smallest petals (equal in size to first) onto the stem. Place glue in a ring halfway up the first layer and squeeze the second layer upwards. I find it most efficient to make an “OK” sign with your hand and squeeze the petals in the circle between your index finger and thumb.
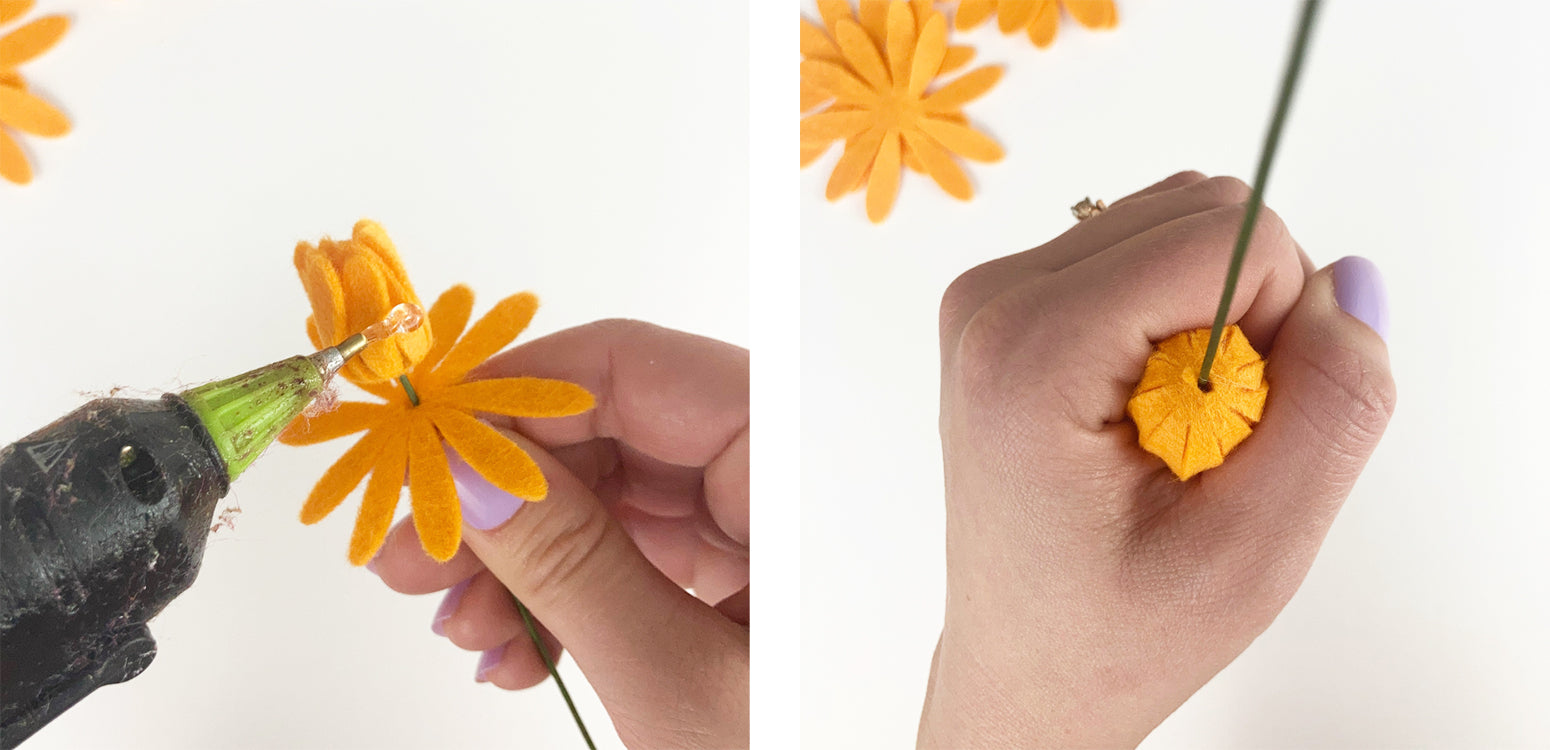
6. Repeat the process with the next two layers, adding each new layer from smallest to largest. For the last two largest petals, place the glue line slightly lower, ⅓ of the way up instead of halfway.
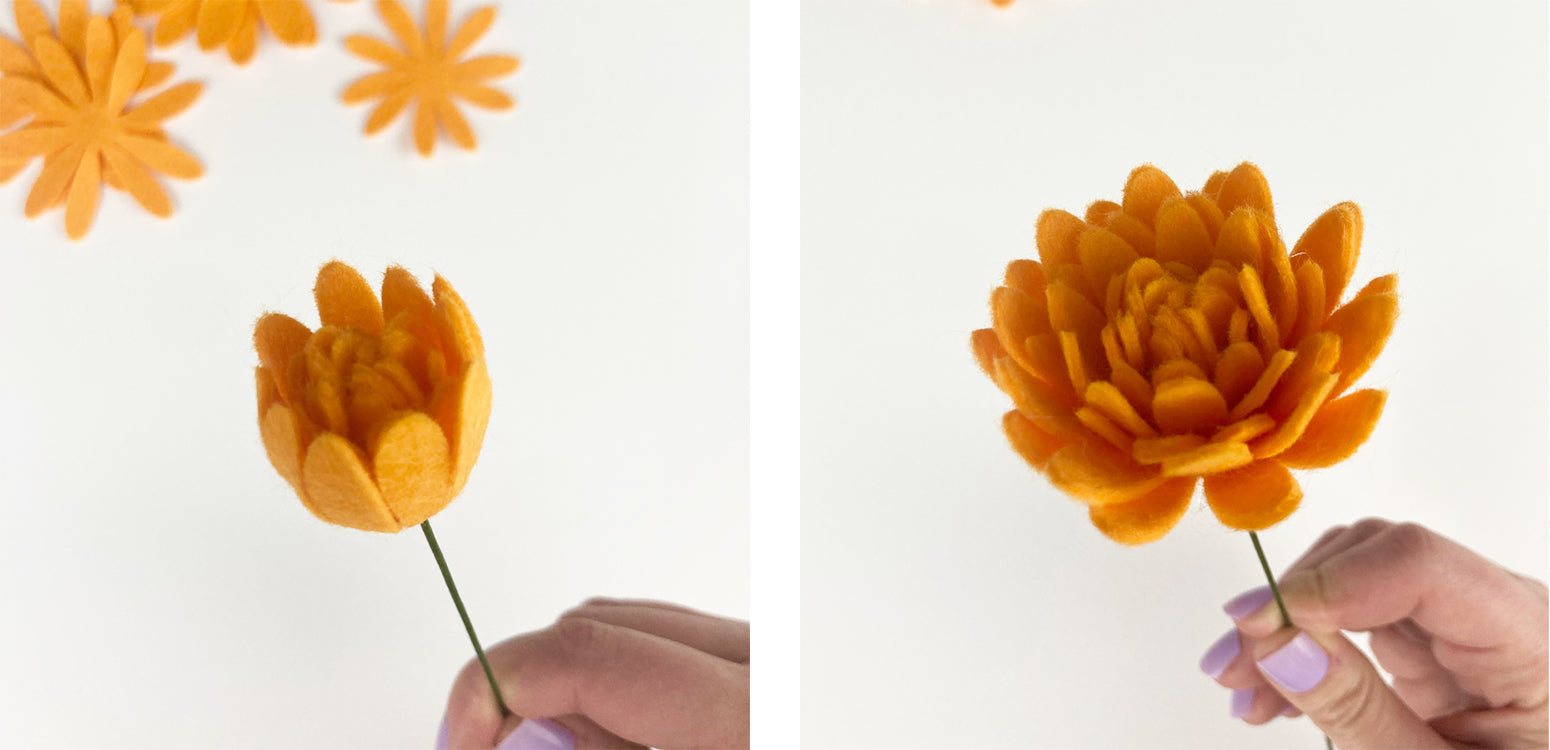
7. Thread large sepal up the stem and glue to underside of petals.
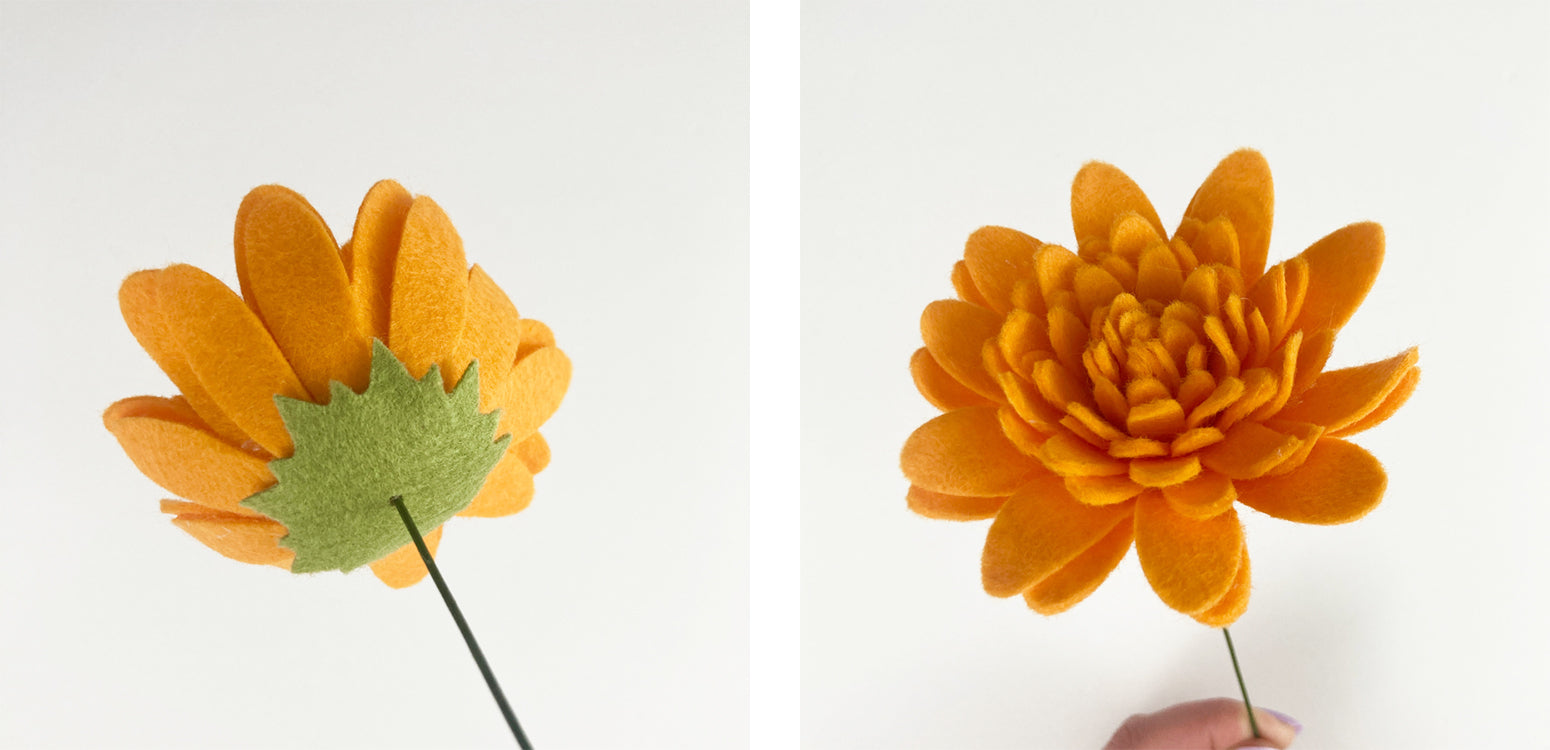
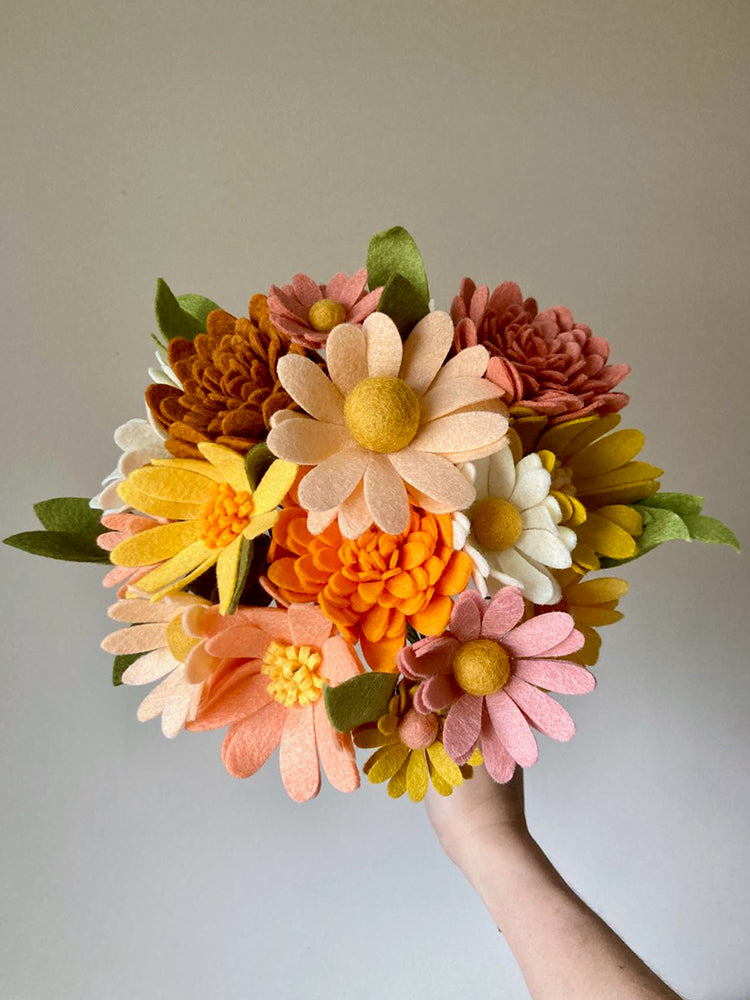
Now you know how to make a felt daisy and chrysanthemum stem! Add interest to your bouquet by including daisies of varying sizes and centers.
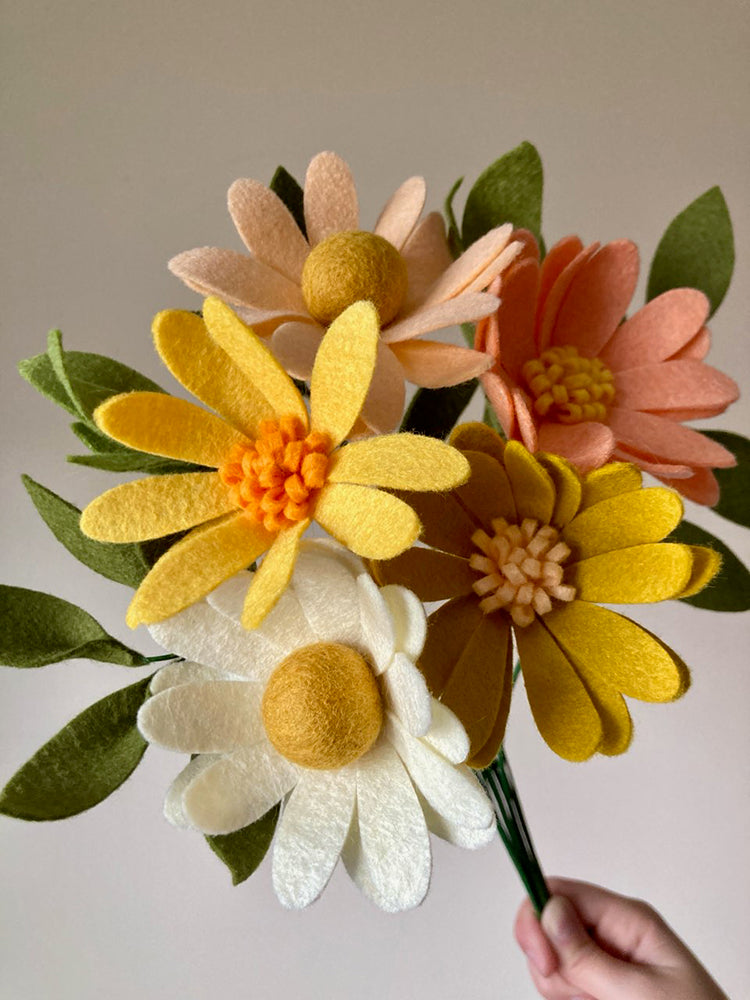
And, of course, add in some chrysanthemums to make a blooming Spring masterpiece!
Kelsey Linville, creator of In Bloom Felt Studio, is a self-taught felt florist who loves to brighten up spaces around the world with her bold and colorful forever blooms. Kelsey’s philosophy is that creativity sparks joy. She wishes to share that with others through her designs and tutorials. When she’s not in her studio, Kelsey loves to spend her time in the great outdoors with her husband and two children.