Share

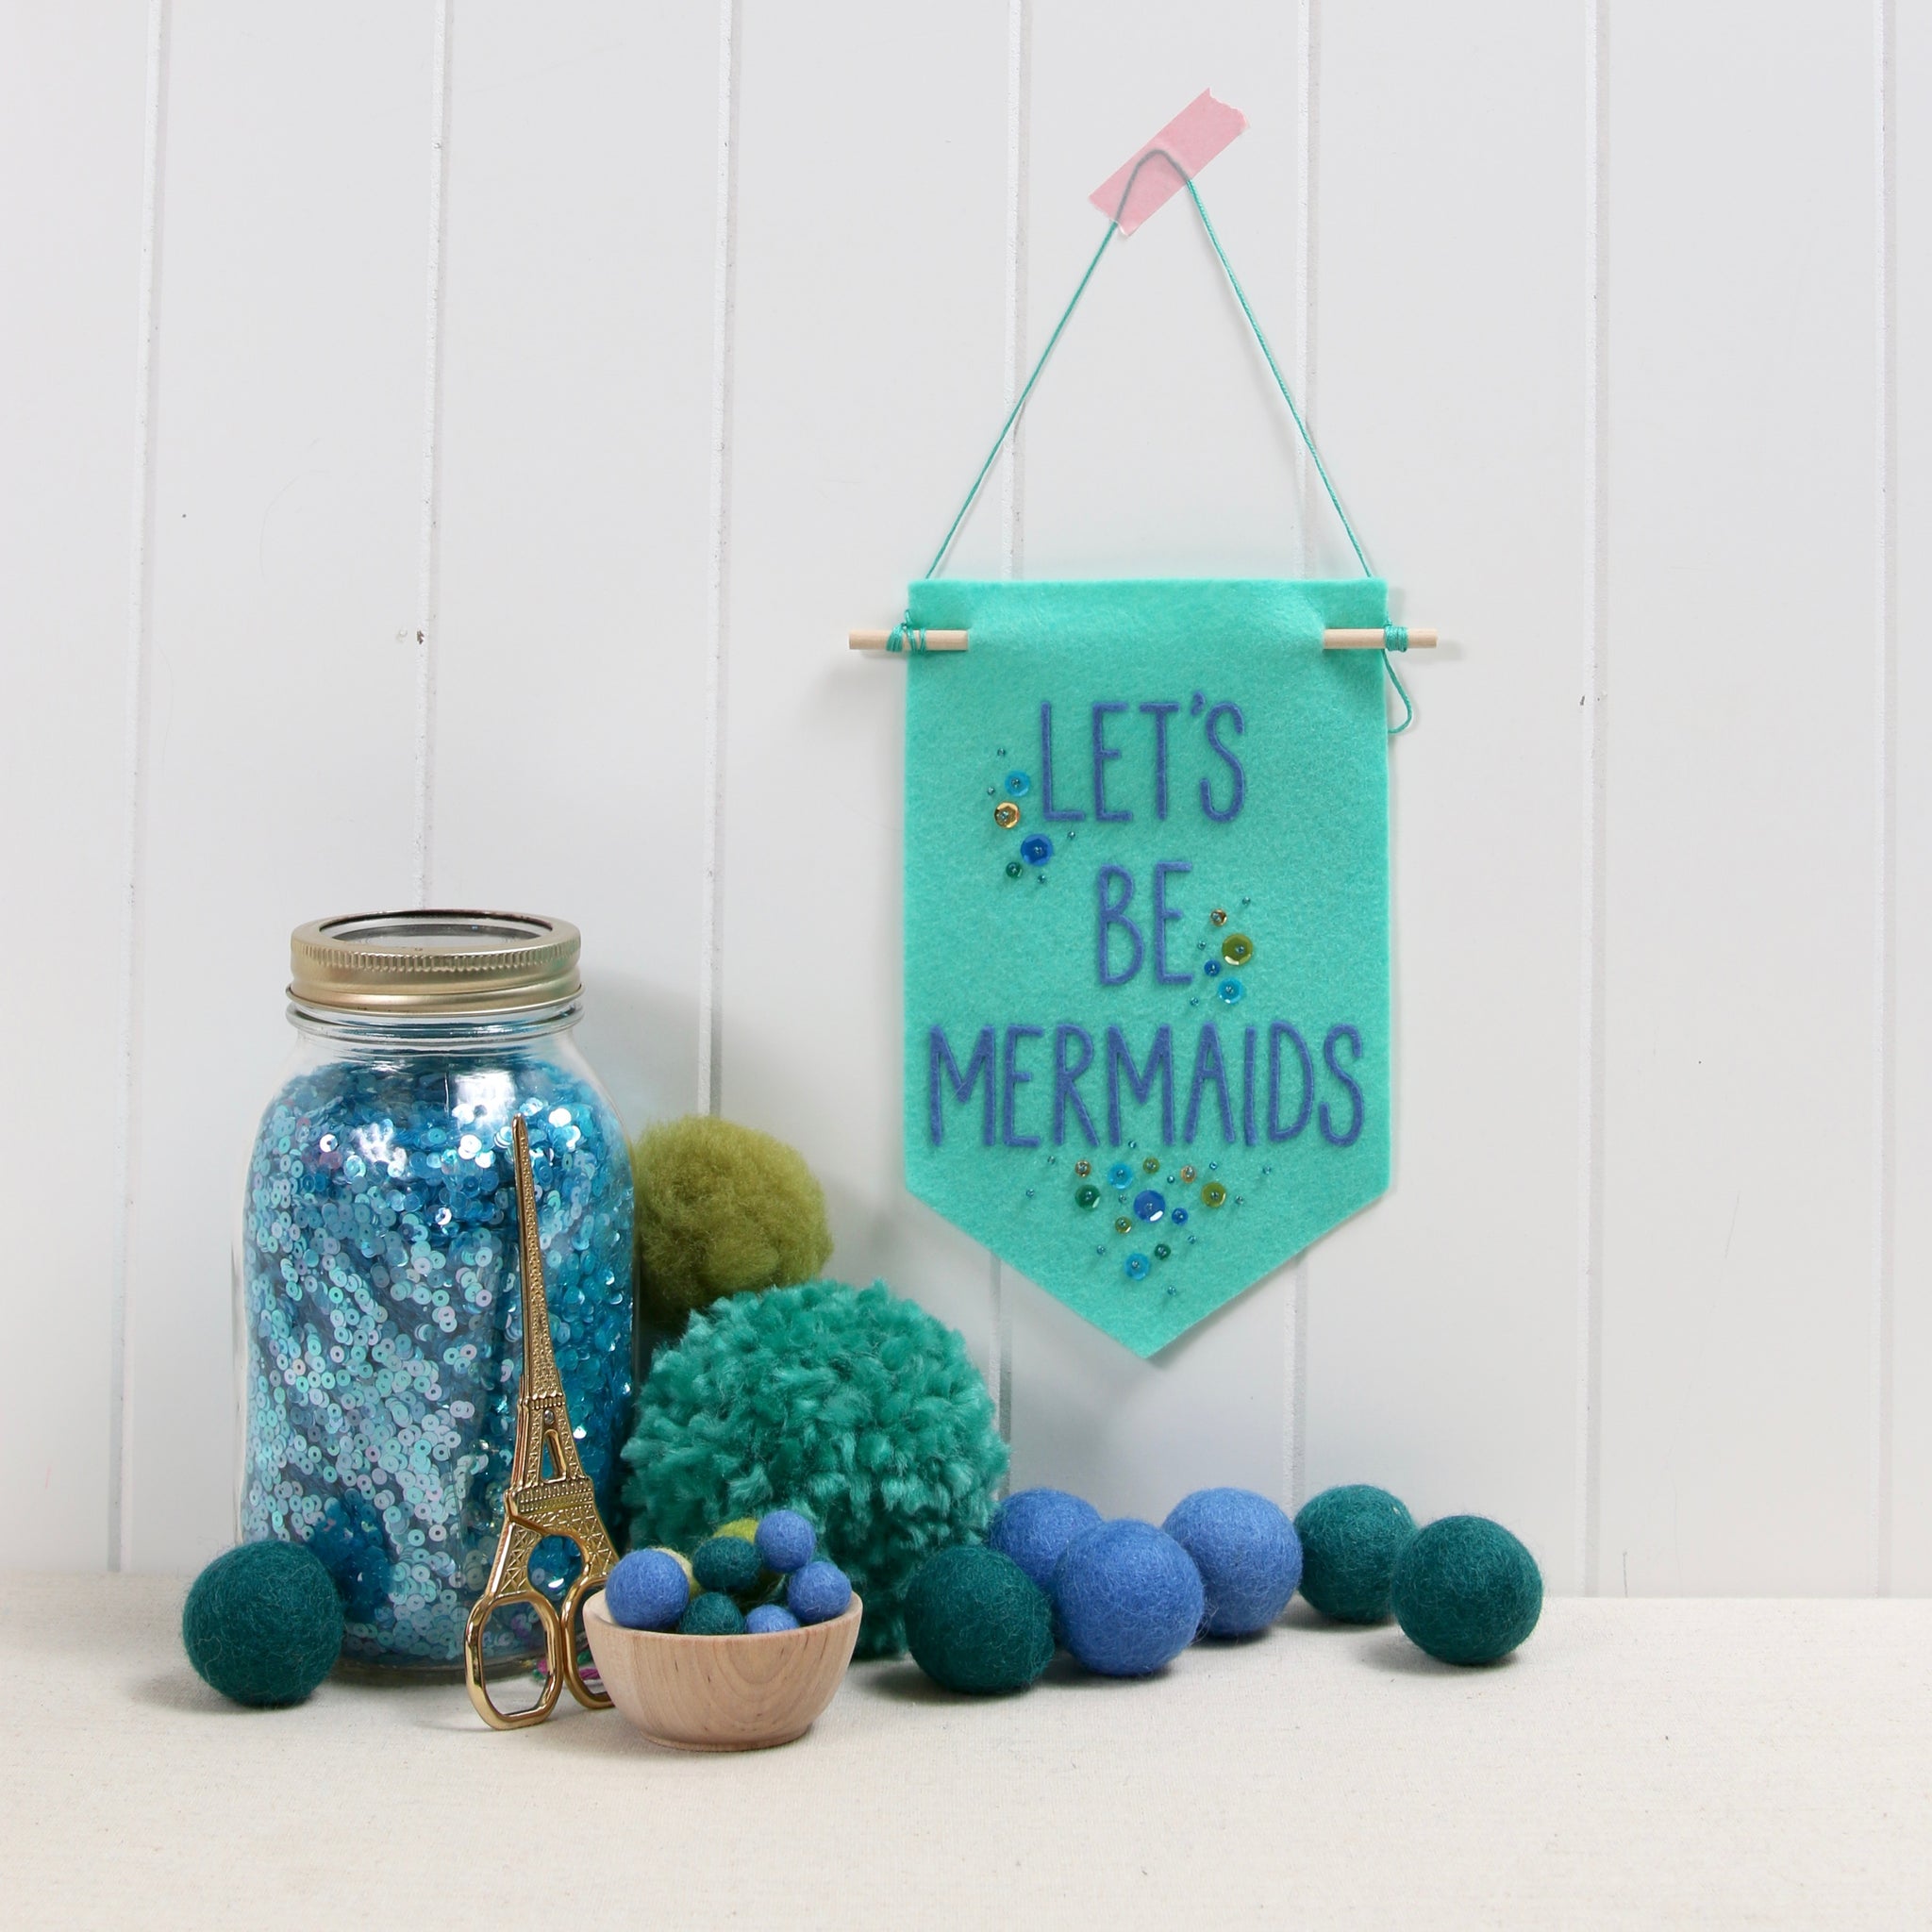
We partnered with craft company Neat and Tangled -and was thrilled to try out their stock of stamps and die cuts. Visit their blog this week to see what they made with Benzie's felt!
Die cutting is definitely a must in this craft -but you'll love the results so much you'll want to quote up everything in sight! Neat and Tangled introduced us to the Journaling Alpha die and we are going to teach you how easy it is to use with our felt!
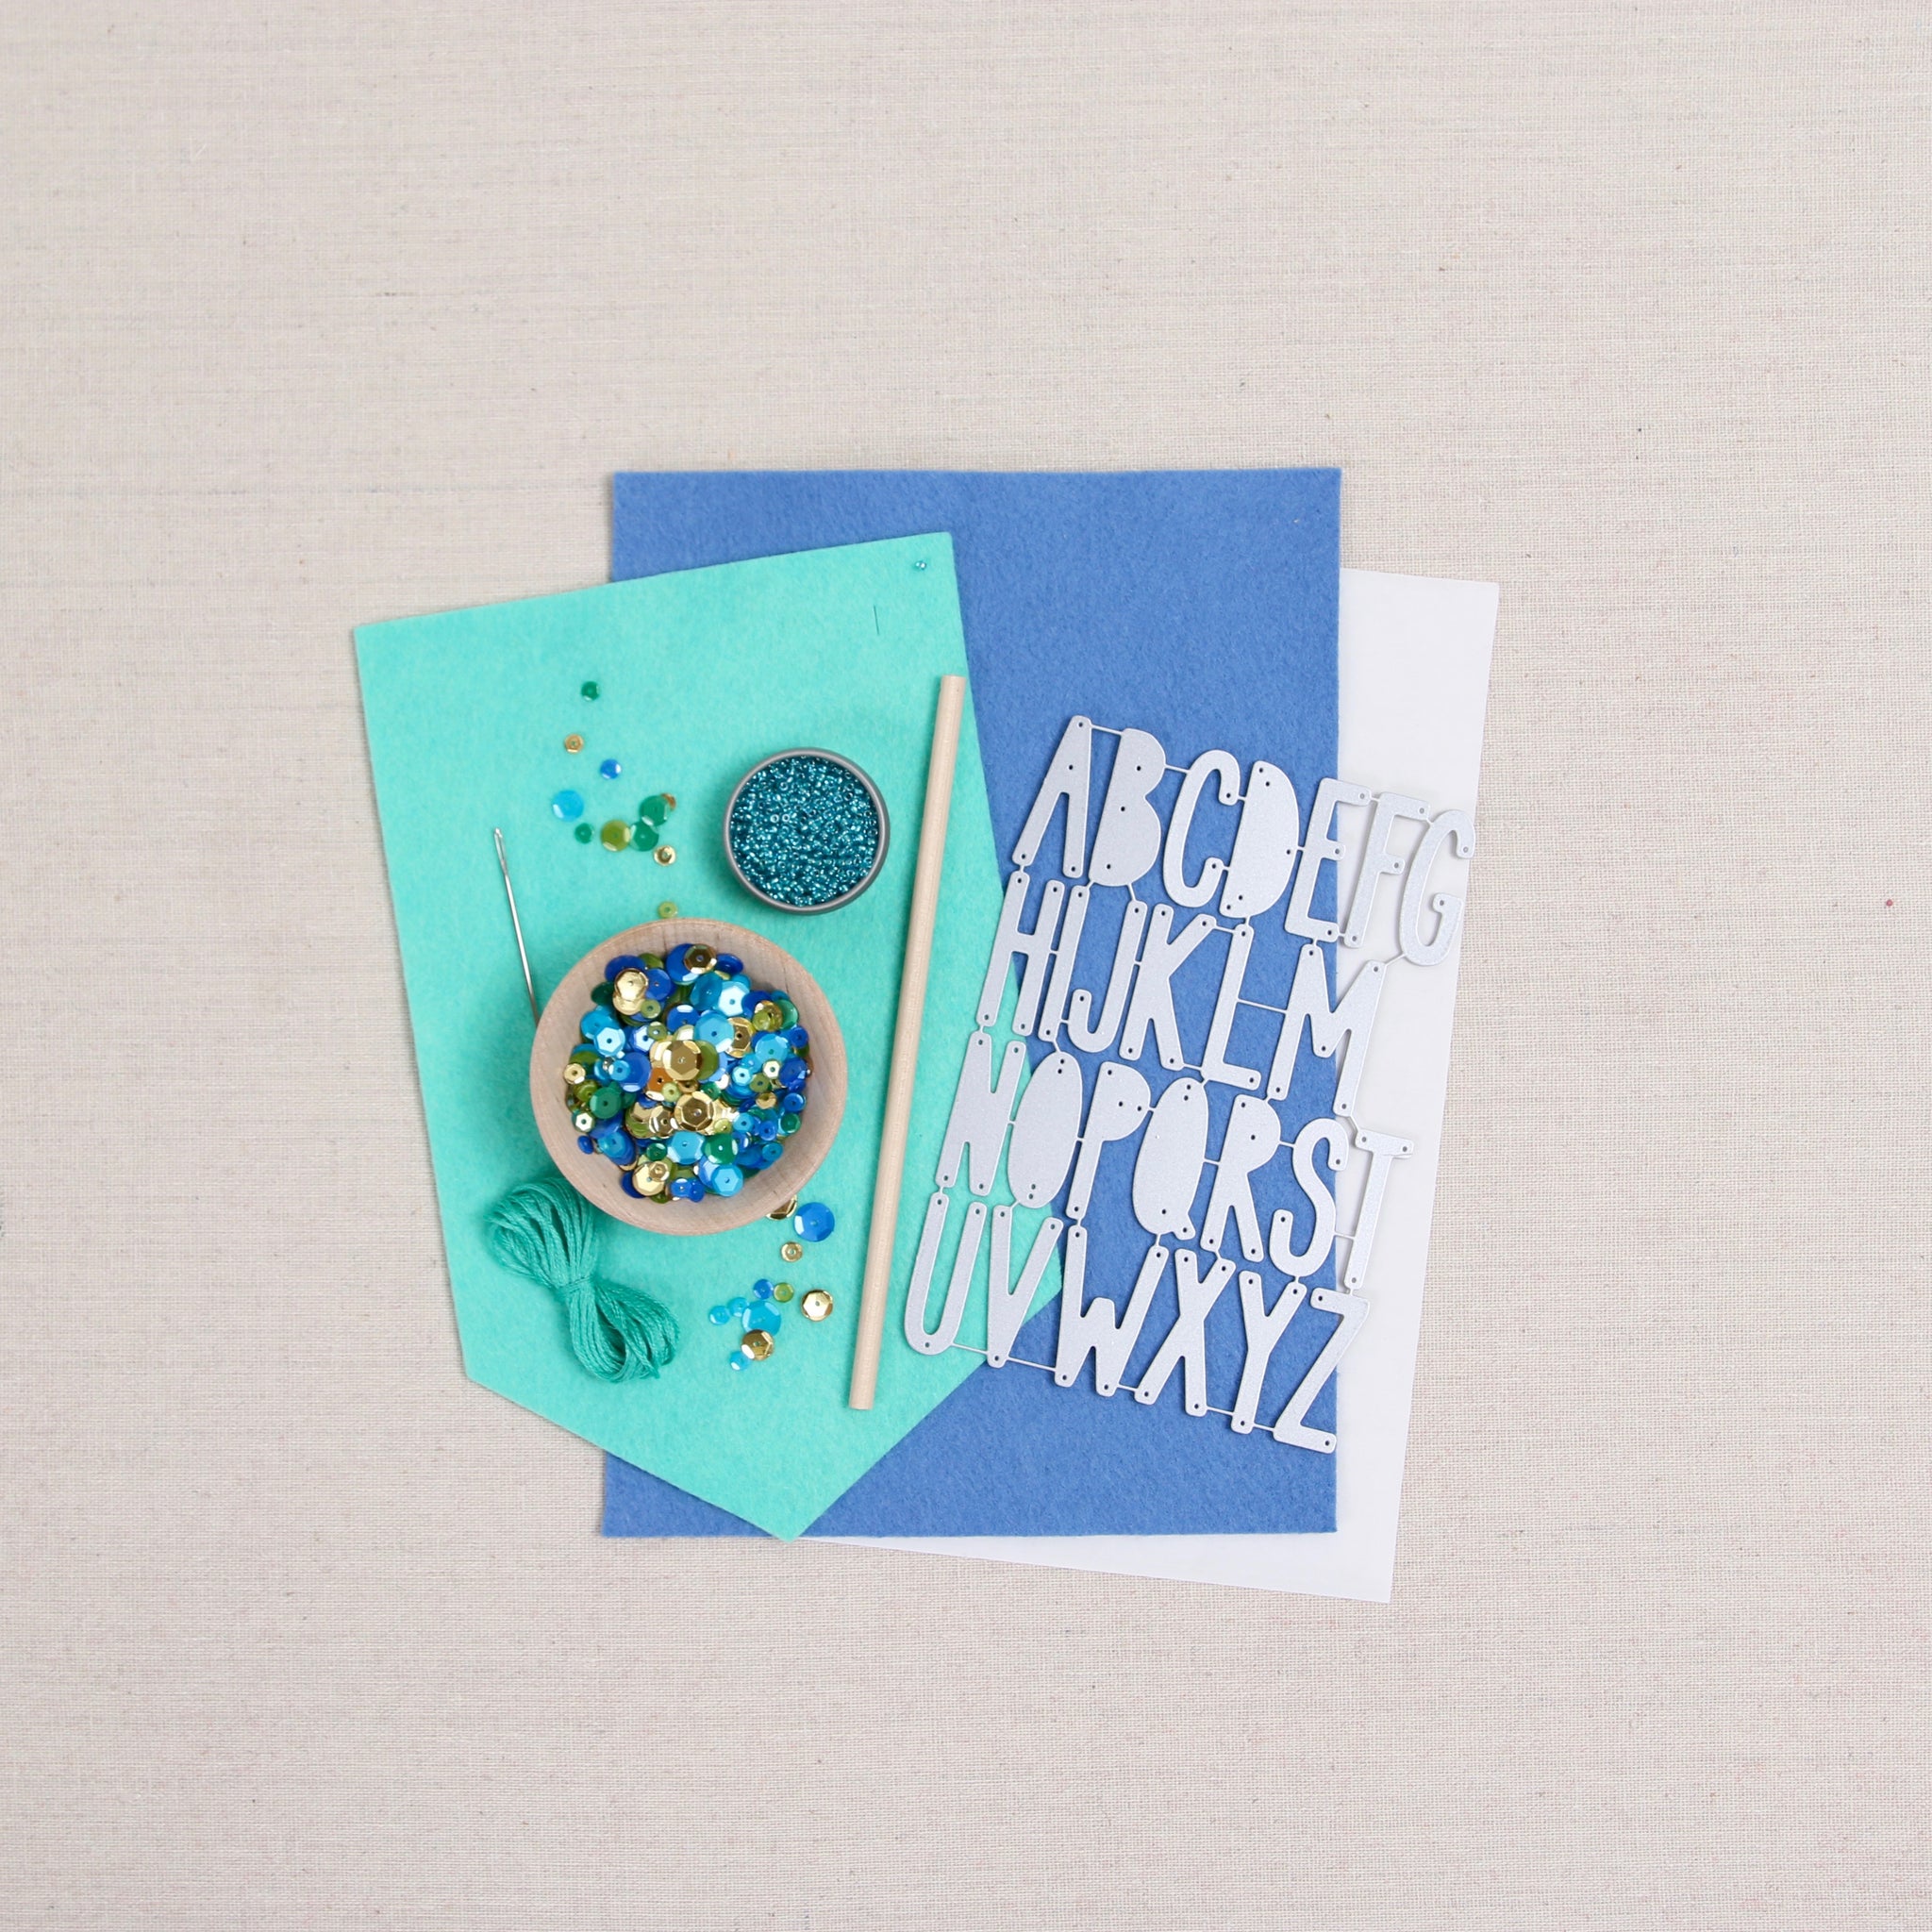
Supplies needed:
-Felt Banner: Download and print this pattern and cut from felt color of choice. We used Julep.
-You only need one 6x9" sheet of felt to cut out the letters, but I would grab a second sheet if you are new to die cutting. We used the color Pool.
-The secret to success is using an iron-on adhesive.
-Journaling Alphas die cut
-Embroidery floss to match your felt (use one strand of divisible floss)
-Peacock Feathers sequins, we love this mix!
-Beads, we love using our aqua shaded seed beads.
-Dowel, cut down to six inches.
-Needle, you'll want a needle small enough to stitch through beads. We like our 5/10 size.
-Iron
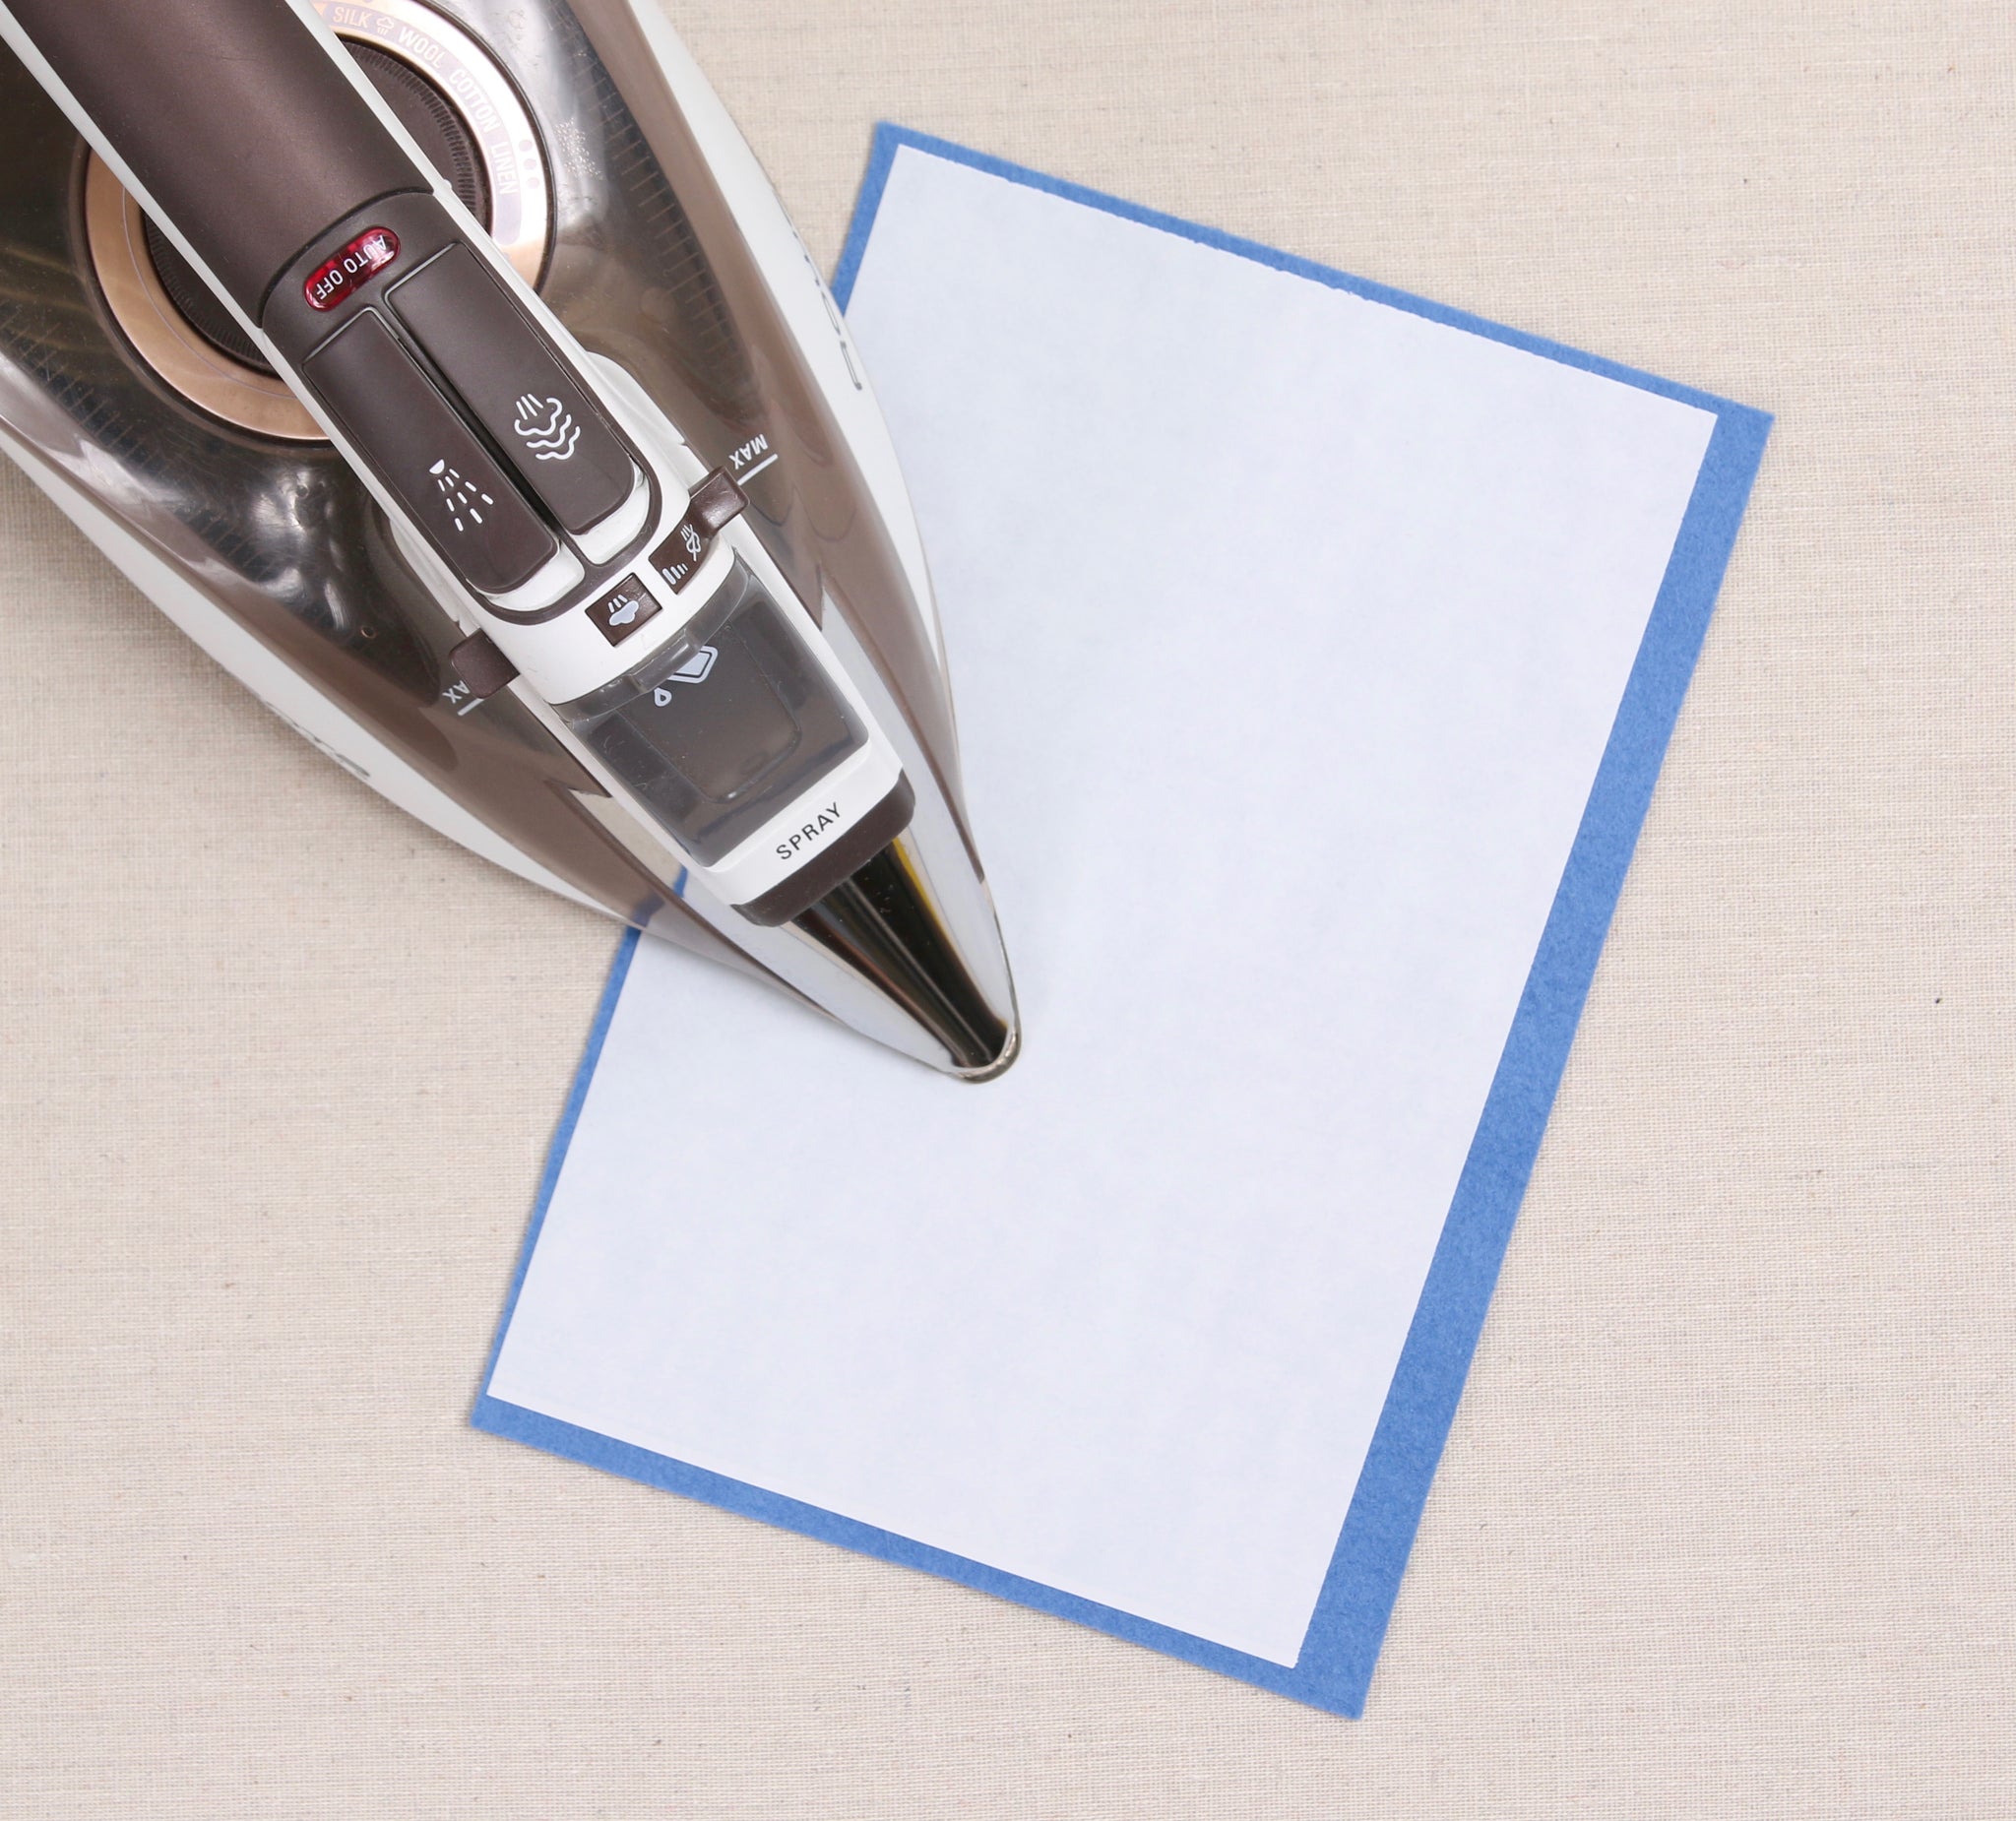
Step one: Iron the adhesive to a sheet of felt.
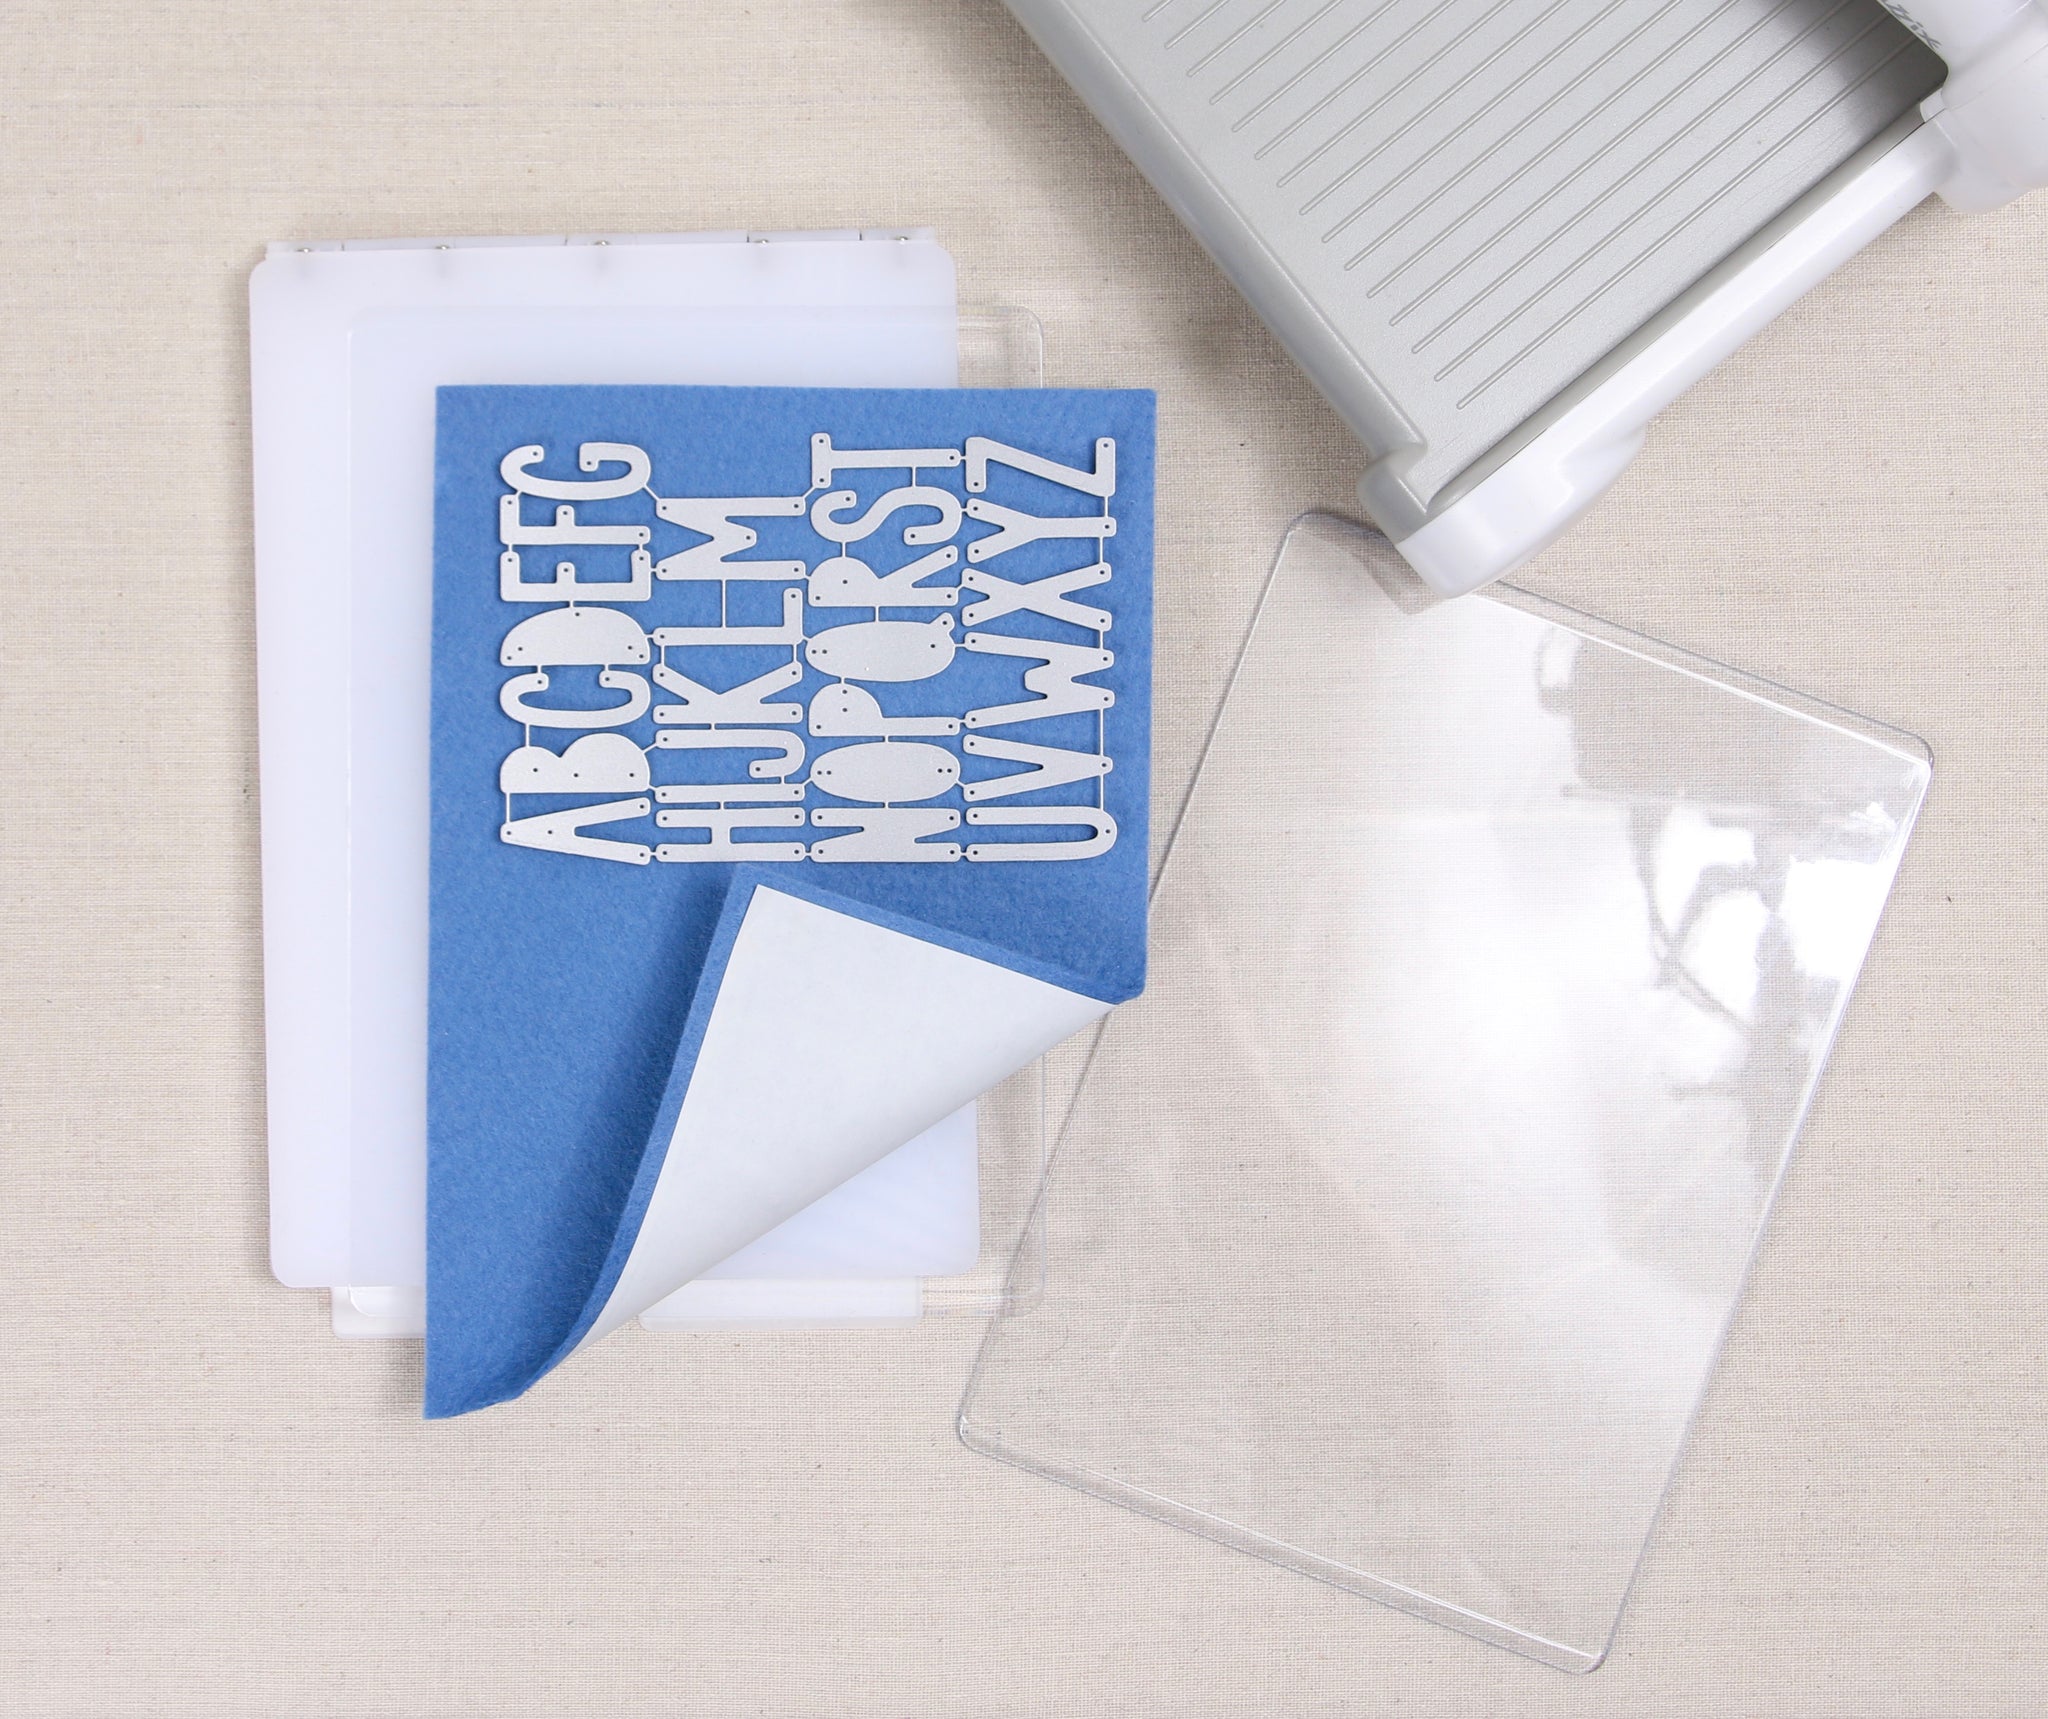
Step two: If you are new to die cutting we suggest reading over this post to get started. Using the sheet of the felt that the adhesive was ironed on too, set up your die cut 'sandwich' in the order pictured. Keep note that the die cut needs to be on the felt side (not the adhesive side). Roll through die cut machine twice to ensure a clean cut.
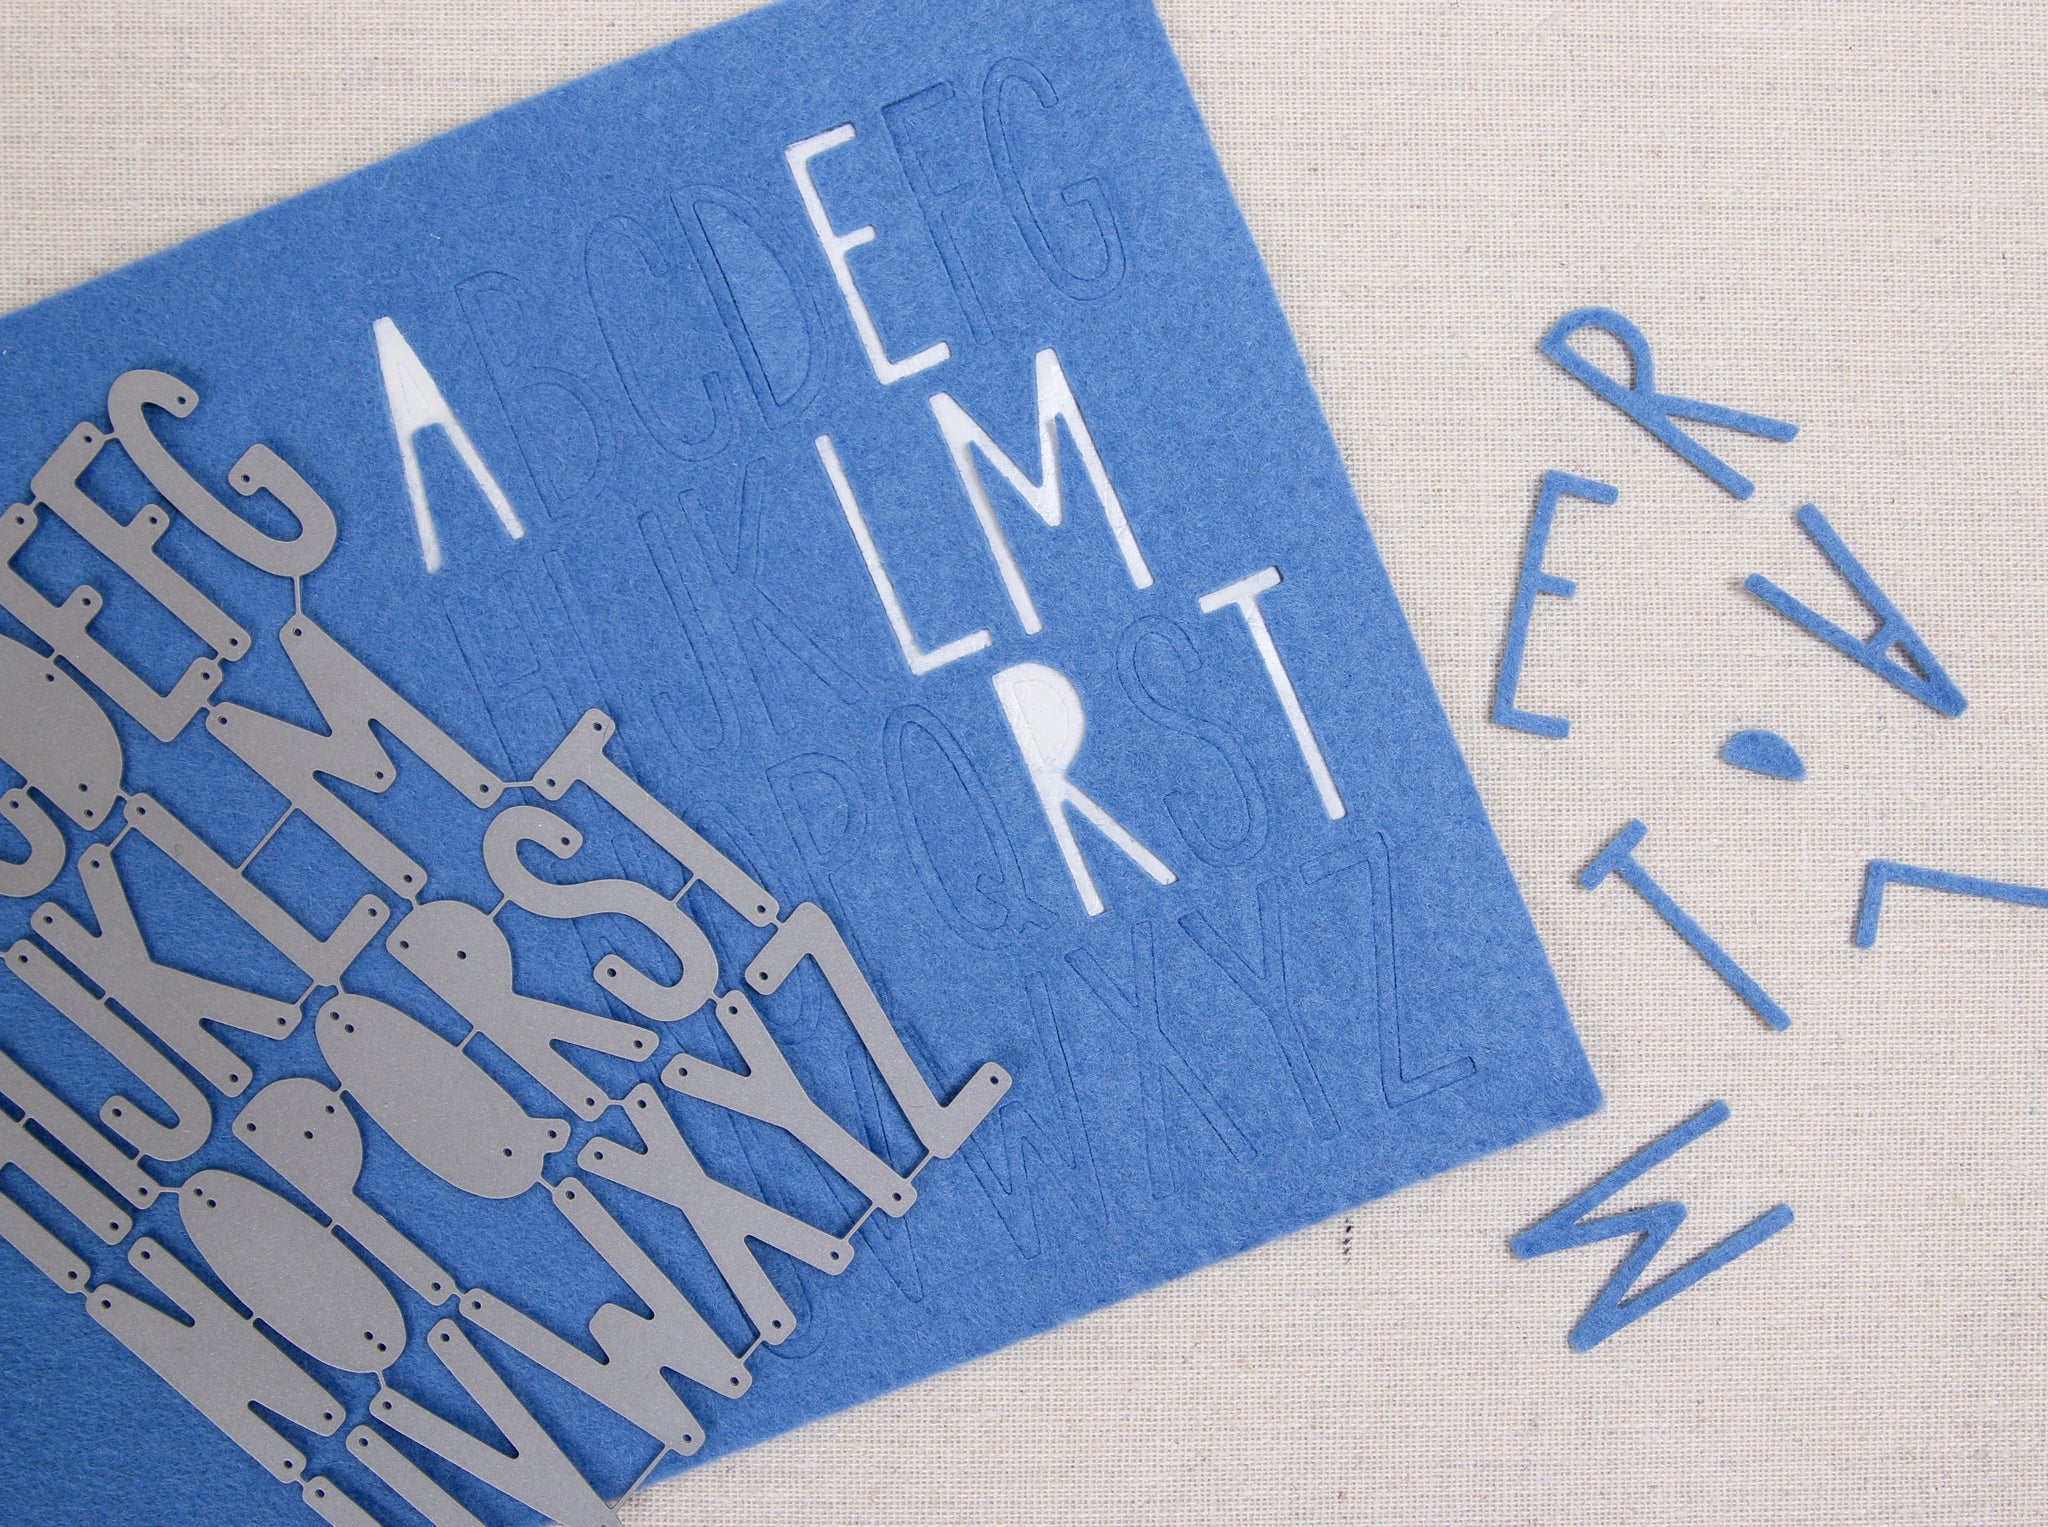
Step three: Just peel the letters right off, the adhesive will be right on the back! Do step two a few more times until you get all the letters desired. Tip: An experienced die cutter can strategically place the die to get all cuts on a single 6x9" sheet.
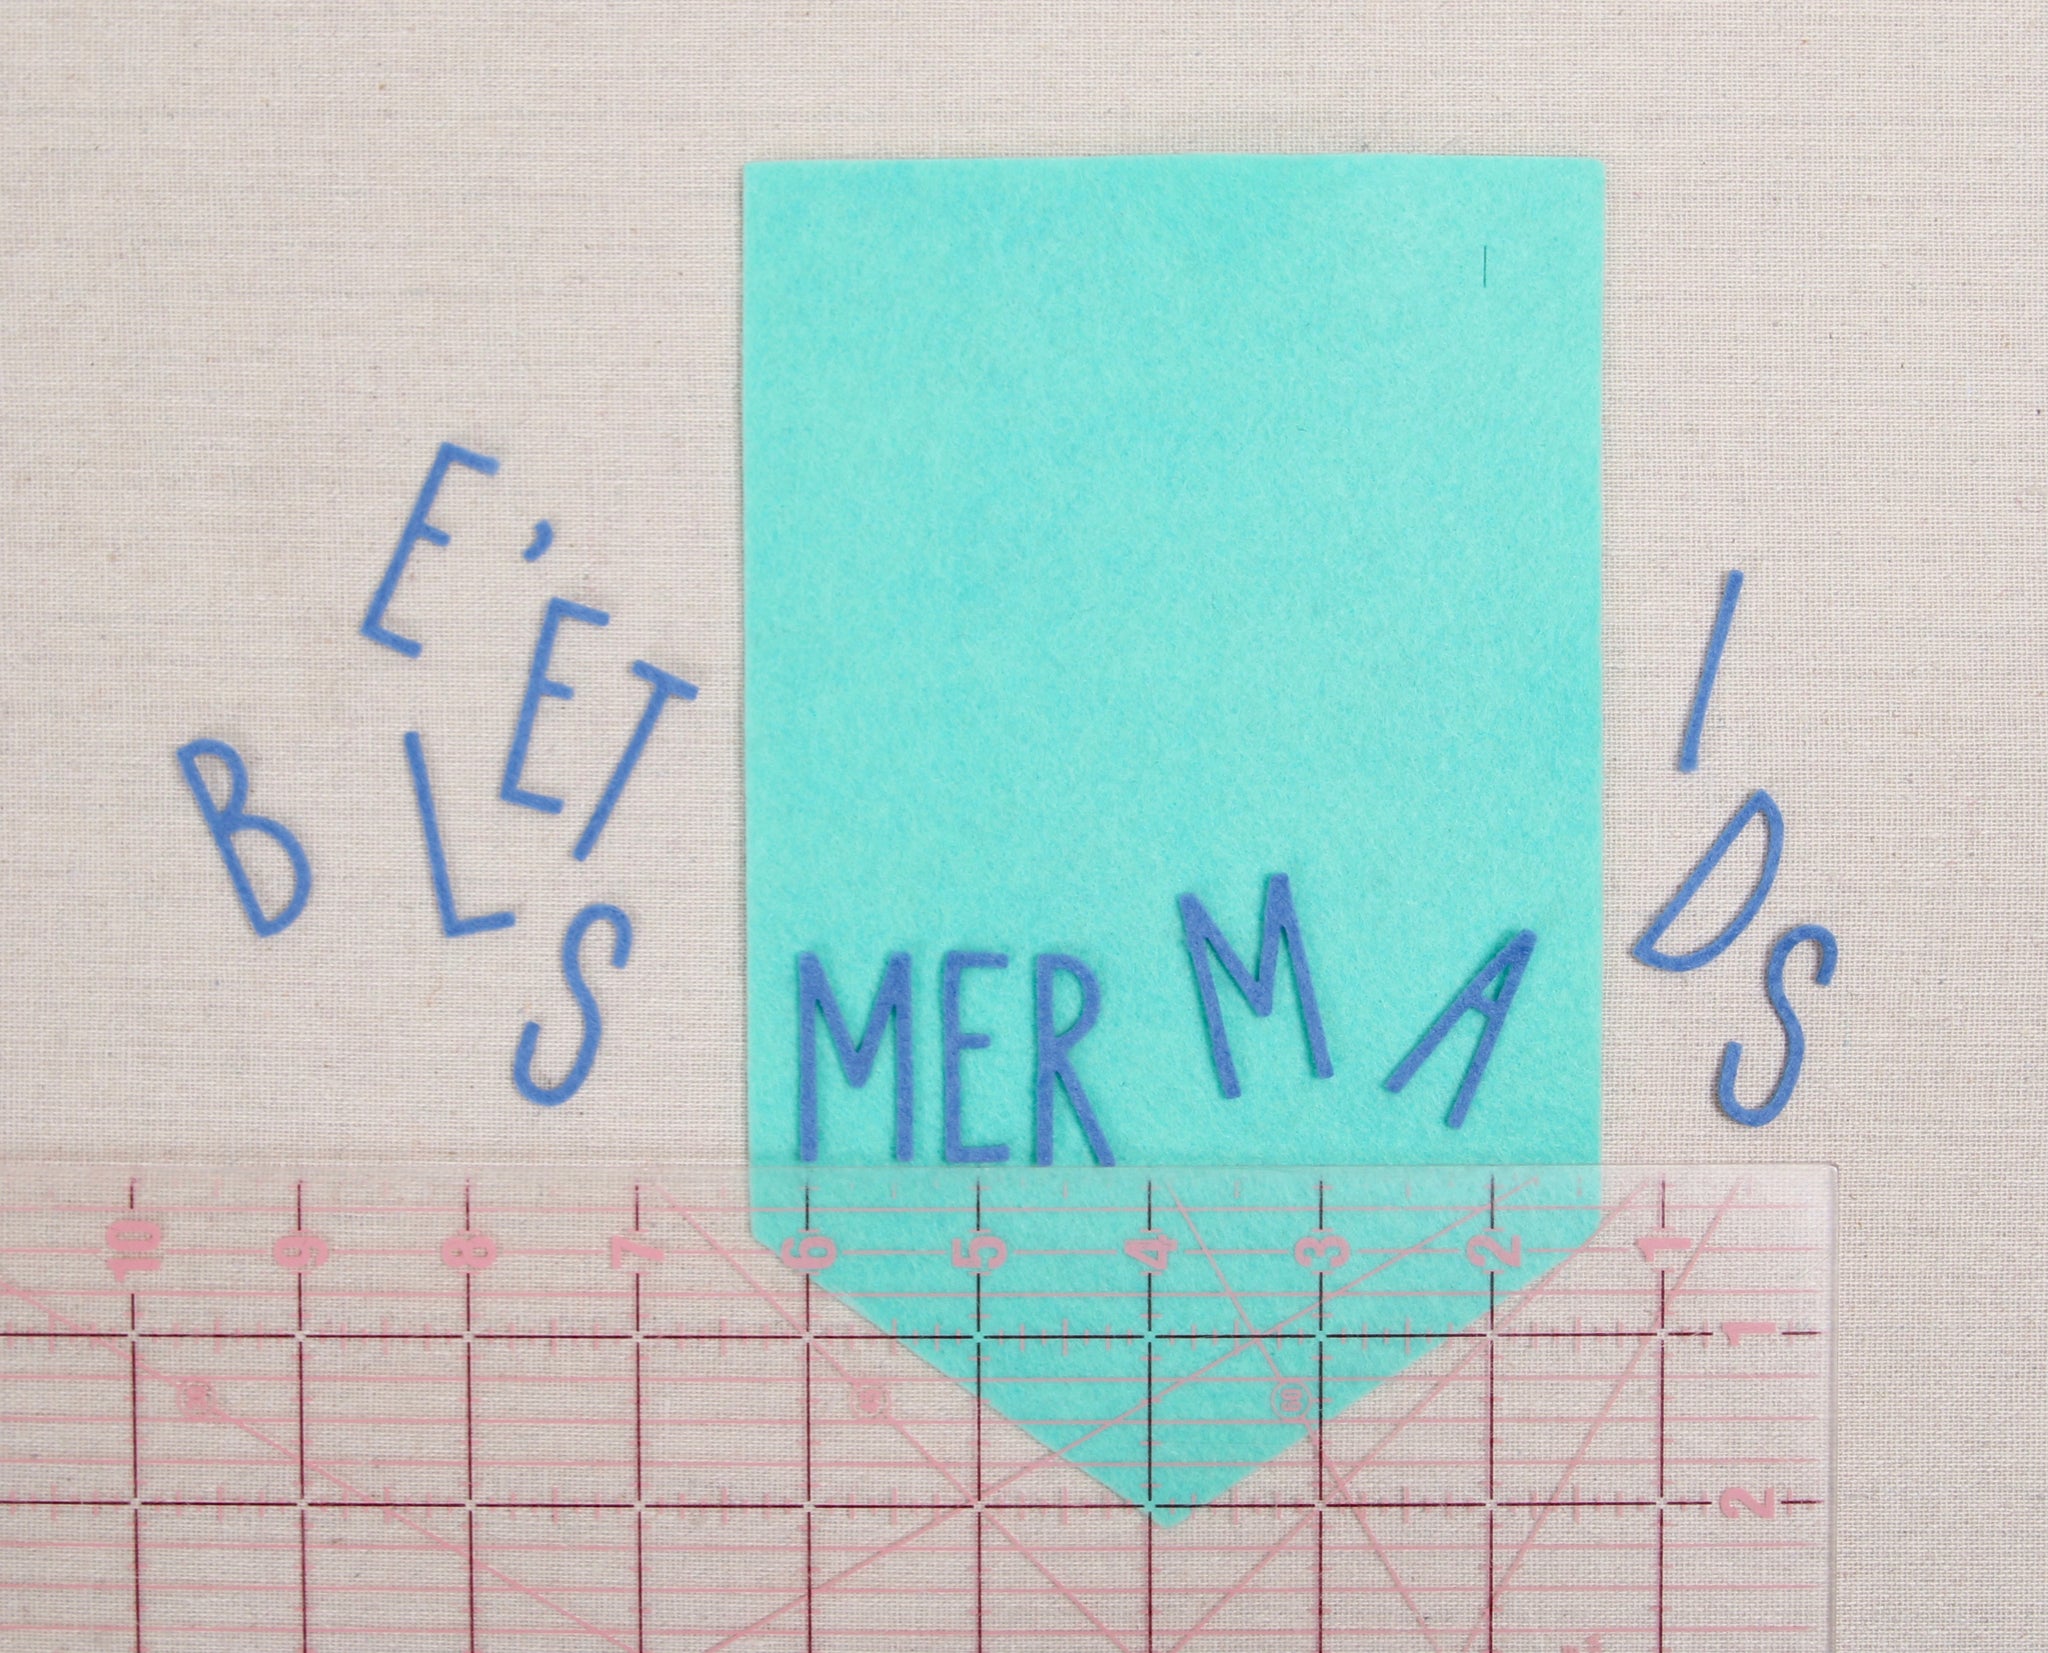
Step four: I found it helpful to use a see through ruler when arranging all the letters on the banner.

Step five: Iron the letters on using a layer or two of tissue paper. Don't forget the tissue paper... or you just may burn your felt (I know from experience!).
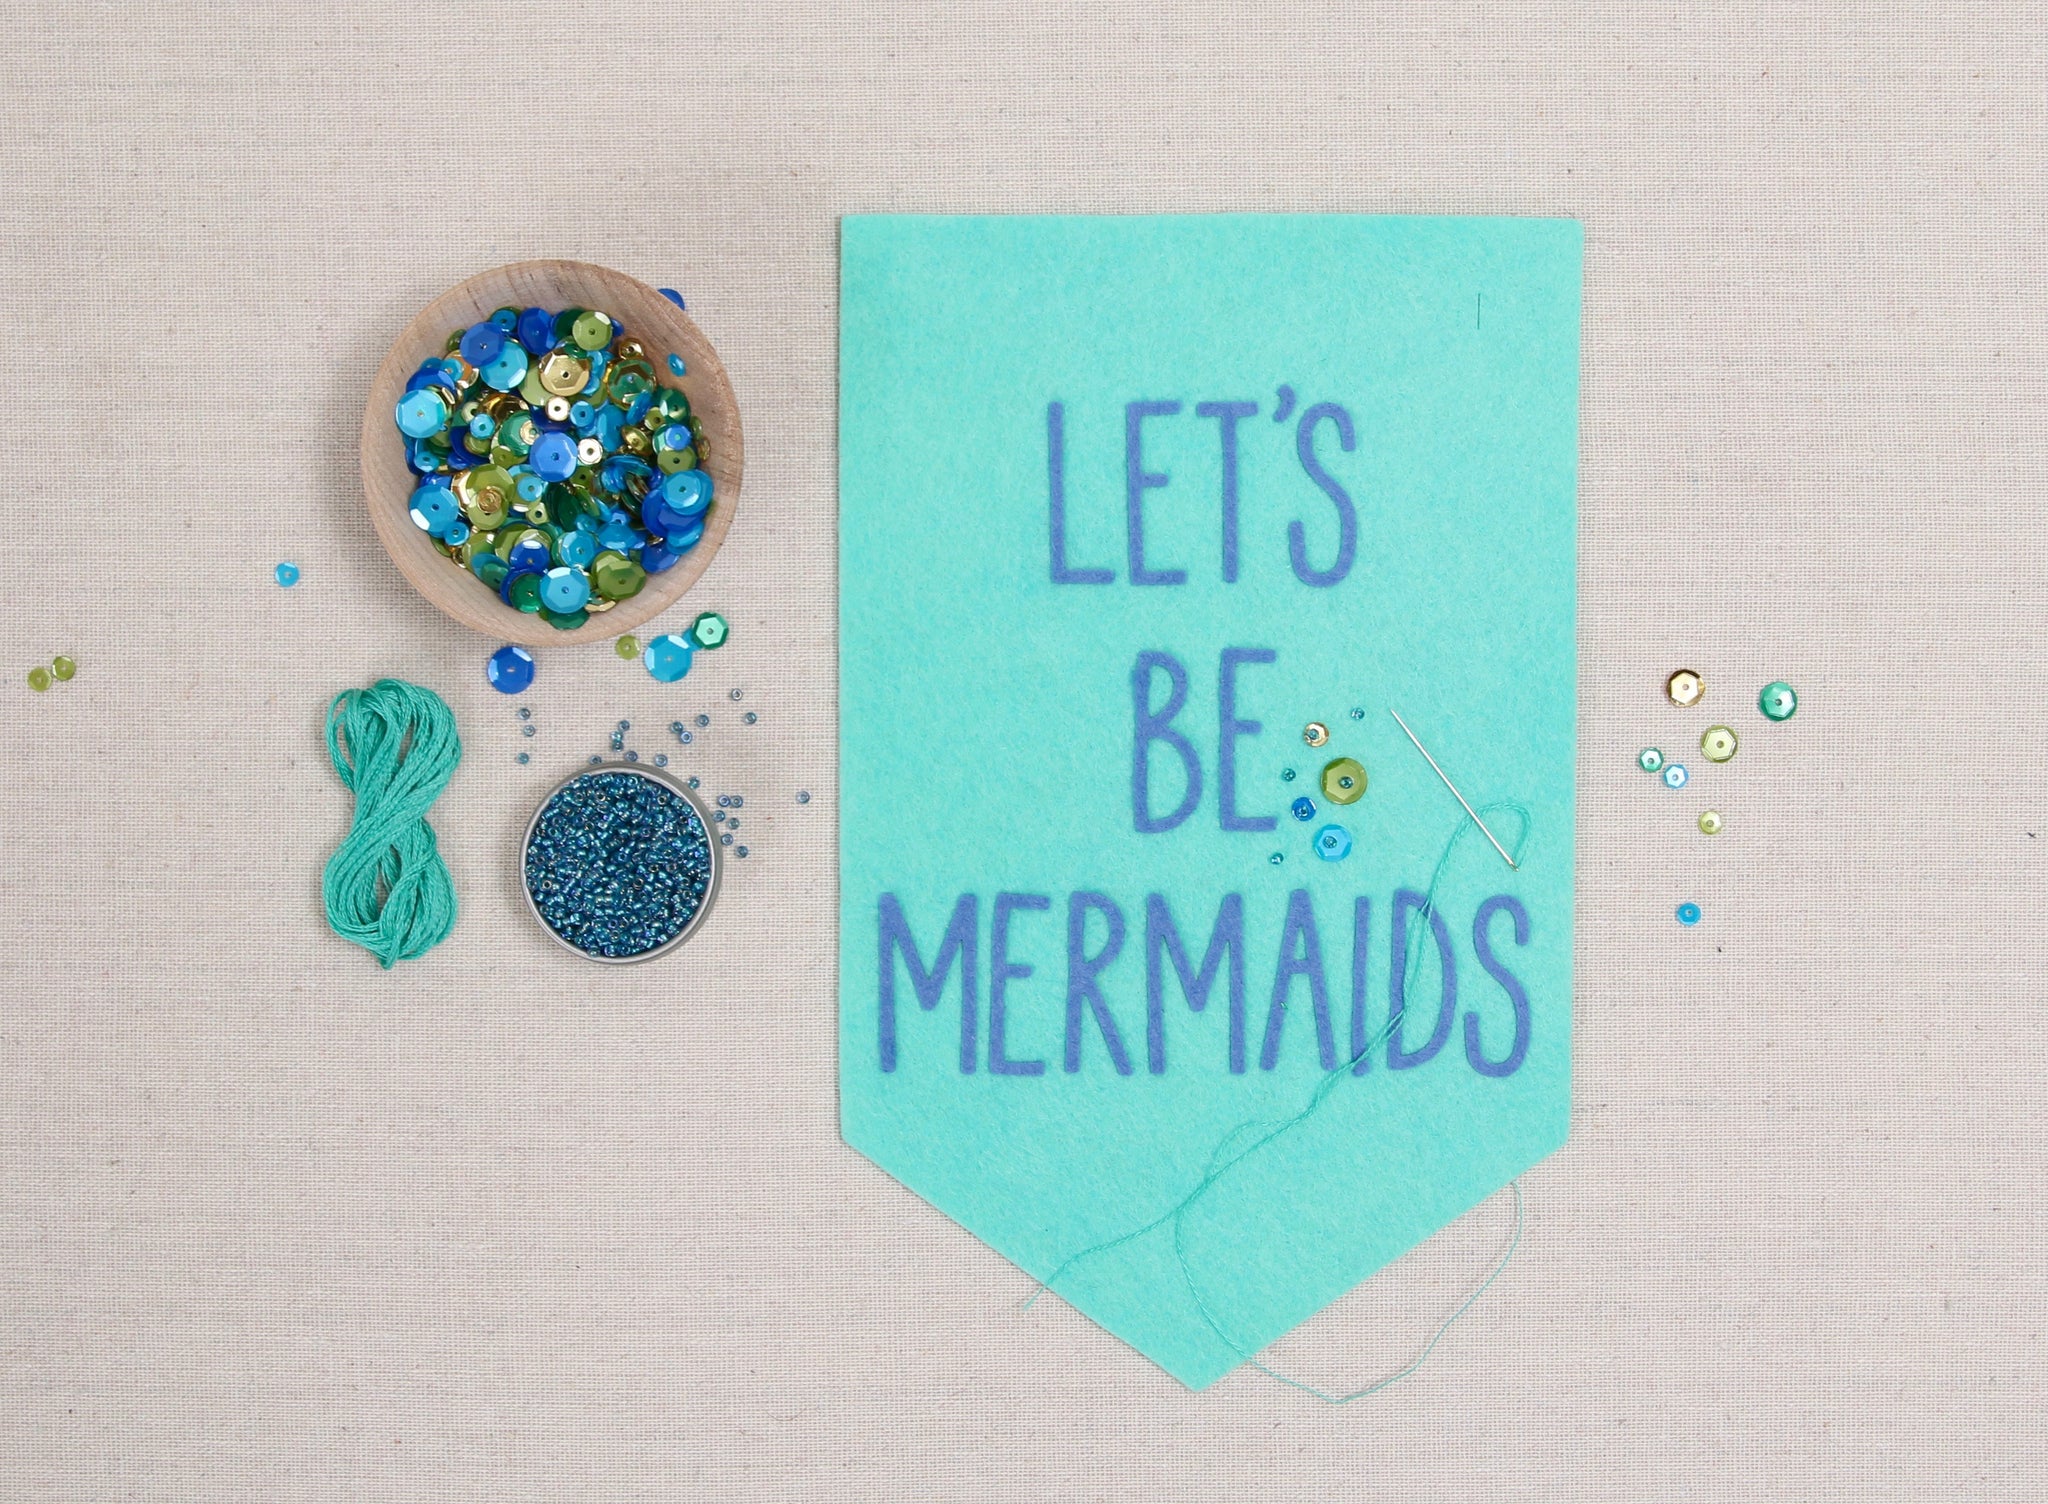
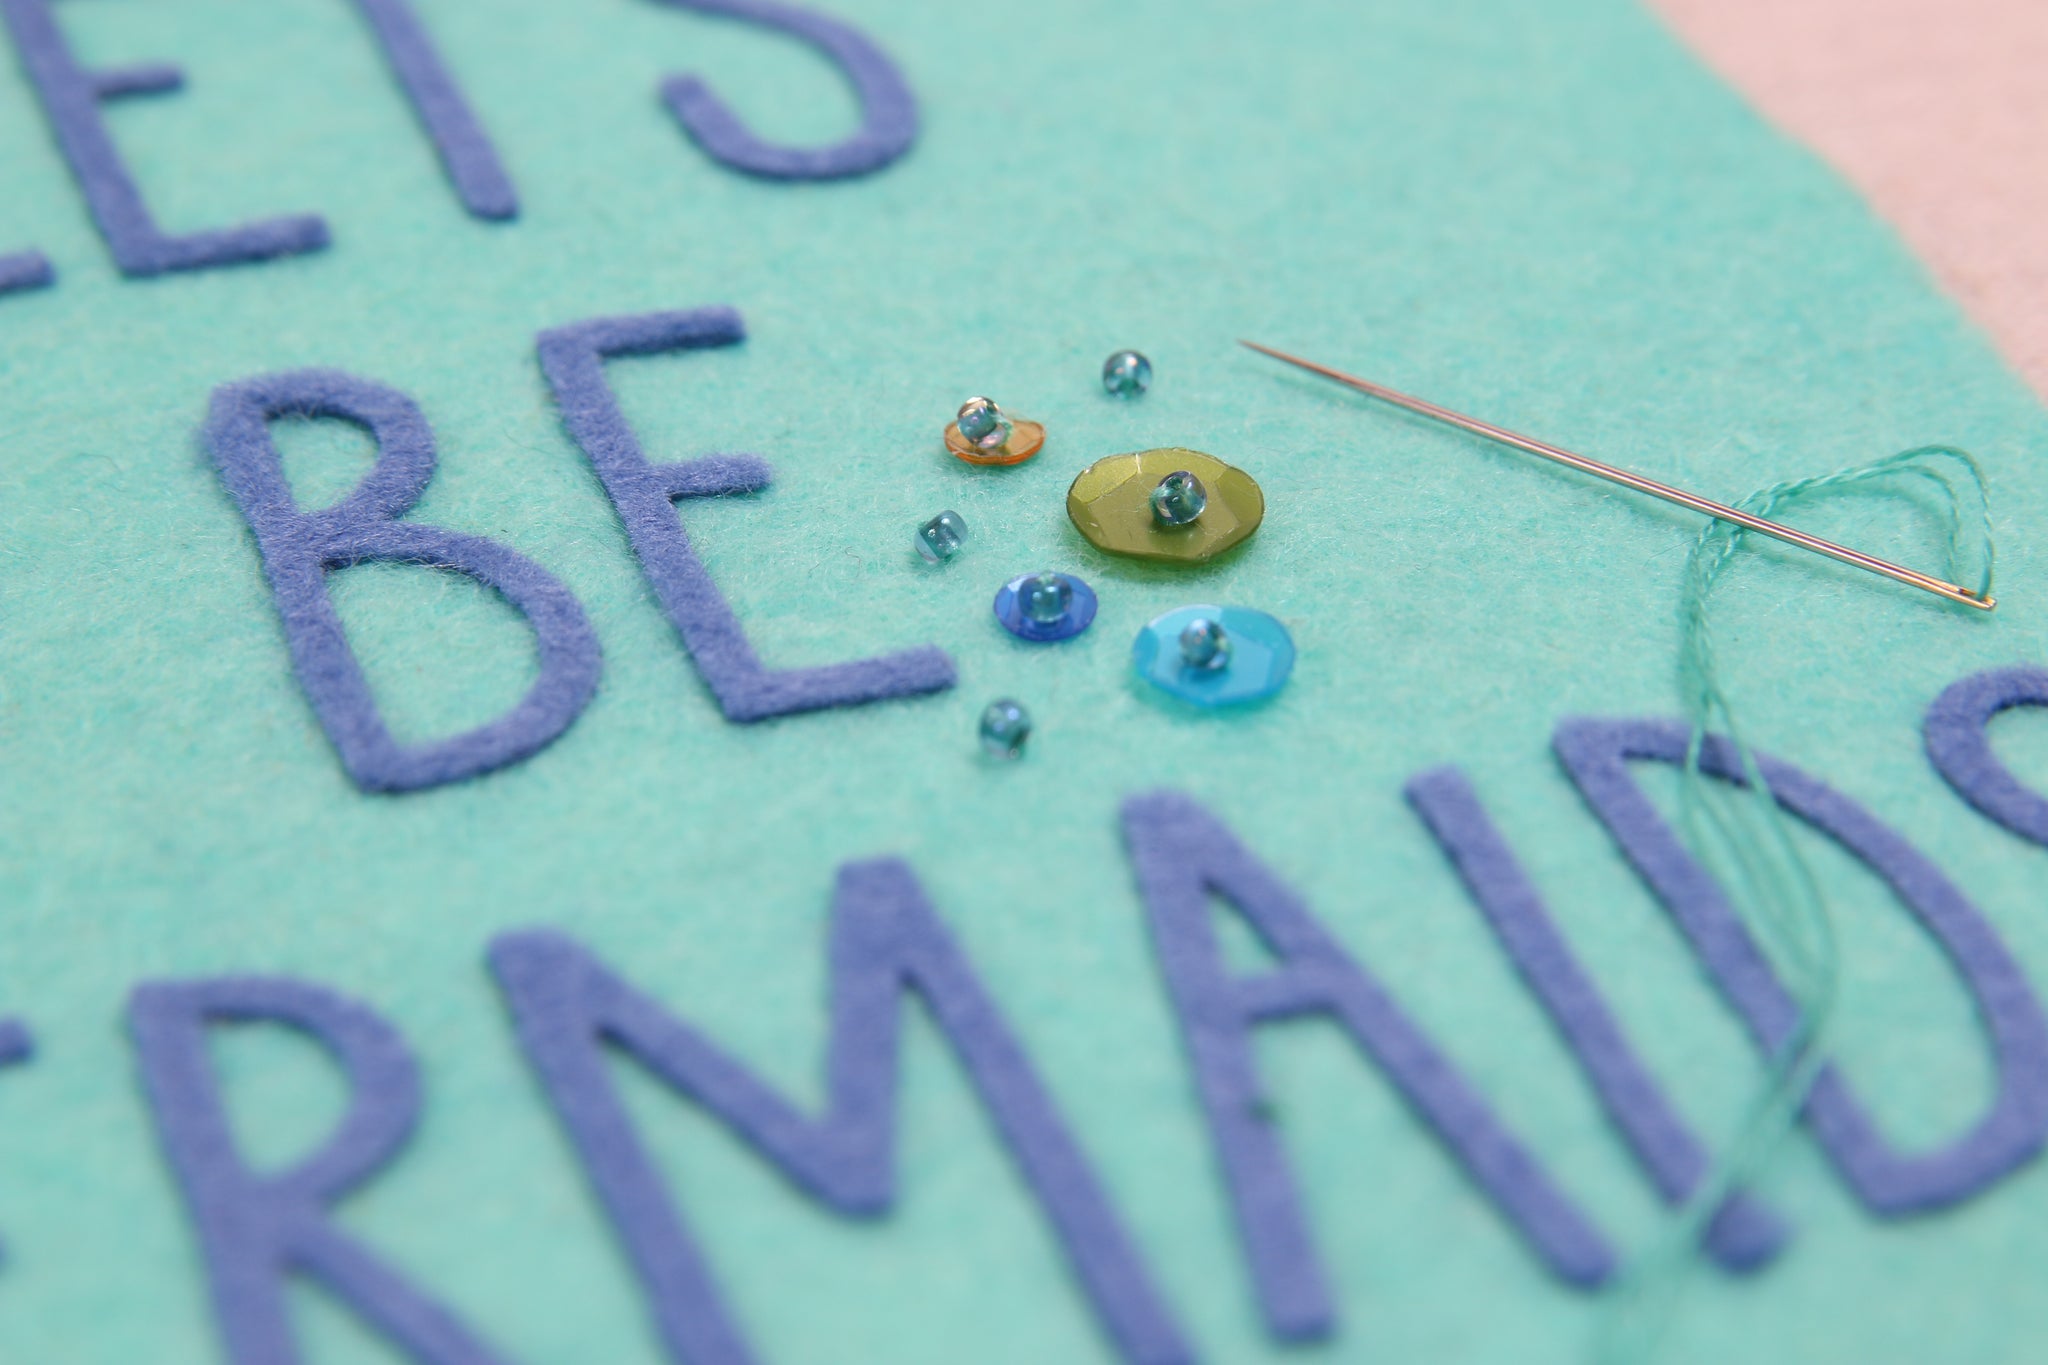
Step six: The Peacock sequin blend was just perfect for this mermaid themed banner! Using beads is the easiest and neatest way to sew sequins on, just make you select the right needle!
Step seven: Use the dowel and embroidery floss to hang up your banner!
