
Amy of @mikelmichellco has been designing exquisite felt projects for years. We are so excited to have her join our Maker Team and share some of her creativity and expertise. You'll see what I mean as you follow along with her first tutorial!
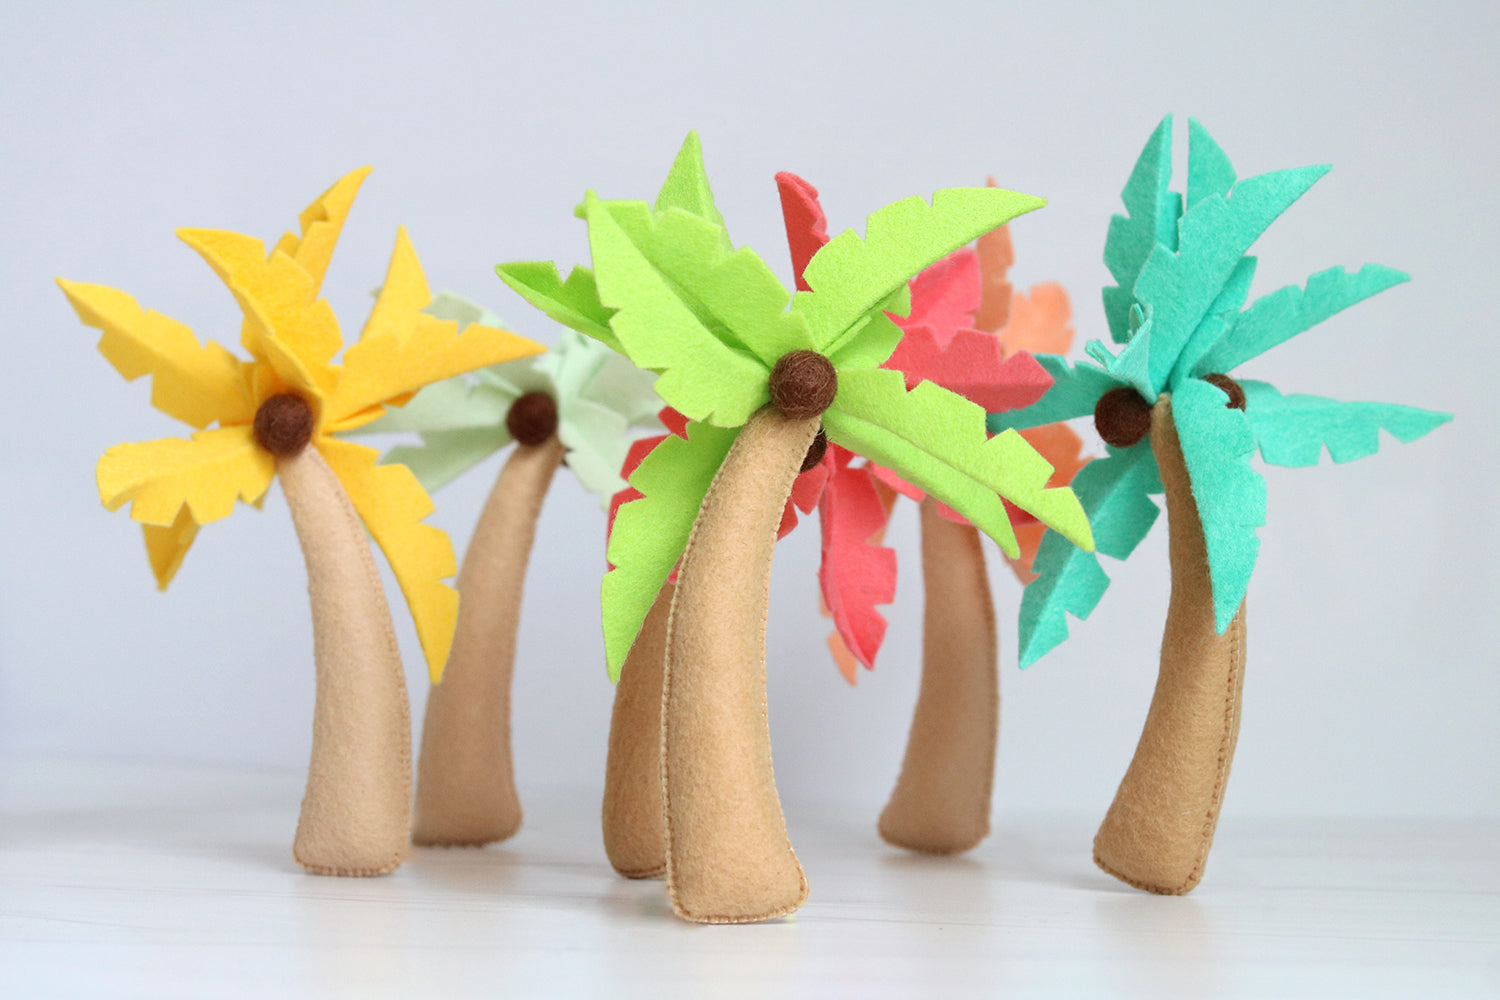
I love creating cutesy pieces with a hint of realism! This palm tree ornament is adorable, pretty easy to make, and definitely has realistic qualities with its 3-dimensional shape (thanks to some strategic folding and ironing.) I hope you enjoy making this as much as I do!
Skill Level: Beginner / Intermediate
Time: 2.5 hours

Supplies:
One 9x12" sheet of Chartreuse Wool Blend Felt
One 9x12" sheet of Toast Wool Blend Felt
Acorn Brown Felt Pom-Poms, Extra Small
Scissors
Polyfil
Needles
Embroidery Floss
Stuffing Tool
Flat Iron
Palm Tree Pattern
Directions:
1. Print the pattern onto cardstock and cut out stencils.
2. Trace and cut out 3 palm fronds in Chartreuse and 2 trunks in Toast. If you’d like to hide any ink marks, flip the trunk pattern to the opposite side before tracing your second trunk piece. This will allow you to place these traced on/inked sides facing each other.

3. Flat-iron the felt on the lowest setting. Make sure to keep the iron moving slightly, while opening and closing the iron plates, so that you do not burn your felt. Take the palm tree fronds and fold each individual leaf in half (it will be a little bit off center as you approach the spot where the leaves meet) and begin flat ironing from the tip of the leaf, moving towards the center as described above.

4. Stitch the trunk. I like to use a quilt stitch around the exterior of the trunk because I feel like it allows me to stuff the piece full/firm without worrying that the seam will have too much pressure. Begin about a half of an inch from the tippy top of the trunk and work your way around until you reach just past the halfway mark on the opposite side.

5. Now, add the fluff. Use a stuffing tool or chopstick to push the polyester fiberfill into each rounded corner. Once the base is filled, continue stitching towards the top of the palm tree trunk. Just before completing the quilt stitch, make sure to add more fluff at the tippy top to give a firm/solid point to stich the fronds securely in place.

6. Add the palm fronds while kind of rotating them so that the leaves interlock (almost like folding your hands together). Place the first palm frond at the top portion of the trunk and stitch it securely at the center, where the three leaves meet. I loop through the same spot twice to ensure the frond doesn’t wobble. Then tie a knot beneath the leaves really close to the thread to keep the knot hidden from view. Do NOT cut your thread - just feed the needle back into the trunk exiting in the location each subsequent palm frond will be attached, securing in the same way as the first. Remember, Benzie Design’s felt is strong and pliable, so if you feel like your trunk top is showing in between your fronds gently pull and manipulate them into a better position.

7. Attach coconuts in the same manner, but first, tie your knot to the pom pom itself in order to secure in place (squished tightly beneath a leaf) more easily. You can also use plyers to pull the needle out of the trunk (if awkwardly placed) to avoid jabbing yourself.

8. Using a larger needle, like a darner, feed a bit of embroidery floss or crochet thread through the top of the palm tree trunk and knot the end to complete your hanging loop.

BOOM! Drop that needle (safely into a pin cushion) because you rocked it! Now you can play around and make them your own! Toss a pom pom onto your felt swatch chart to randomly select a shade for your fronds OR you can choose one of Benzie Design’s beautiful color palettes to create an awesome garland. I selected a few shades from the Confetti! felt palette for mine. Thanks so much for following along and have fun creating!
Thanks to Amy for designing and writing this tutorial! You can follow her on Instagram @mikelmichelleco or visit her website. Stay tuned for more tutorials from Amy and the Benzie Design Maker Team!


