Share

While some tools are very specialized for specific crafts, one tool that is used in almost every single craft is scissors! There are dozens of different styles of scissors, but every crafter is guaranteed to have a small (or not so small!) collection of them. This week, Dani of @knitty34 demonstrates how to make a cute scissor caddy for any size or style of scissors using Benzie's new Cut + Paste palette. You can even use your caddy to keep track of which scissors you use to cut felt and which you use for paper. Follow her embellishment instructions or flex your own creativity to make it exclusively yours!
Skill Level: Beginner for holder (optional embellishments take it to Intermediate)
Time: 30 minutes for basic holder, more if you embellish!

Supply List for basic holder:
Cut and Paste Felt Palette
Cut + Paste Coordinating Embroidery Floss
Scissors for cutting felt
Embroidery Needles
Scrap paper
Pencil
Ruler
Scissors for cutting paper
Supply List for optional embellishments:
Wool Roving in Prism
Needle Felting Pen
Needle Felting Foam
Mini Cookie Cutters in any shape
Sequins (Iridescent or Metallic)
Sequin Glue
Additional felt and embroidery floss in any color you like
Directions:
1. Collect the 1-2 pairs of scissors that you would like your caddy to hold. They can be any size, but I am going to use my paper scissors and my favorite felt scissors.
2. Lay the largest pair of scissors on your scrap paper and draw a dot about ¾” from the bottom of the point of your scissors.

3. Use your ruler to draw a line up each long side of the scissors to create a big V. You want to leave a little space on each side of the handles, and make sure that the line intersects the dot you drew in Step 2.

4. Connect the top of the triangle across the top of the handle of the scissors.

5. Cut out your paper template using your paper scissors.
6. Using your template, cut out 2 pieces of felt from your palette using your felt scissors. You can use the same or different colors, it is up to you! I used Strawberry and Coral.

7. On one of your pieces of felt, cut off the top on a slight angle. This will allow you to easily grab the handles of your scissors.

Steps 8-10 are optional for a caddy that holds two pairs of scissors:
8. If you would like your caddy to also hold a small pair of scissors, take your original paper template and place your smaller scissors on top. Mark two dots on the paper. One on the left side near the top of the handles, and one on the right side slightly lower.

9. Draw a line connecting the dots and cut out across the line. (If you want to reuse the template in the future to make another caddy, you can just tape the two pieces back together on this line.)

10. Use the bottom piece of the template to cut out a third piece of felt. I used Blush.

The remaining steps are for both versions of the caddy:
11. Stack the felt pieces with their skinny point matching. Using you felt scissors, nick off a little bit of the point, through all the layers. This will make it easier to stitch together.

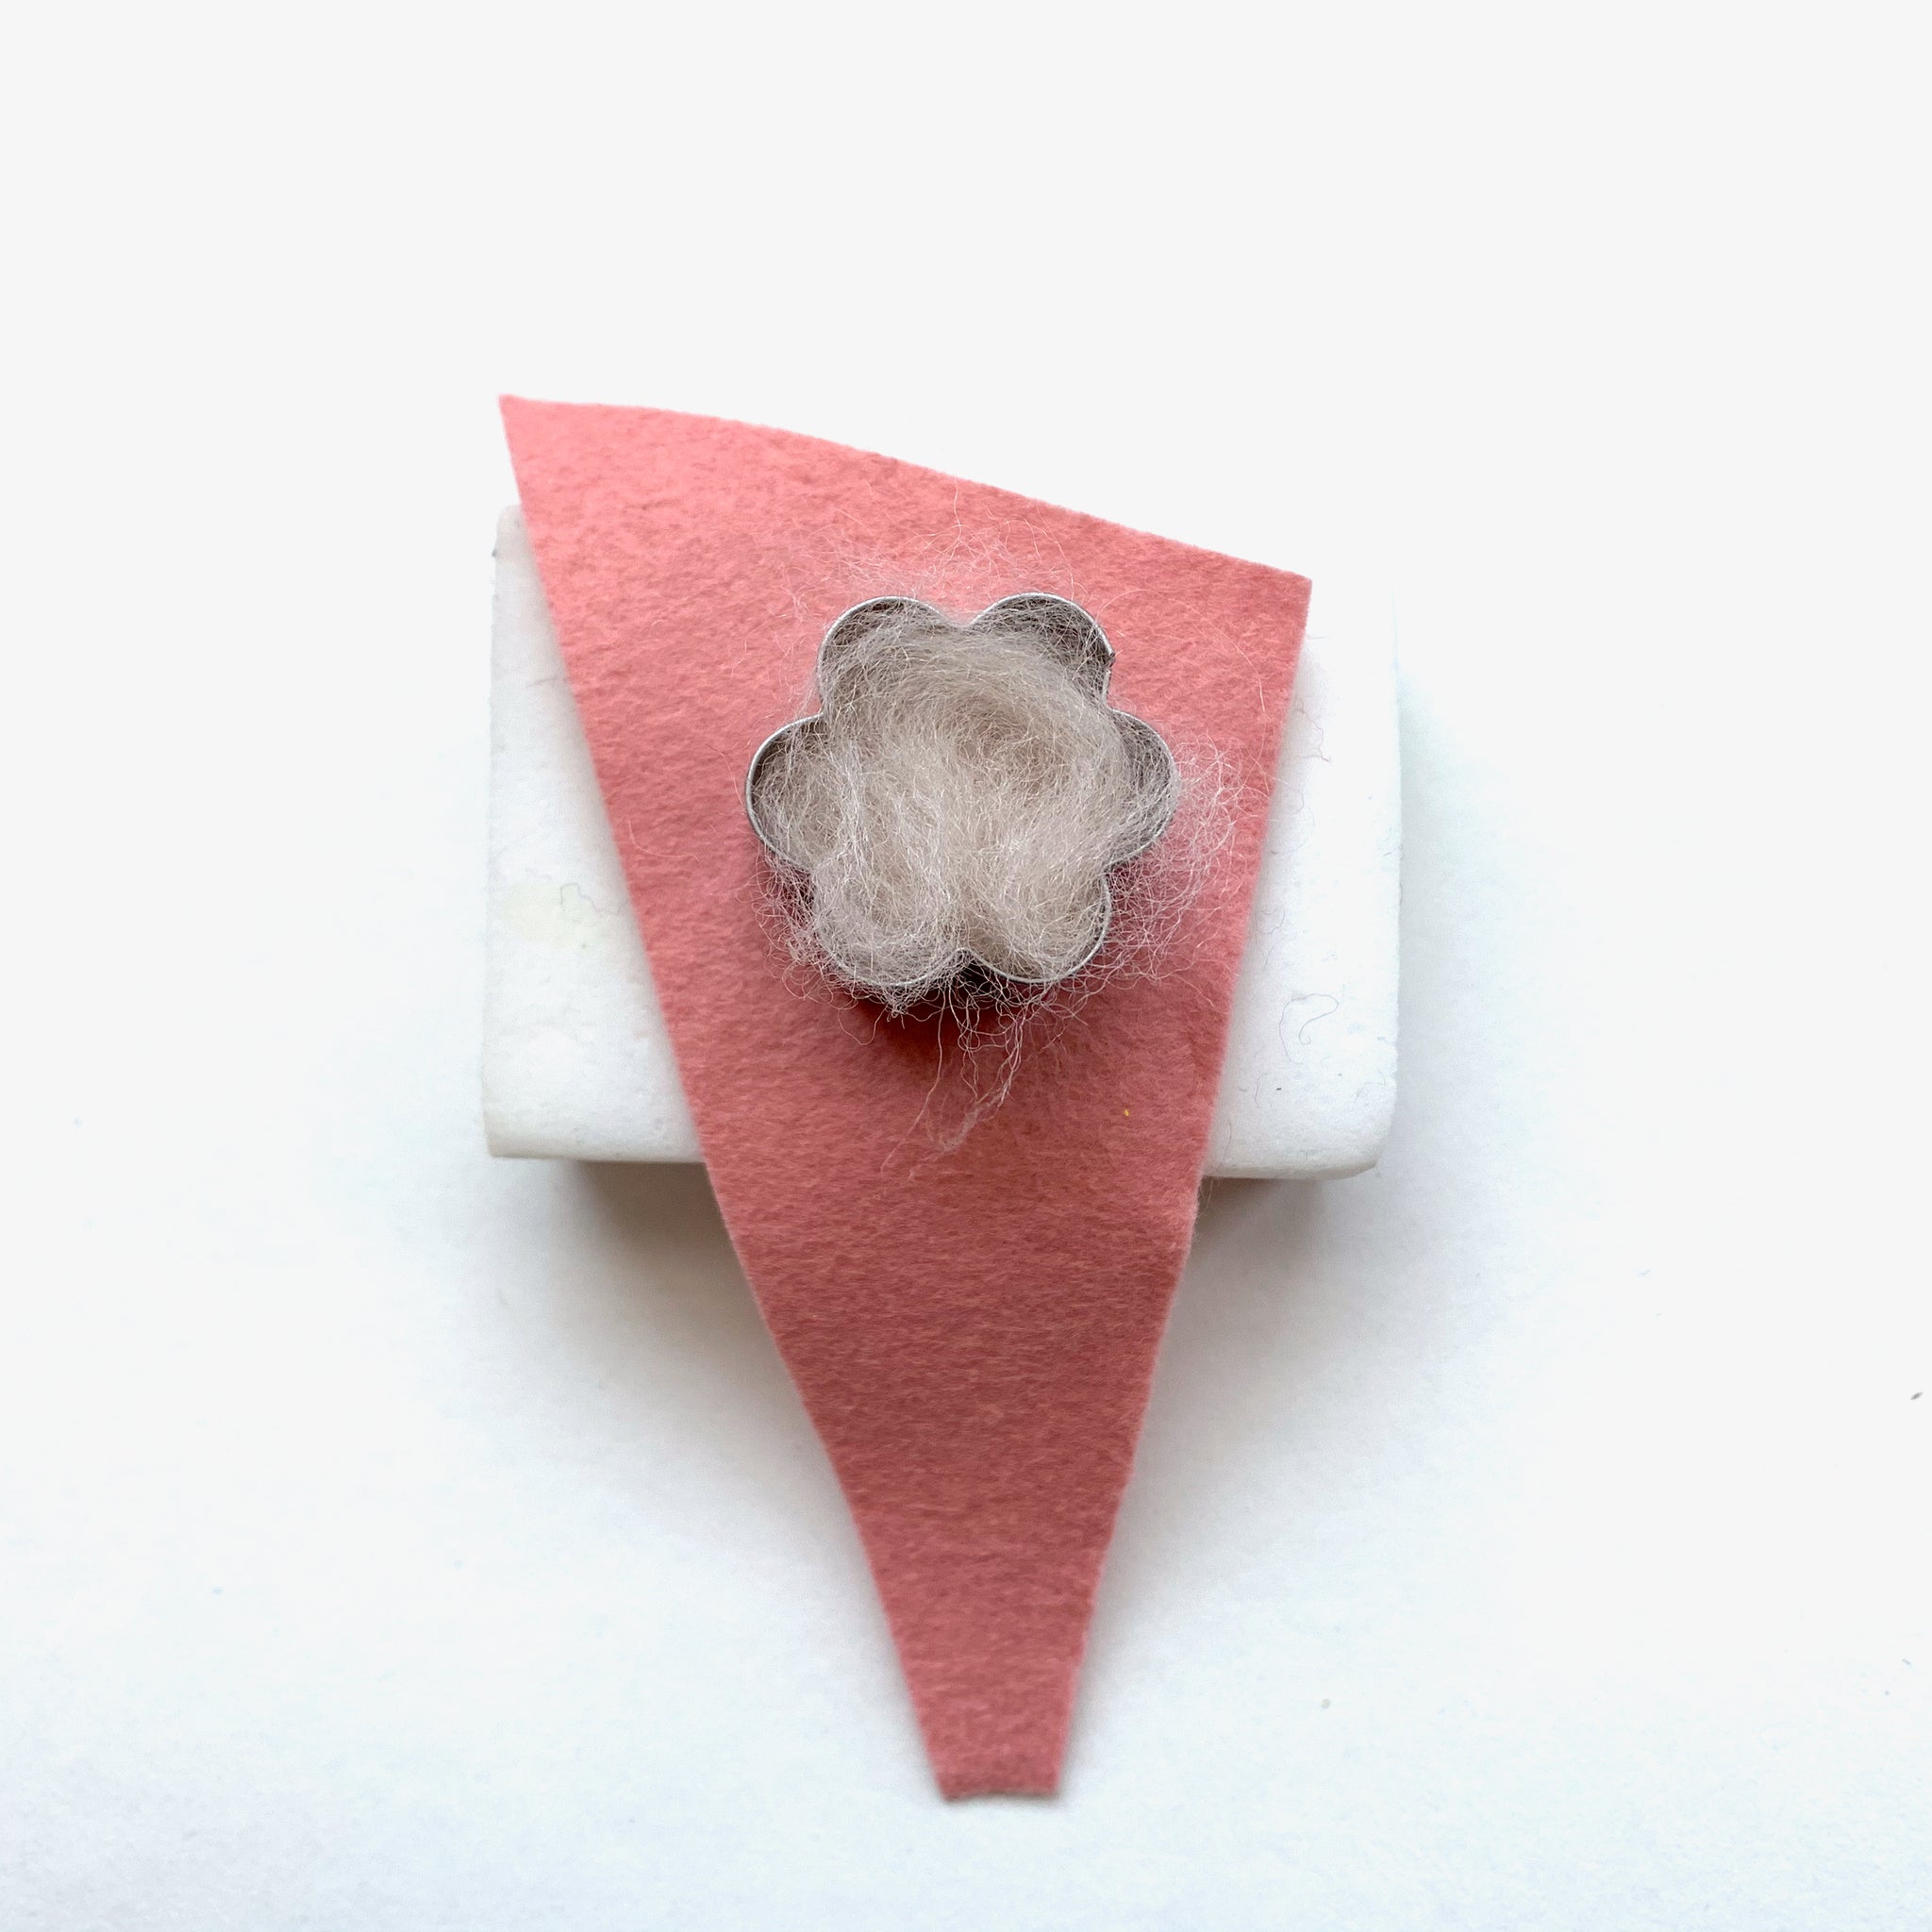
12. If you want to embellish your caddy, now is the time! I decided to needle felt some small flowers on mine, using a mini cookie cutter. Take the top layer of felt and place it on your needle felting mat (I use a magic eraser). Place the cookie cutter on your felt. Pull apart a small piece of roving and fluff it into the mini cookie cutter. (I used Oats.) You don’t need a lot, but the more you use the thicker the shape will be on your felt.

13. Using your needle felting pen, punch up and down through the wool and felt, and into the felting block. As you punch, the roving will squish down into a mat. Make sure you are getting right up against the edges of the cookie cutter with the needles to get a good shape.

14. Remove the cookie cutter and peel the felt off the base. You can now refine your shape if needed, and add any other free form shapes you would like (I did a little flower center using Golden.)

15. We are now going to blanket stitch the long edges together. Using two strands of your choice of floss color (I used 347), thread your needle. Start on the left where the pieces first meet, stitch down to the point, and back up the right side. Note: If you have never done blanket stitch before, I have created a short video showing you the basics.

And ta-da! You are finished! Place your scissors in their caddy and admire your work. These make a great gift or swap item for friends, so go ahead and make some more! I made another one and used felt scraps to make a rainbow, roving to make a cloud, and sequins and sequin glue for raindrops! You are only limited by your imagination. There are lots of other palettes that would be perfect for a caddy, like Melon Sorbet, Sweetheart Ombre, or Carnation Collection!

Thanks to Dani for designing and writing this tutorial! You can follow her on Instagram @knitty34, and until then, stay tuned for more Benzie Design Maker Team tutorials from Dani and the rest of the Team!