Share

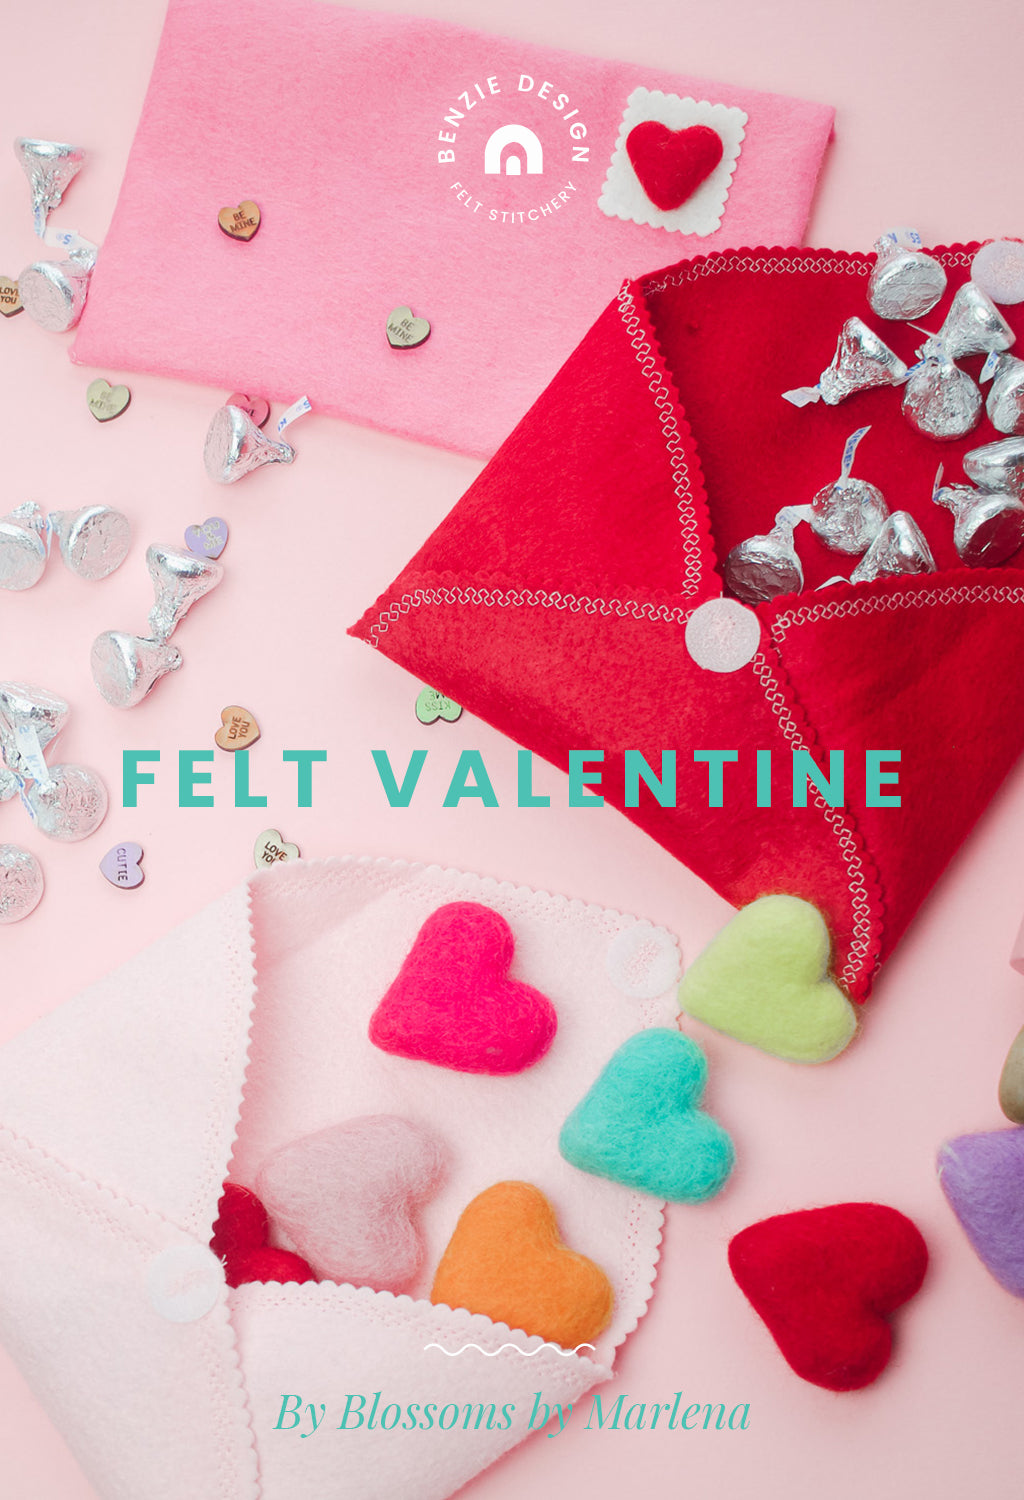
Ditch the standard Valentine and get creative with Maker Team member Marlena of @blossoms_bymarlena. She is sharing her take on a felt keepsake that can be reused or regifted year after year. Get ready to make somebody's day!
I love Valentine's Day! Chocolate covered strawberries, conversation hearts, flowers... What's not to like? Rather than the usual paper cards, this year I am making felt love letters filled with candy for teachers and friends. Follow along as I show you how they're made!
Additional Supplies:
Velcro Dots
Ruler
Scallop Shears, 5mm - optional
Directions:
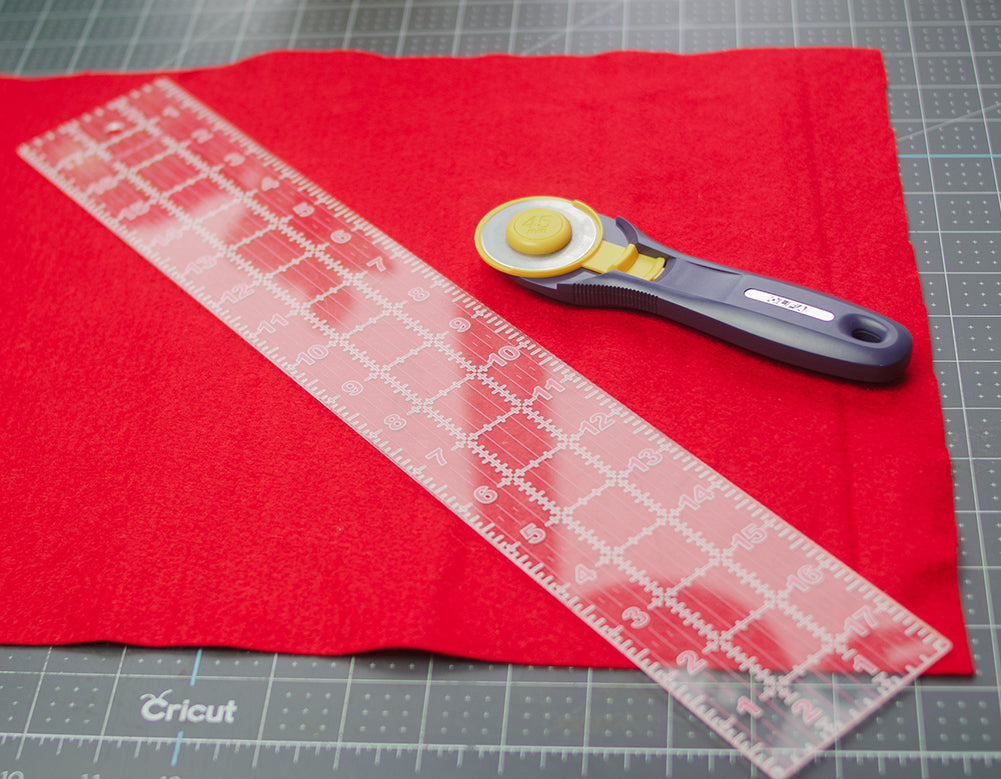
1. Use a ruler and scissors (or rotary blade) to cut a 10 x 10" square from wool felt.

2. Turn the felt square 45° to a diamond shape. Make a mark 3 1/2" from the top and bottom points toward the center. Use a ruler and tracing wheel or chalk roller to make horizontal lines at these marks.

Repeat with the left and right corners of the diamond by measuring 3 1/2" from the points toward the center. Draw vertical lines at these marks.
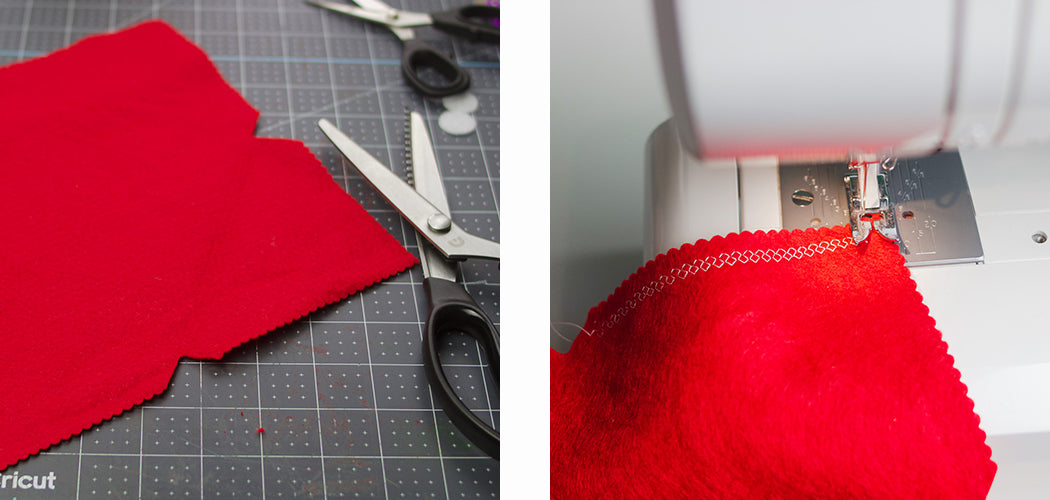
3. The drawn lines will create a square inside the diamond. At each corner of the square, there are small triangles. Cut out the four triangles to give the envelope its shape.

4. As an optional step, cut around the perimeter of the felt with scalloped scissors for a romantic look! You can also embellish the perimeter of the envelope with stitching, if you want.

5. Fold the right and left corners of the diamond toward the middle. Fold up the bottom corner. Attach a Velcro Dot where all three points meet to hold them in place. You can sew or hot glue the Velcro. Attach the other half of the Velcro Dot to the top point of the diamond. Your envelope is now complete!

6. The final step is to fill your felt Valentine with treats! I filled some of mine with candy and some with Benzie's tiny heart felt shapes!

This is such a great project to do with kids! Try different colors of felt or decorate the envelopes further. What about a personalized stamp? Happy crafting and Happy Valentine's Day!

Thanks to Marlena for designing and writing this tutorial! You can follow her on Instagram @blossoms_bymarlena or visit her website. Stay tuned for more tutorials from the Benzie Design Maker Team!