Share

Spooky season is upon us! Fall brings cool temperatures, darker days, and scary movies to our homes, so let's celebrate with this Magic Banner tutorial by Chloe of @positivepennants!
This magical banner will add Halloween charm to any room! With a funky mystic color palette, this banner will tie into any Halloween décor seamlessly. This craft has so much room for individualism. Feel free to make up your own spooky shapes: ghosts, gravestones, skulls, bats, whatever! That’s what makes this project so magical. Pop on your favorite witchy movie (Hocus Pocus, Harry Potter, Blair Witch Project) and get to crafting!
Skill Level: Intermediate
Time: 2-3 Hours

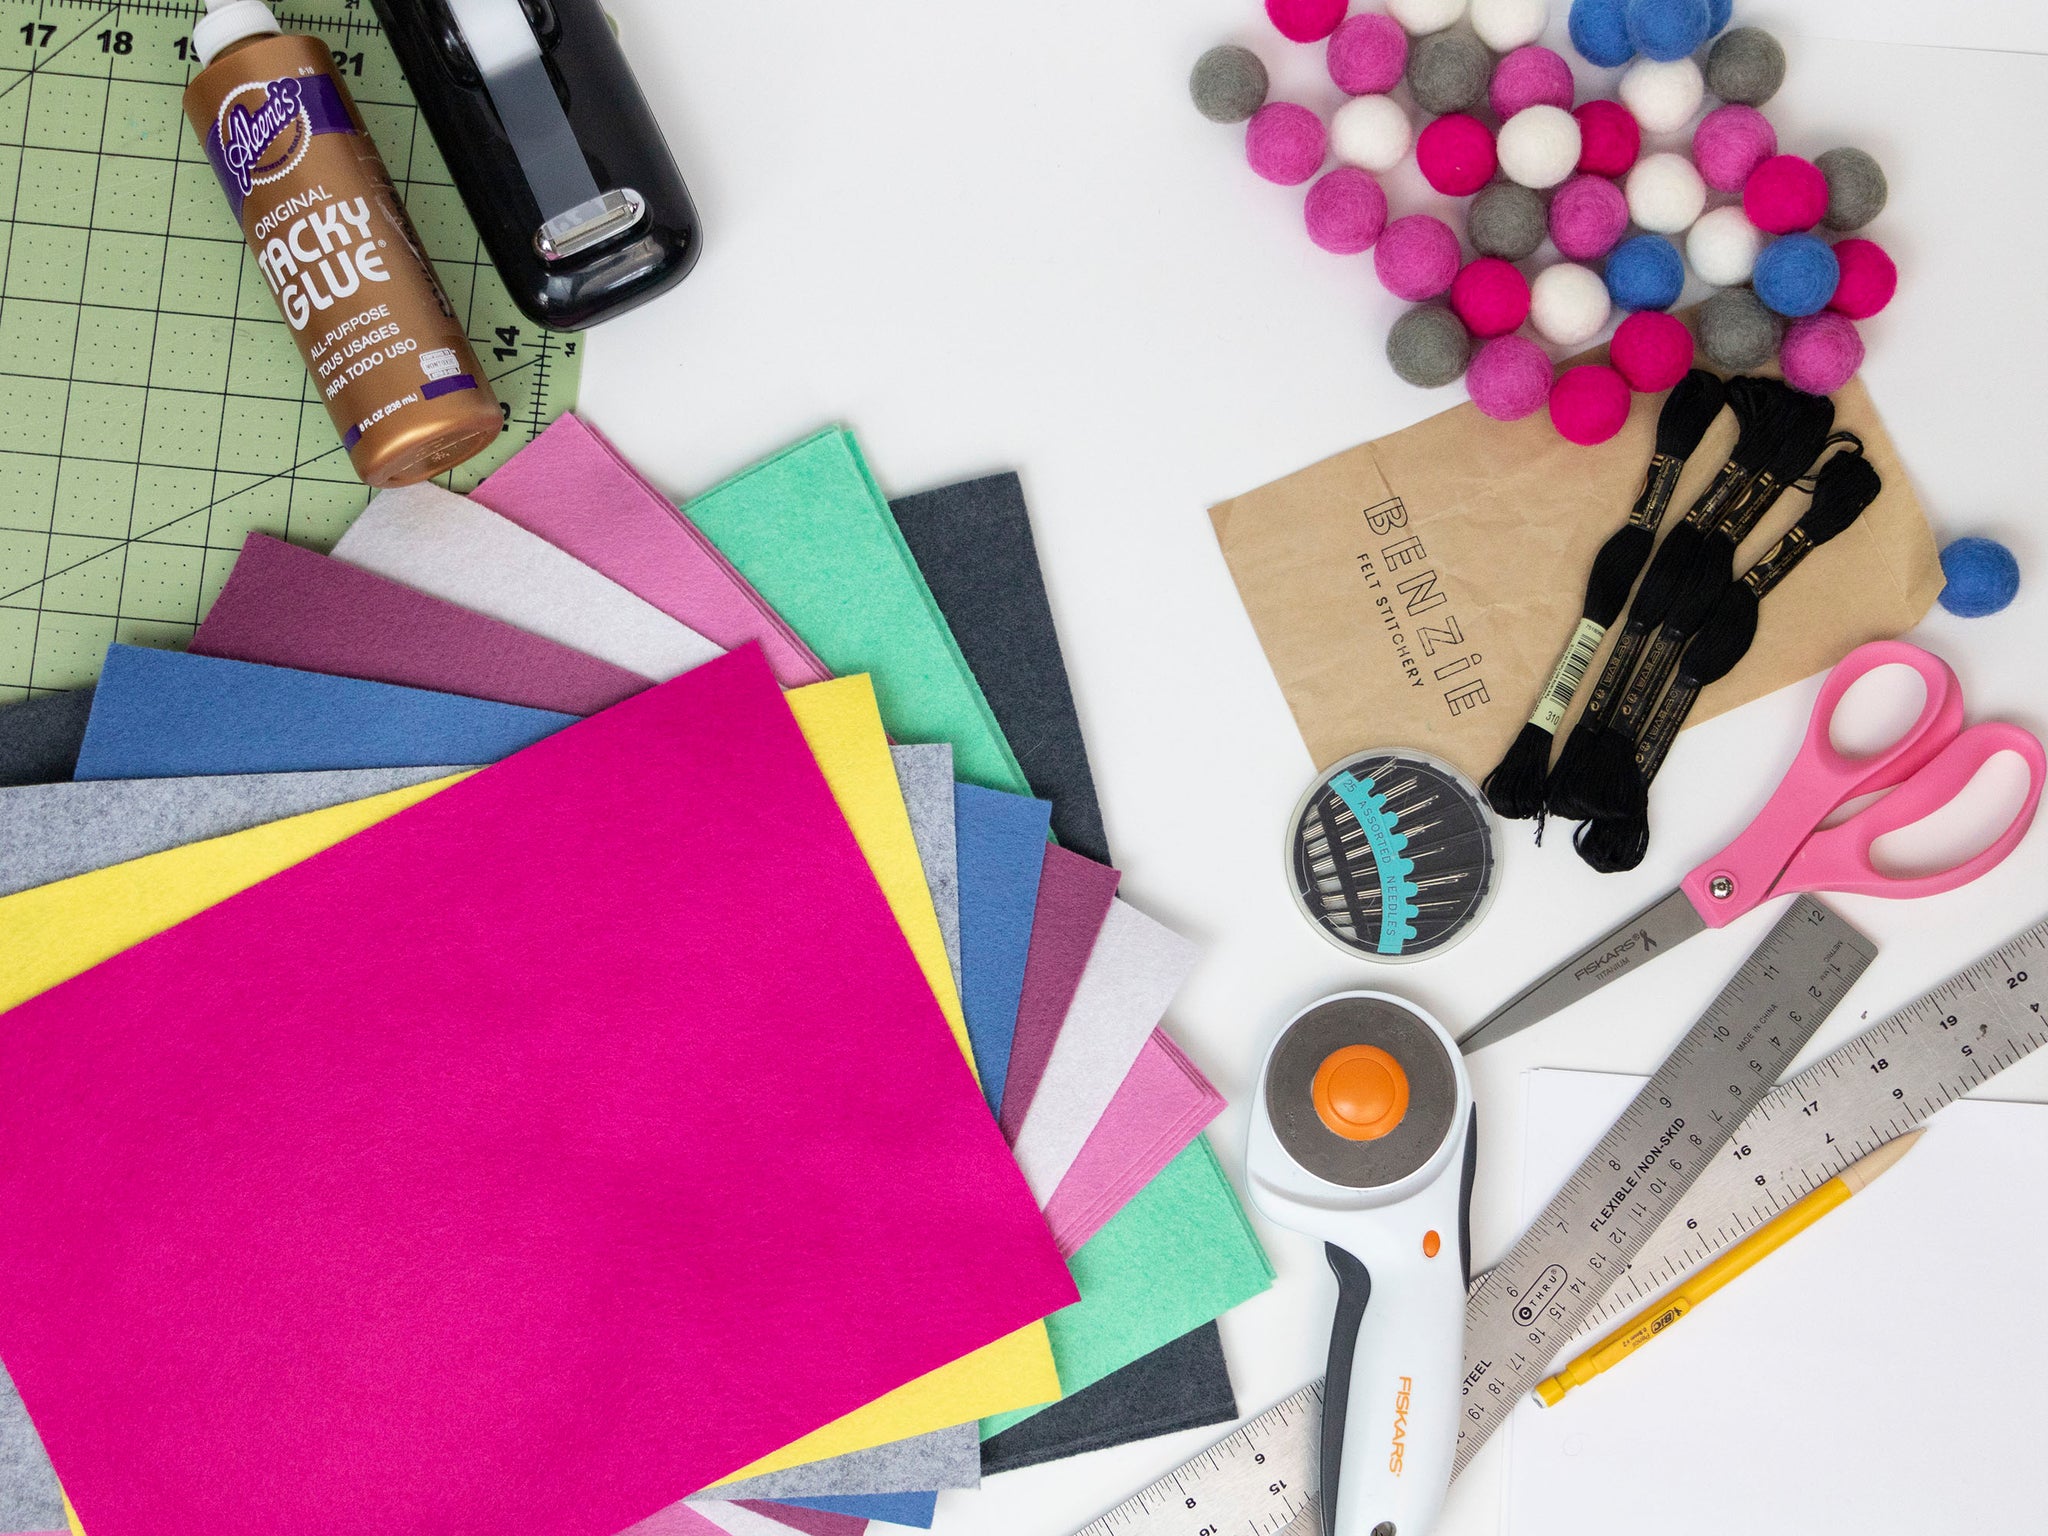
Supply List:
Magnolia or White Wool Blend Felt – (1) 9x12 Sheet
Mulberry Wool Blend Felt – (1) 9x12 Sheet
Pool Wool Blend Felt – (1) 9x12 Sheet
Smoke Wool Blend Felt – (1) 9x12 Sheet
Magenta Wool Blend Felt – (1) 9x12 Sheet
Graphite Wool Blend Felt – (2) 12x18 Sheet
Julep Wool Blend Felt – (2) 12x18 Sheet
Foxglove Wool Blend Felt – (2) 12x18 Sheet
4 Individual Medium White Felt Poms
3 Individual Medium Pool Felt Poms
4 Individual Medium Magenta Felt Poms
5 Individual Medium Foxglove Felt Poms
4 Individual Medium Stone Felt Pompoms
DMC Embroidery Floss – 310 Black
Tacky Glue
Tape
Computer Paper
Ruler(s)
Pencil
Fabric Scissors
Paper Scissors
Pins
Sewing Machine
Magic Banner PDF Template
Optional:
Lemonade Wool Blend Felt – (1) 9x12 Sheet
Pistachio Wool Blend Felt – (1) 9x12 Sheet
Directions:
1. Cut out your scallop shaped banners. Start by cutting 7x7 inch squares using the Graphite, Julep, and Foxglove 12x18 sheets. You’ll have some left over to use for your shapes later.

2. Using a sheet of paper, cut out a 7x7 square, fold in half hot dog style, fold in half hot dog style again, fold again to make a triangle, measure 3.5 from the corner around the sheet to make marks for a circle, connect the dots in an arc and cut out. You should get a circle. TIP: If this method doesn’t work for you, find a round object around the house that has a diameter of 7 inches and trace that onto a sheet of paper, and cut it out.

3. Take that circle and tape it to the top of the 7x7 squares, cut out the bottom arc ONLY

4. Repeat this for all 10 7x7 squares TIP: You can also take a cut one and lay it on top of a square and use that as a guide to cut a new arc, whichever one is best for you!

5. Using fabric scissors cut out the shapes using Magnolia -or- White, Mulberry, Pool, Smoke, Magenta, Graphite, Julep and Foxglove sheets of felt. Lemonade and Pistachio are also fun colors to add if you’d like. You can either make your own spooky shapes or follow the template in the supply list.

6. Using Tacky Glue, glue the cut out shapes to the pennants. (Be mindful of leaving an inch at the top for sewing later.)

7. Take the black embroidery floss and cut two pieces about 7 feet each. If you would rather make one long pennant string, instead of cutting two pieces of 7½ foot string, cut one, 14 foot string.
8. Thread a needle through and tie a knot at one end.

9. Pick a color pompom and thread it all the way down the thread to the knot, cut the extra string below the knot.

10. Measure about 6-7 inches from the top of the pompom up the string, and tie a loop (size of a quarter).

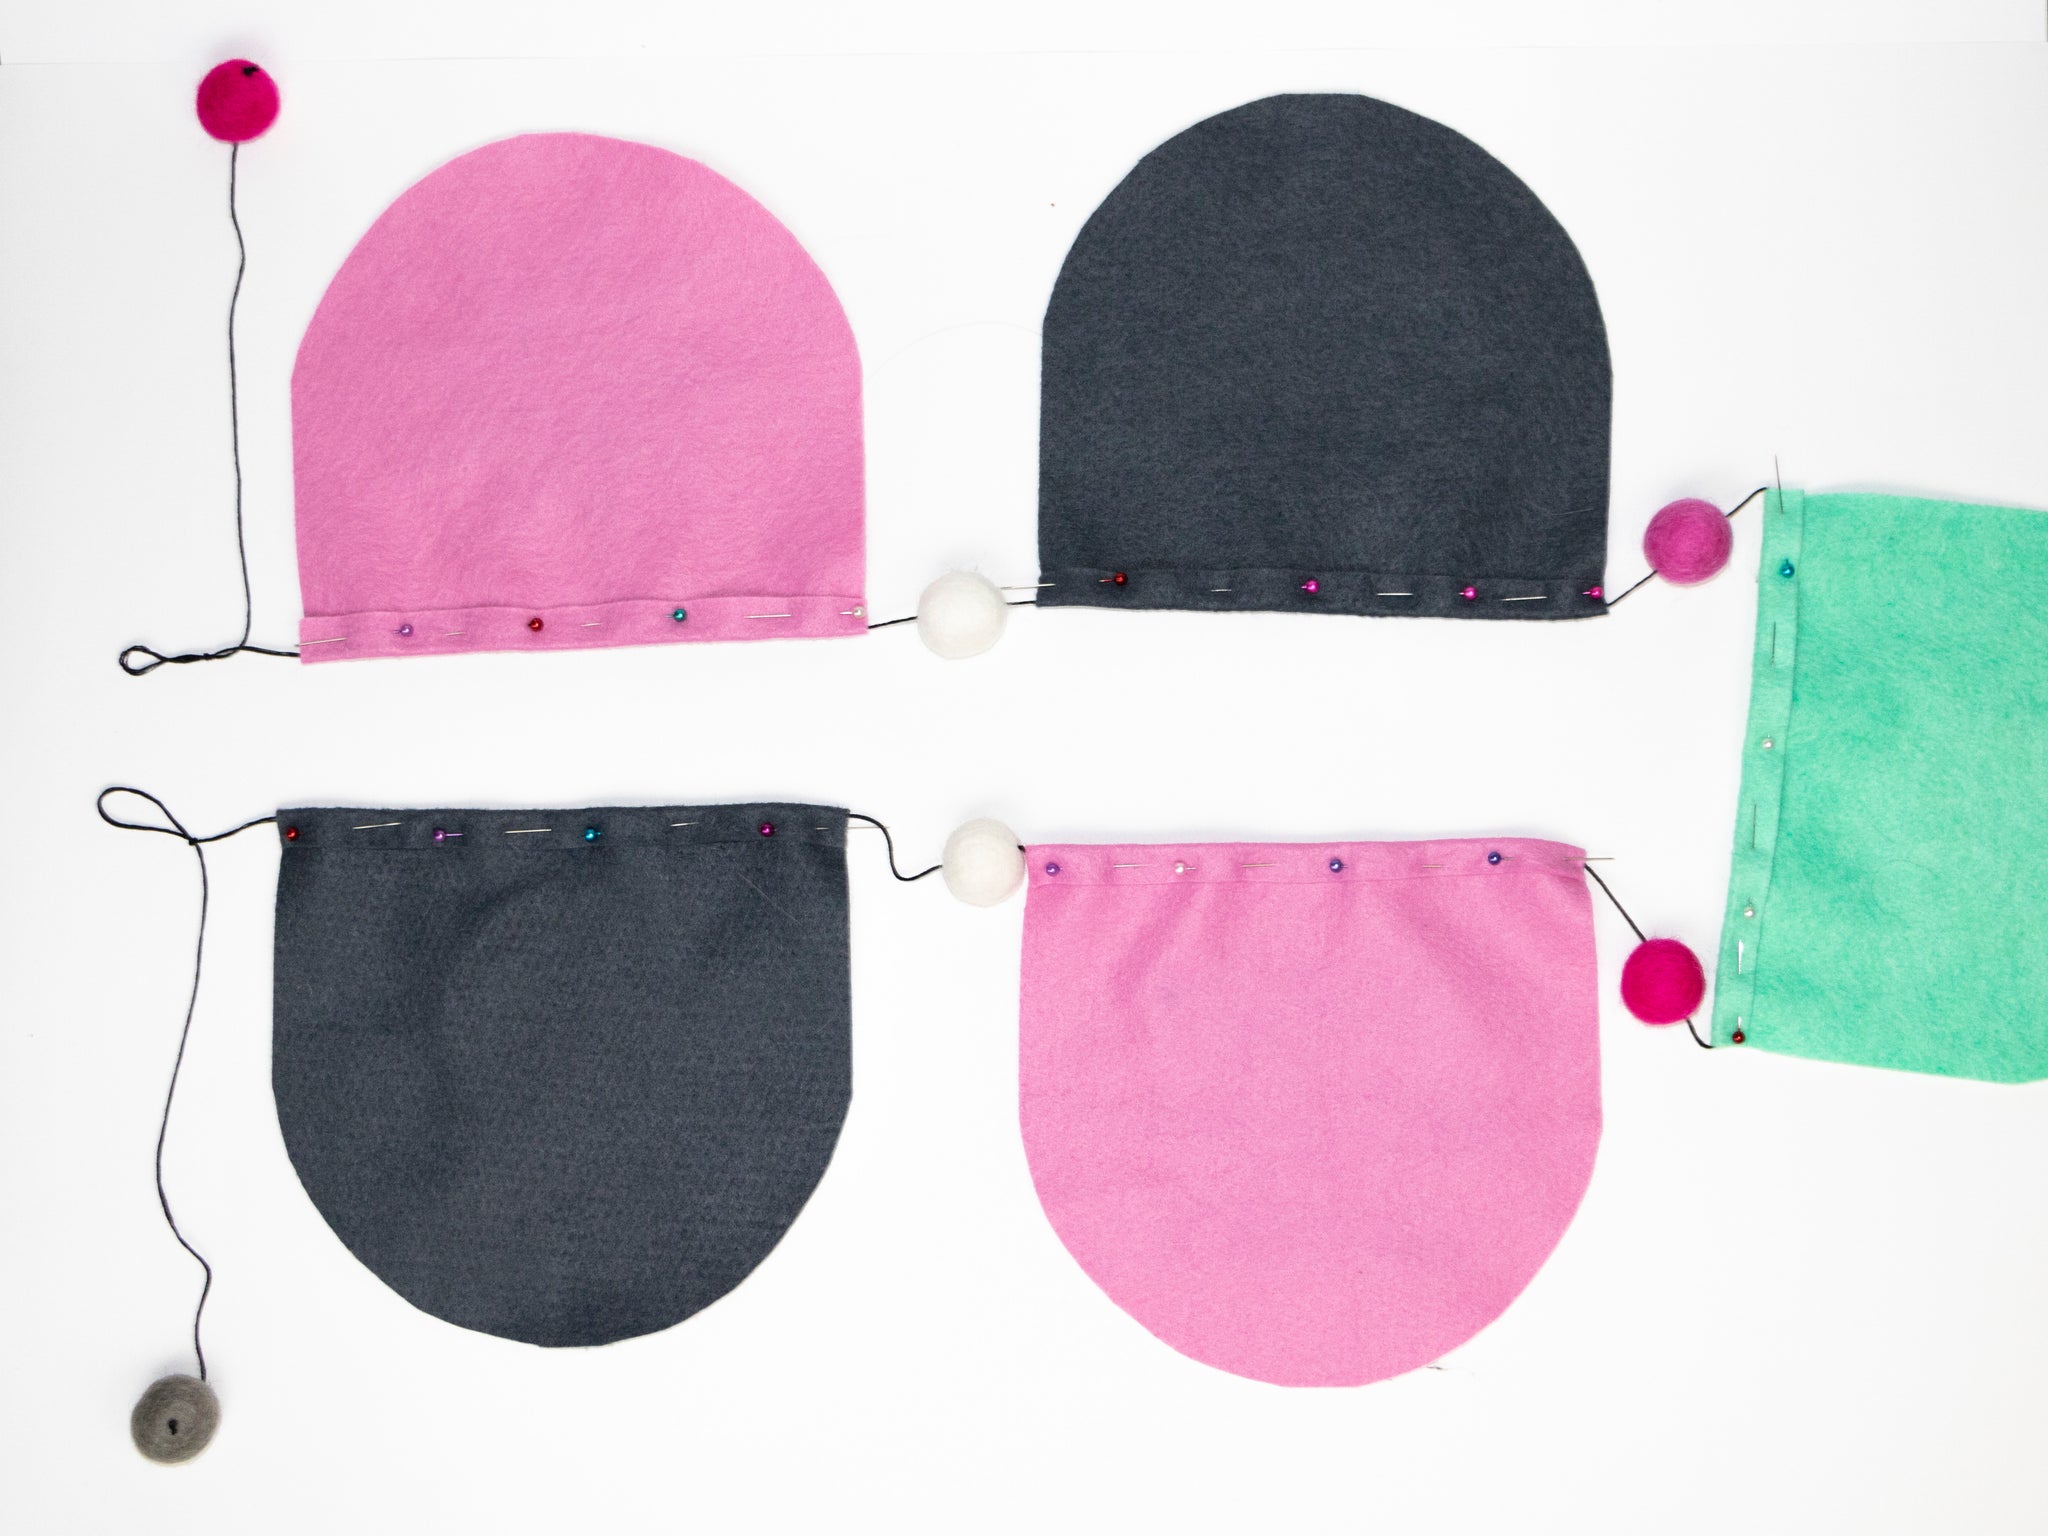
11. Take your first banner (top left) and fold it over the string, attach with pins. TIP: Measure from the string to the top of the banner before you fold to insure a consistent look. I did ½ inch.)

12. Pick another color pompom and thread that through the needle to meet with the pennant you just pinned.
13. Repeat that process until you pin the last pennant for this row, then tie a loop like before, measure 7 inches from the loop, add a color pompom and tie a knot, cut off the extra thread.

14. Repeat steps 8-14 for the second pennant string. Or if you did a long string pennant ignore this step.
15. You might notice you have 8 extra pompoms, those are going to be added to each end of your pennant. Start by cutting 4 threads that are 13 inches long.
16. Thread your needle through and tie a knot on one end. Thread through two pompoms.

17. Take the needle off and tie another knot on the opposite end, move one of the pompoms down to that end.
18. Tie this pompom thread to where you tied the knot on the pennant string. Repeat for all pennant ends.

19. Now they are ready for the sewing machine, run them through with whatever thread color you think best. I did black.
20. And now you have a magical pennant to decorate for Halloween!
Ya did it! If only we were magical and could wave our wands and have the crafts make themselves, but that would take out all fun!

Thanks to Chloe for designing and writing this tutorial! You can follow her on Instagram @positivepennants or visit her website, where she has another spooky pennant. Stay tuned for more Benzie Design Maker Team tutorials!