
When I was little and would ask my mom what she wanted for Mother's Day, she would always say "make me something!" She still says that today. Fortunately for me - and you too - Maker Team Member Sue of @bluewithoutyoukids has designed a simple and stylish gift that will make Mom's day! The only other thing she'll need is a construction paper card.
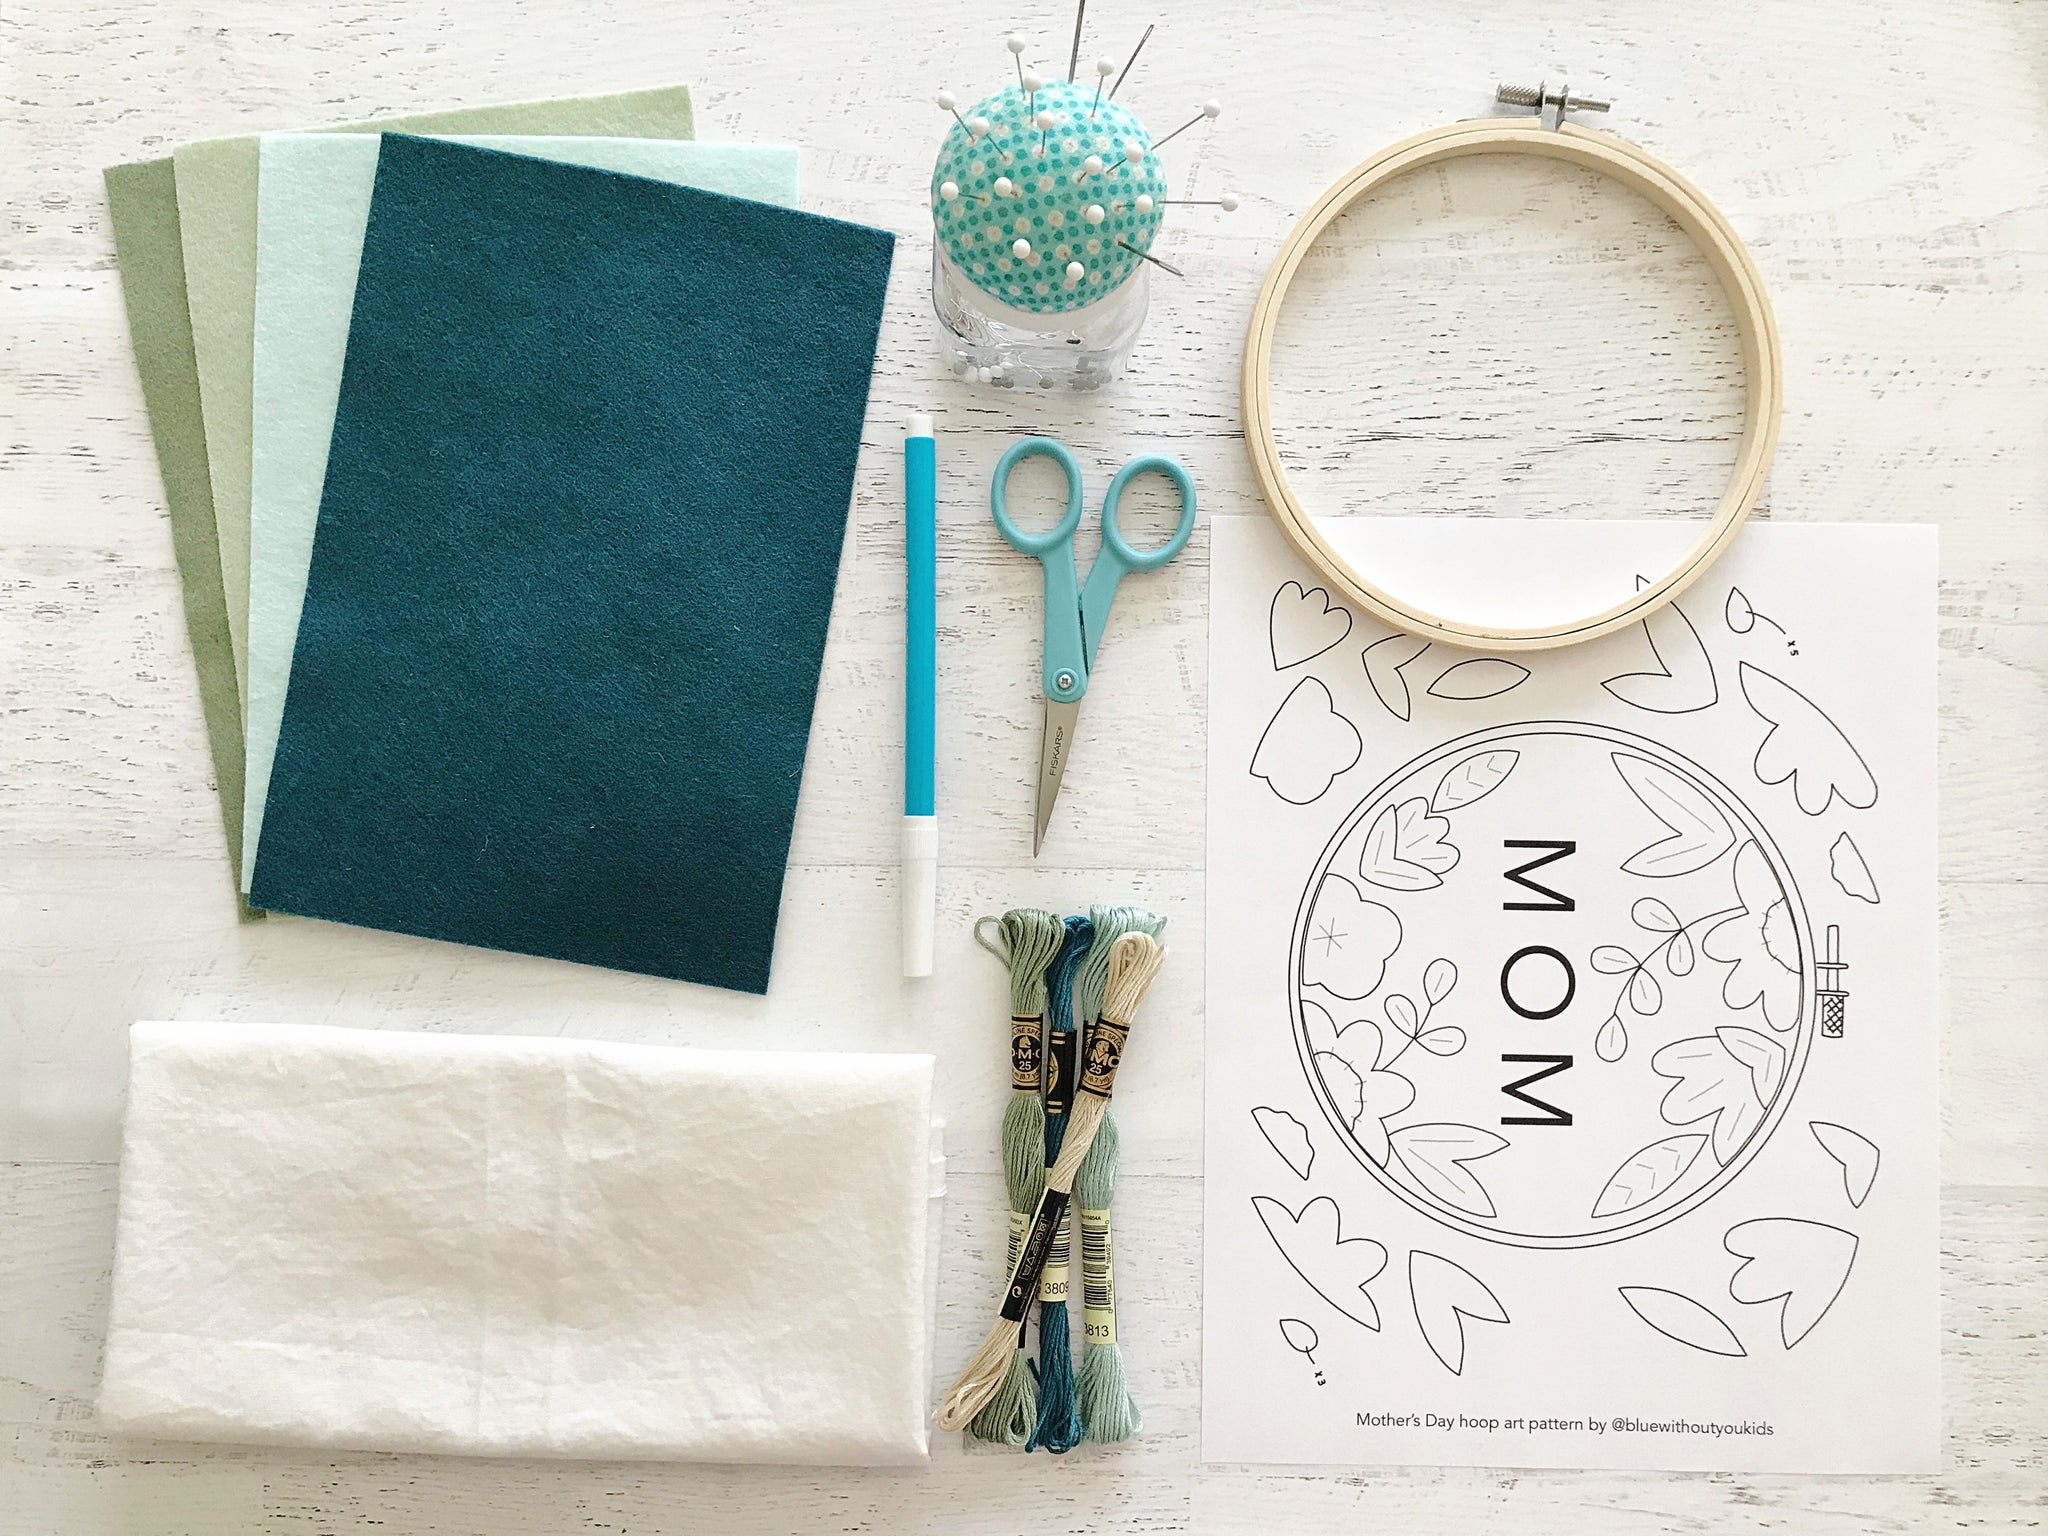
Mother’s Day in the United States is on Sunday, May 9 and will be here before we know it! If you’re anything like me, you’re always looking for gifts for Mom that are unique and special. This hoop art was inspired by Rifle Paper Co. florals. The simple felt appliqué and embroidered text is perfect for crafters of all skill levels. My mom loves blue, so I chose these gorgeous saturated blues from Benzie’s collection of pure wool felt. The flowers and leaves are so easy to customize, though. It can be made with neutrals, lavenders, bright colors or pastels...feel free to customize for your own special mom!
Skill Level: Beginner
Time: 1 hour
Additional Supplies:
Mother's Day Hoop Pattern (click to download)
Cardstock
Directions:
1. Download and print the PDF pattern above. Decide on your color scheme and use the pattern pieces to cut flowers and leaves from your felt. I used a mixture of pure wool and wool blend felt for my samples. Customize colors by choosing two coordinating colors for the flowers and two shades of green for the leaves.
2. Using the inside ring as a template, trace the outside of the hoop on a piece of paper or card stock, then cut out the circle. You’ll use this to cover the back when you’re finished. Patterned scrapbook paper or cardstock would look really nice, but any paper will work fine!

3. Cut an 8” x 8” square of fabric and place it in the embroidery hoop. Gently pull the fabric until it’s smooth and tighten the screw at the top.
4. Arrange the flowers and leaves on your fabric, using the pattern as a guide. When you’re happy with the arrangement, use straight pins to secure them in place. Make sure you allow enough space in the center for your text. Use a disappearing ink pen or pencil to trace the two leaf stems.

5. Stitch the flowers and leaves in place using 3 strands of embroidery thread. The gray lines on the pattern are stitching guides. I used a back stitch for the leaf stems and simple straight stitches for everything else.

6. Cut out the word MOM from the pattern and place it behind your hoop. Hold the hoop up to the light and center the text. Once you’re happy with the placement, use a straight pin or tape to hold it in place. Trace over the text with a disappearing ink pen or pencil.

7. Stitch over the text using 6 strands of embroidery thread. I used a simple backstitch in my sample but a wrapped backstitch, stem stitch, or chain stitch would look nice as well. Poke evenly spaced holes in the fabric before stitching for more uniform stitches. You can see this technique on the letter O in the photo.

8. Make final adjustments by smoothing the fabric and tightening the hoop as needed.

9. Turn your hoop over and cut the fabric 1/4” from the edge. Use hot glue to glue the edges to the wooden hoop on the back. Use a little glue to cover the back with paper.

Now wrap it up for a special one-of-a-kind Mother’s Day gift! Happy Mother’s Day to all the amazing moms out there!!


Thanks to Sue for designing and writing this tutorial! You can follow her on Instagram @bluewithoutyoukids. Stay tuned for more Benzie Design Maker Team tutorials from the rest of the team!


