Share
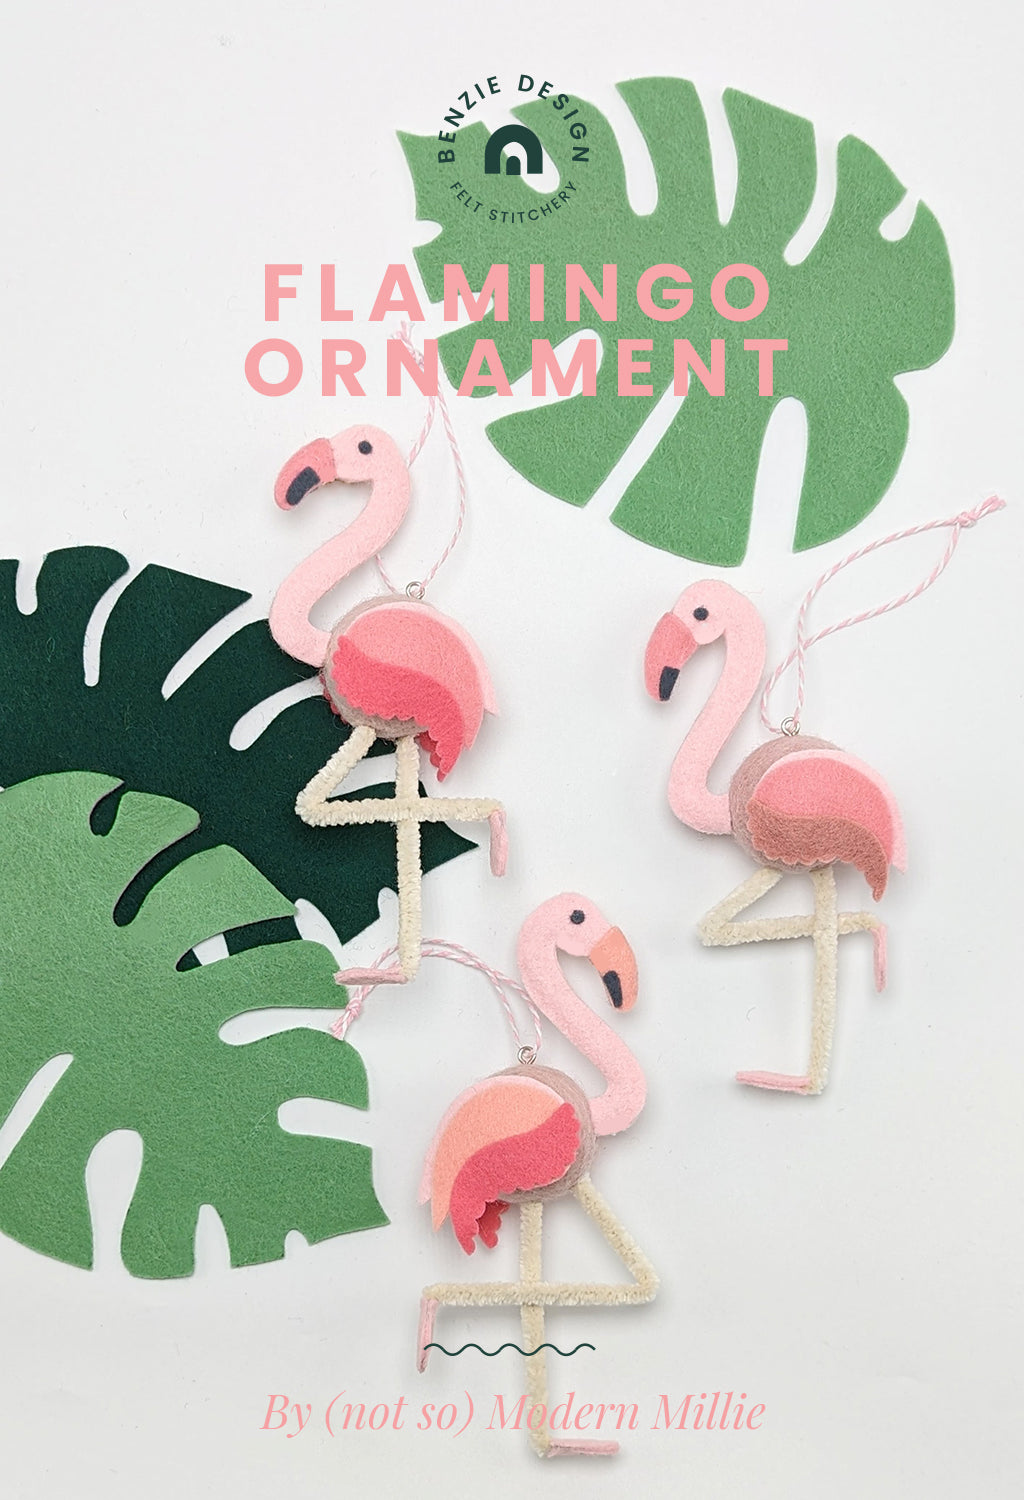
We've shared an incredible assortment of ornament tutorials over the years, but we were definitely missing a fanciful flamingo! This long-legged bird deserves a place on any tree and can be crafted in under an hour. We selected our favorite shades of pink felt below but you can mix and match to suit your style - and stash. Fa la la la la flamingos!
Skill Level: Intermediate
Time: 45 minutes
Additional Supplies:
Flamingo Pattern (click to download)
Small Screw Eye
Directions:
1. Print Flamingo Pattern onto cardstock and cut out. Trace pattern onto corresponding felt pieces and cut out.

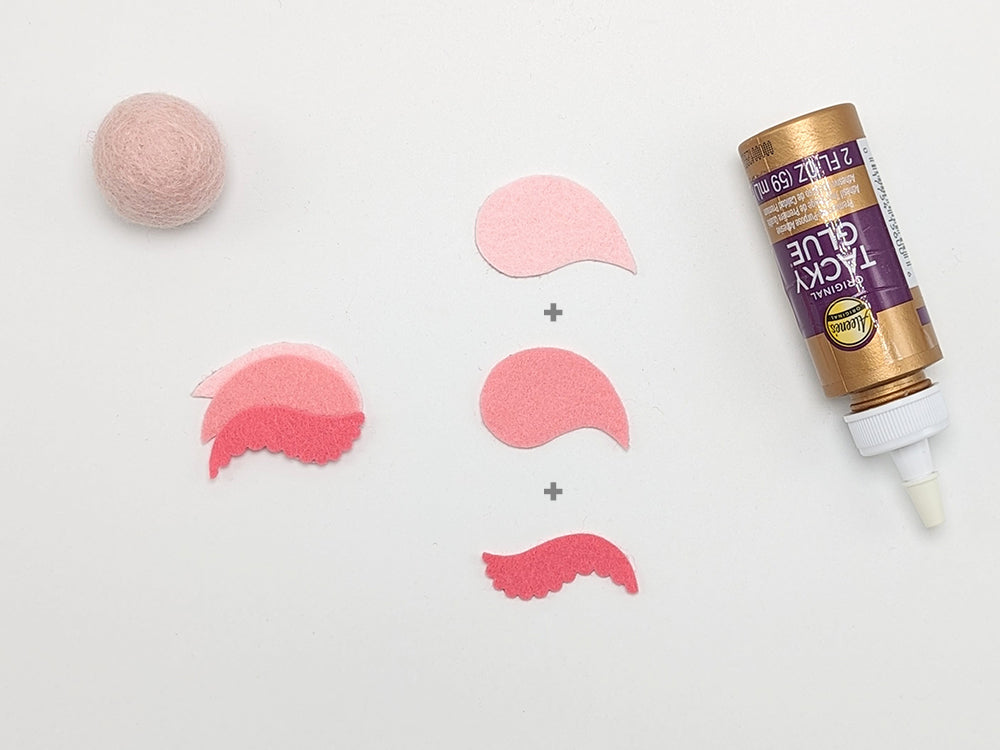
2. To assemble the wings, place Wing 2 on top of Wing 1 with inner rounded side aligned. Bring Wing 2 down just slightly and rotate so that Wing 1 is visible and the back "feathers" spread out. Glue in place. Place Wing 3 on top of Wing 2 along the bottom edge. Rotate slightly in the same direction as before and glue in place. Repeat for the second wing.
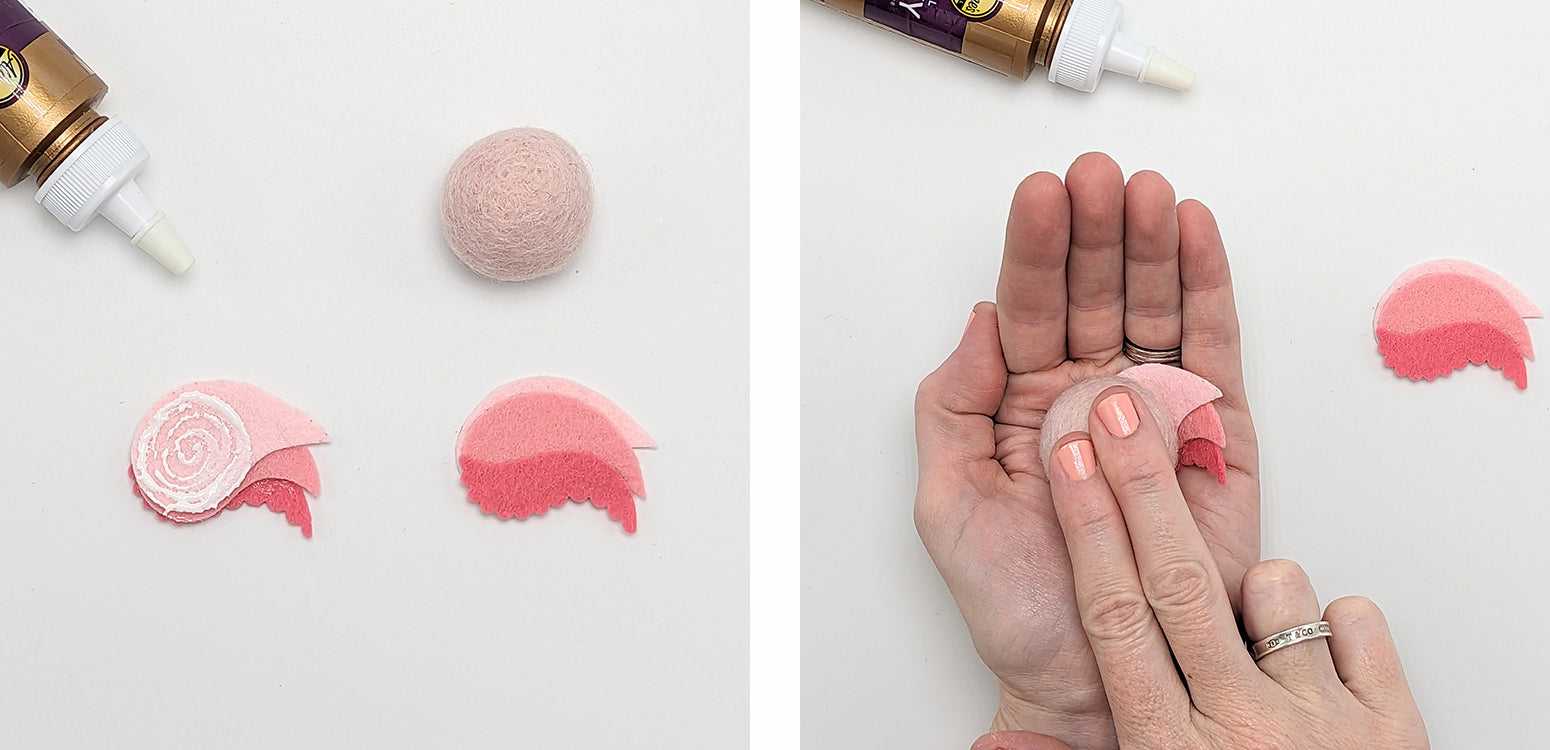
3. When wings are dry, flip over and add glue to the bulbous half of one wing. Place on the pom-pom. Press into cupped palm, wing side down, so wing will conform to rounded shape.
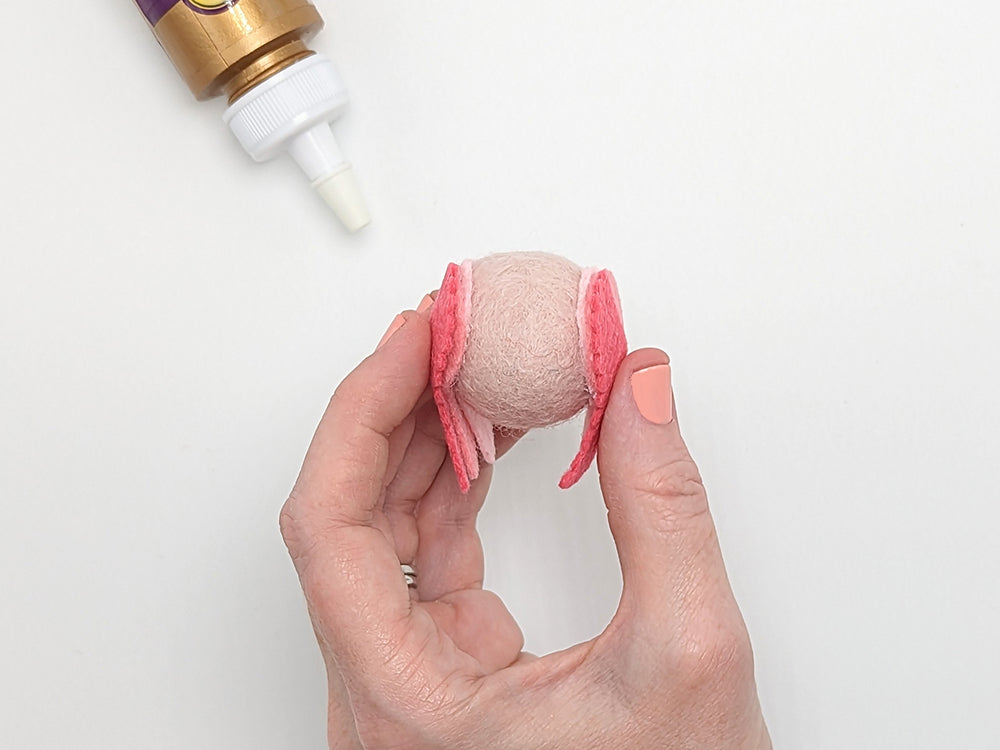
4. When glue is dry, repeat Step 3 with second wing. Be sure that wings are on opposite sides of pom and that the front and back components are aligned. Set body aside.
5. Use the guide on the Flamingo Pattern to bend pipe cleaner into shape for the head.
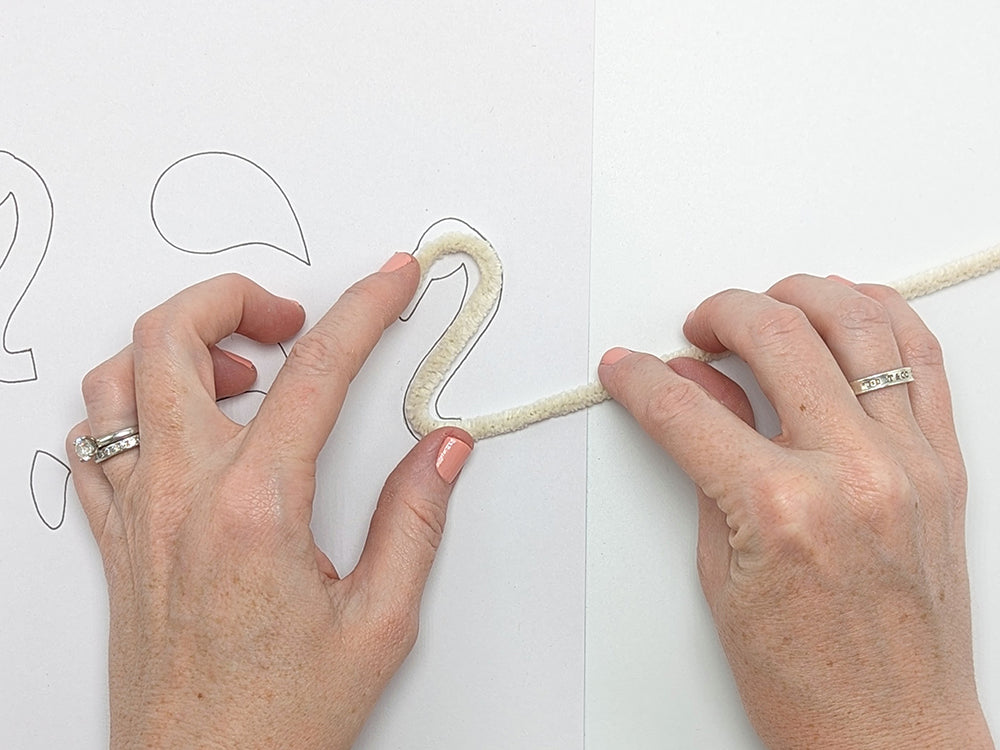
6. Draw a line of glue through the center length of felt Head. Position bent pipe cleaner onto the felt and press in place, adjusting if necessary.
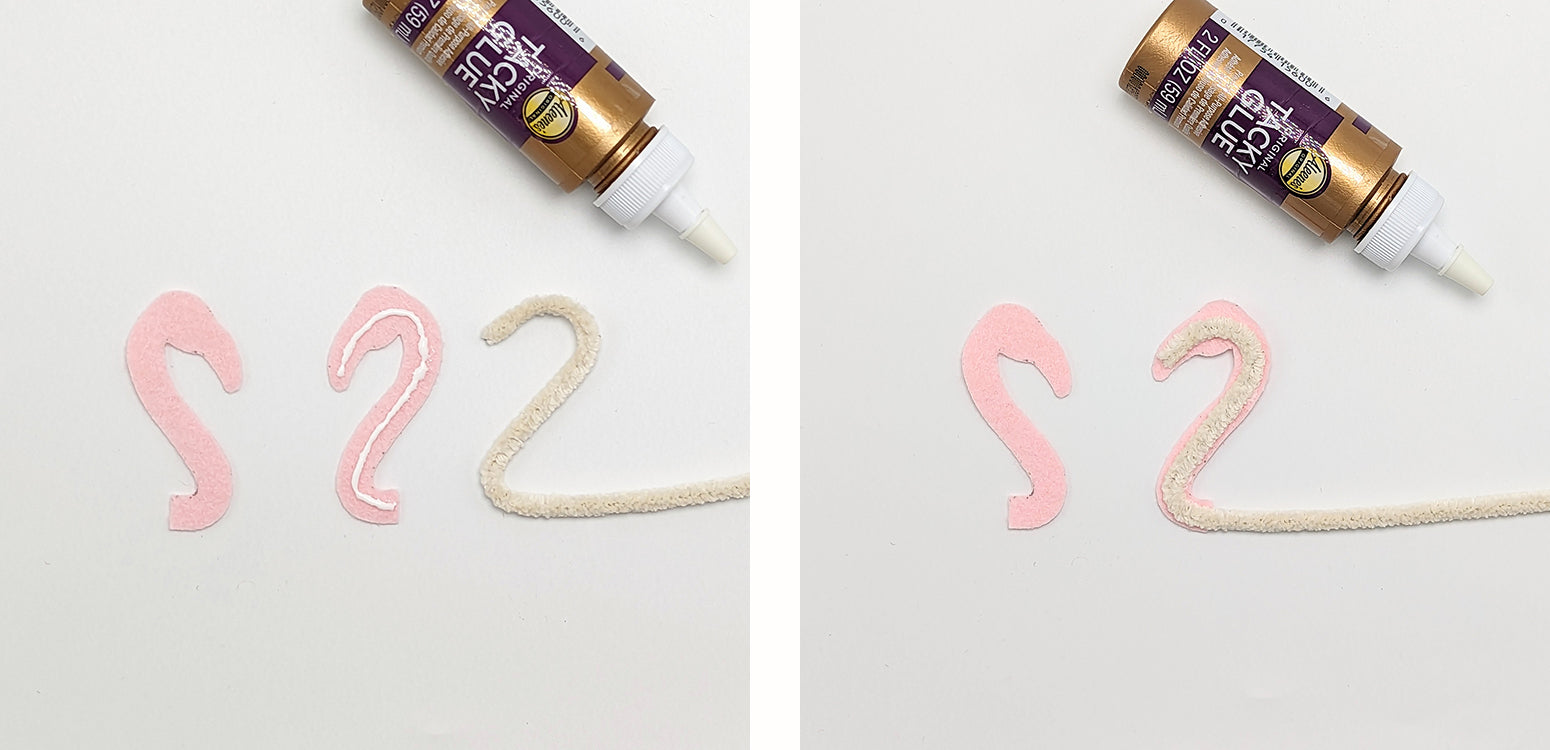
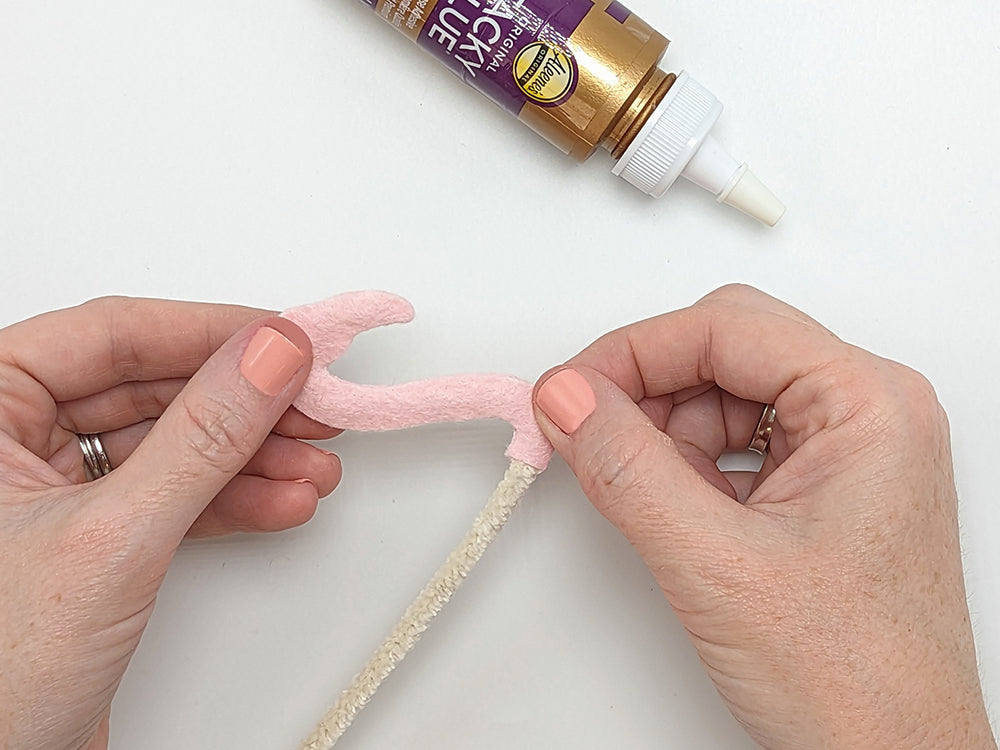
7. Add glue to visible side of pipe cleaner and around the perimeter of the first head piece. Place second felt head over first, with pipe cleaner sandwiched between. Moving around the head, pinch two felt pieces together to close the side seams and completely hide the pipe cleaner. Work around the perimeter several times until seams are sealed and glue is set.
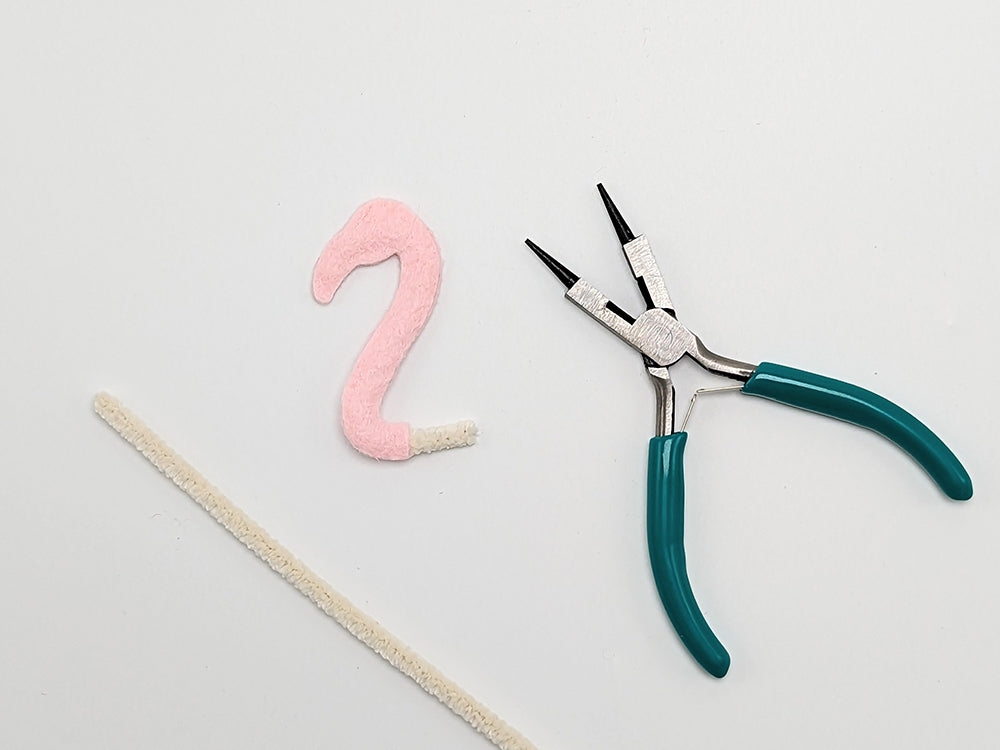
8. Use wire cutters to cut pipe cleaner 1/2" past the end of the head. Set remaining length of pipe cleaner to the side.
9. Glue remaining facial features to flamingo head. The beak pieces are slightly wider than the beak area on the head. Glue one Beak to the head and then attach the other side. Close seams by pinching together to hide portion of head between. Add Eyes and Beak Accents.
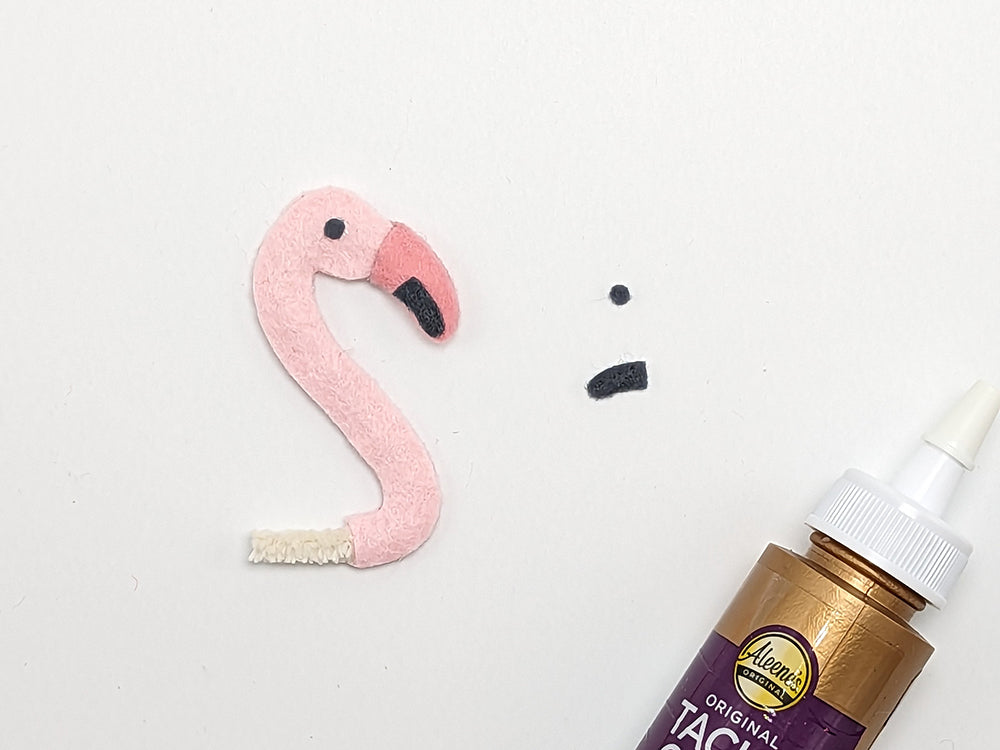
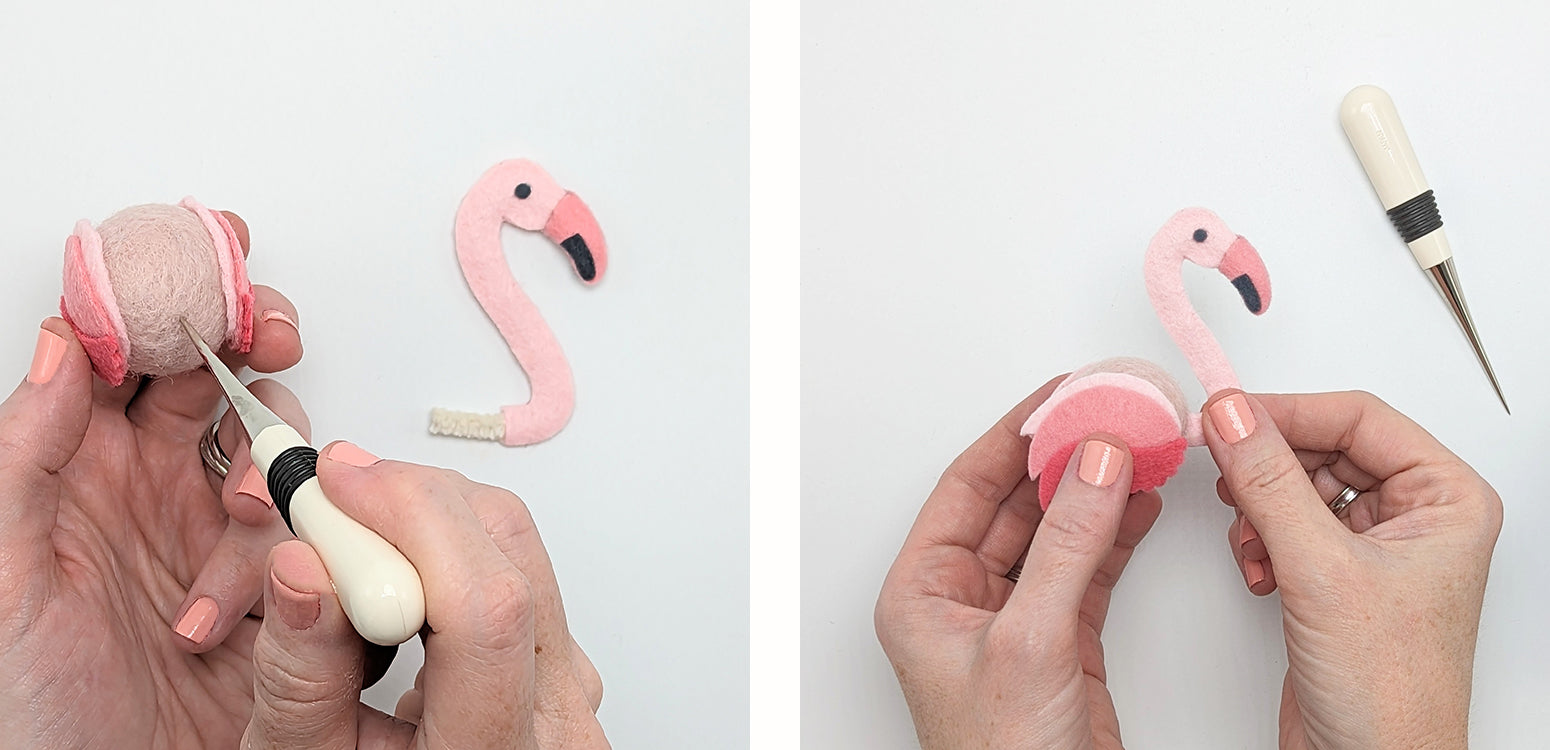
10. Use awl to make a hole in the pom-pom centered between the two wings at the bulbous end. Add glue to exposed pipe cleaner on head and push into the body.
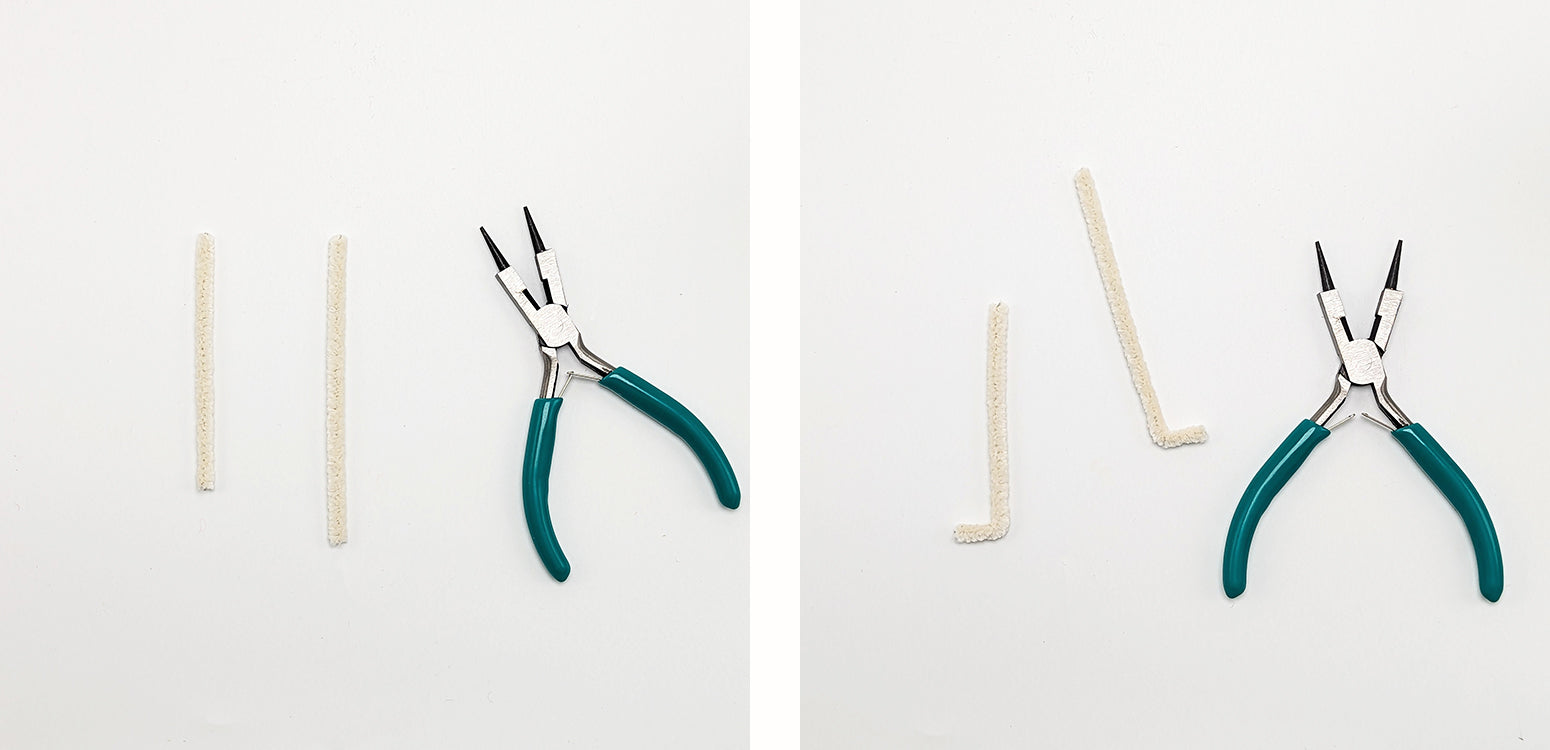
11. Cut the remaining length of pipe cleaner into two pieces for the legs with one piece measuring 3 1/2". The second piece will be slightly longer. Bend each leg 1/2" from the end to make feet.
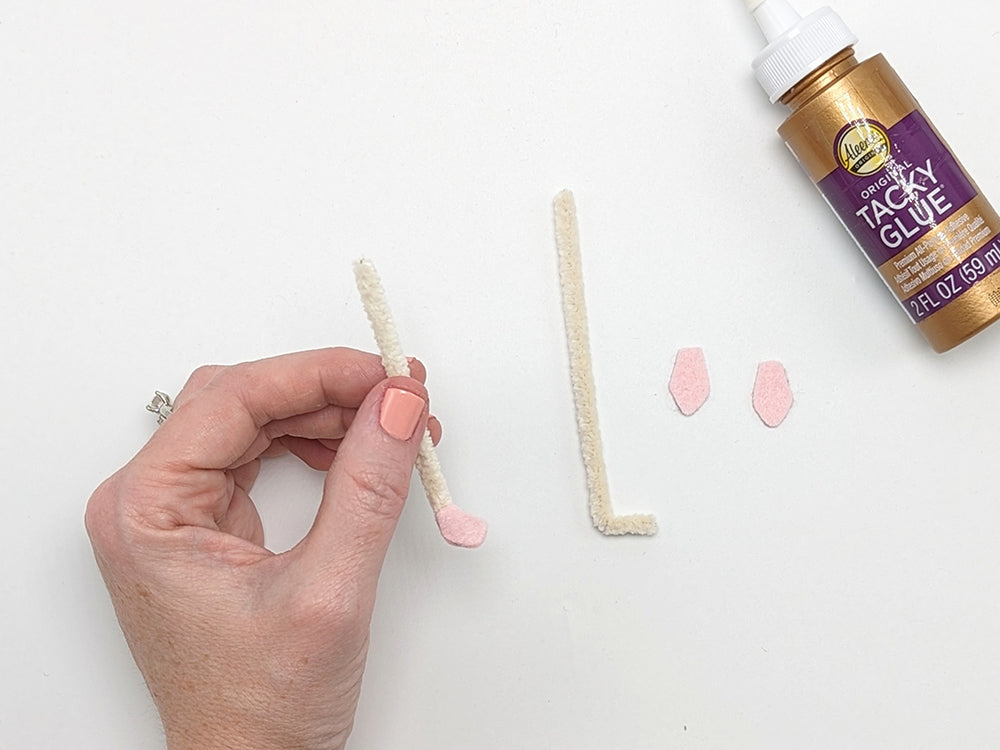
12. Glue one Foot to the bottom foot of one pipe cleaner. Add glue to the pipe cleaner and perimeter felt and place other foot piece on top with pipe cleaner sandwiched between. Pinch around the edges to seal seam and secure felt pieces. Repeat on second leg.
13. Use awl to make two holes (as shown below) along the bottom center of the pom-pom body. Add glue to foot free ends of legs and push in place. Position longer leg in the front hole, closest to the head. Once legs are secure, bend the longer leg about 1" down from the body and fold up to mimic a flamingo tucking its leg. Add a small dot of glue where the two legs touch to keep in place.
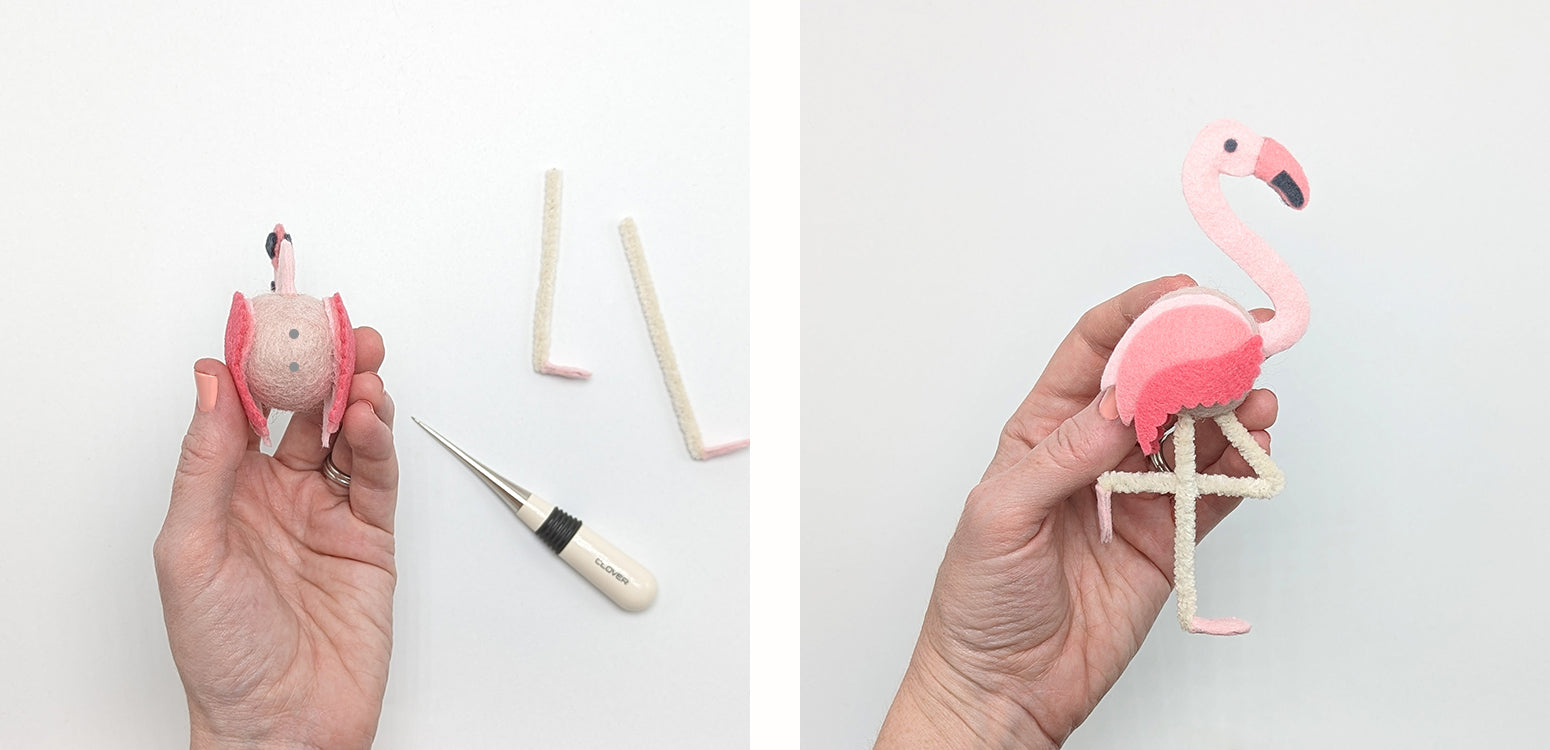
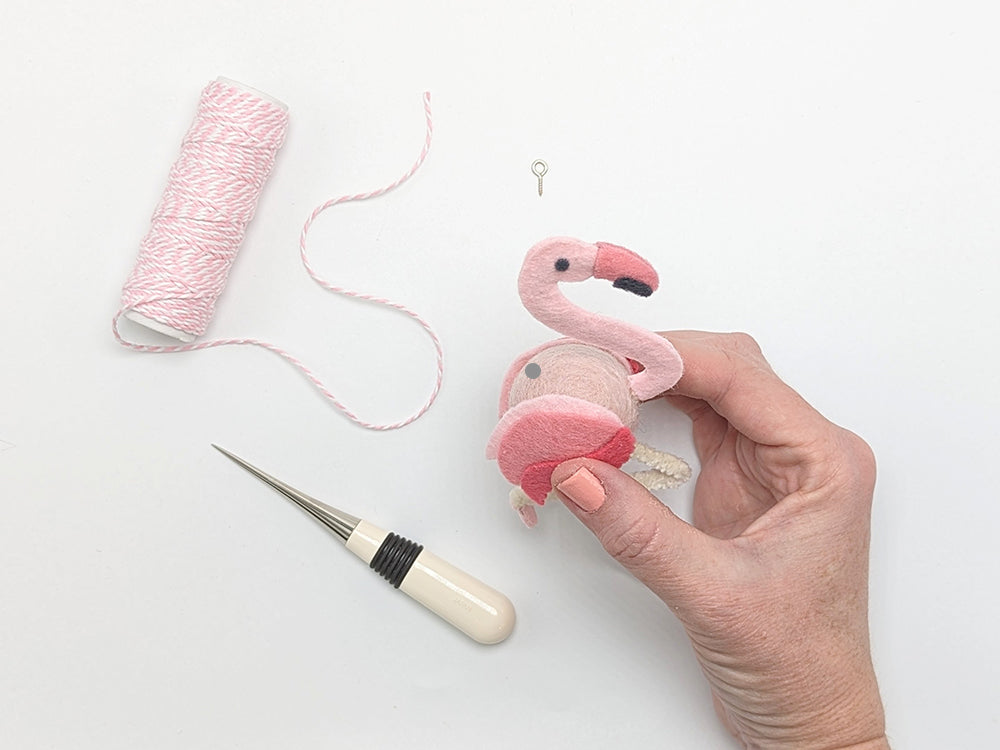
14. To turn this flamingo into an ornament, use the awl to make a small hole (as shown below) in the top center of the pom-pom body. Add glue and a small screw eye to the hole. Once dry, add string or ribbon to hang.
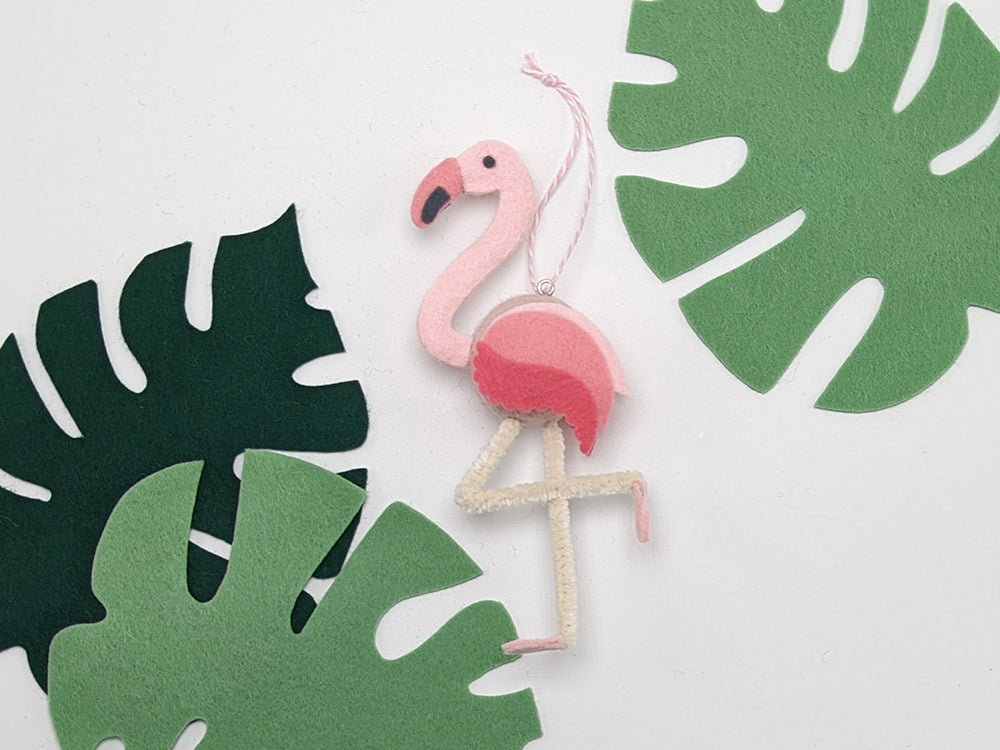
Your flamingo ornament is complete! Make one to commemorate a tropical vacation or gift one to your Southern friends celebrating a warm Christmas season...
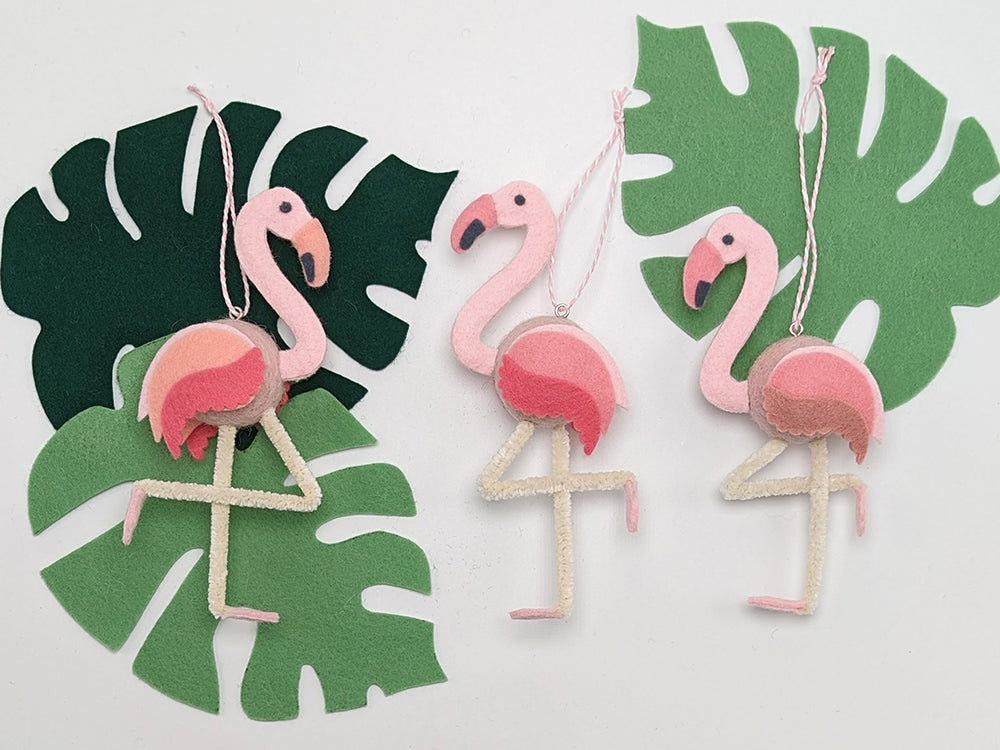
Or make a flamboyance of flamingos for festive flair!
Thanks to Camille for designing and writing this tutorial! You can follow her on Instagram @notsomodernmillie or visit her website. Stay tuned for more tutorials!