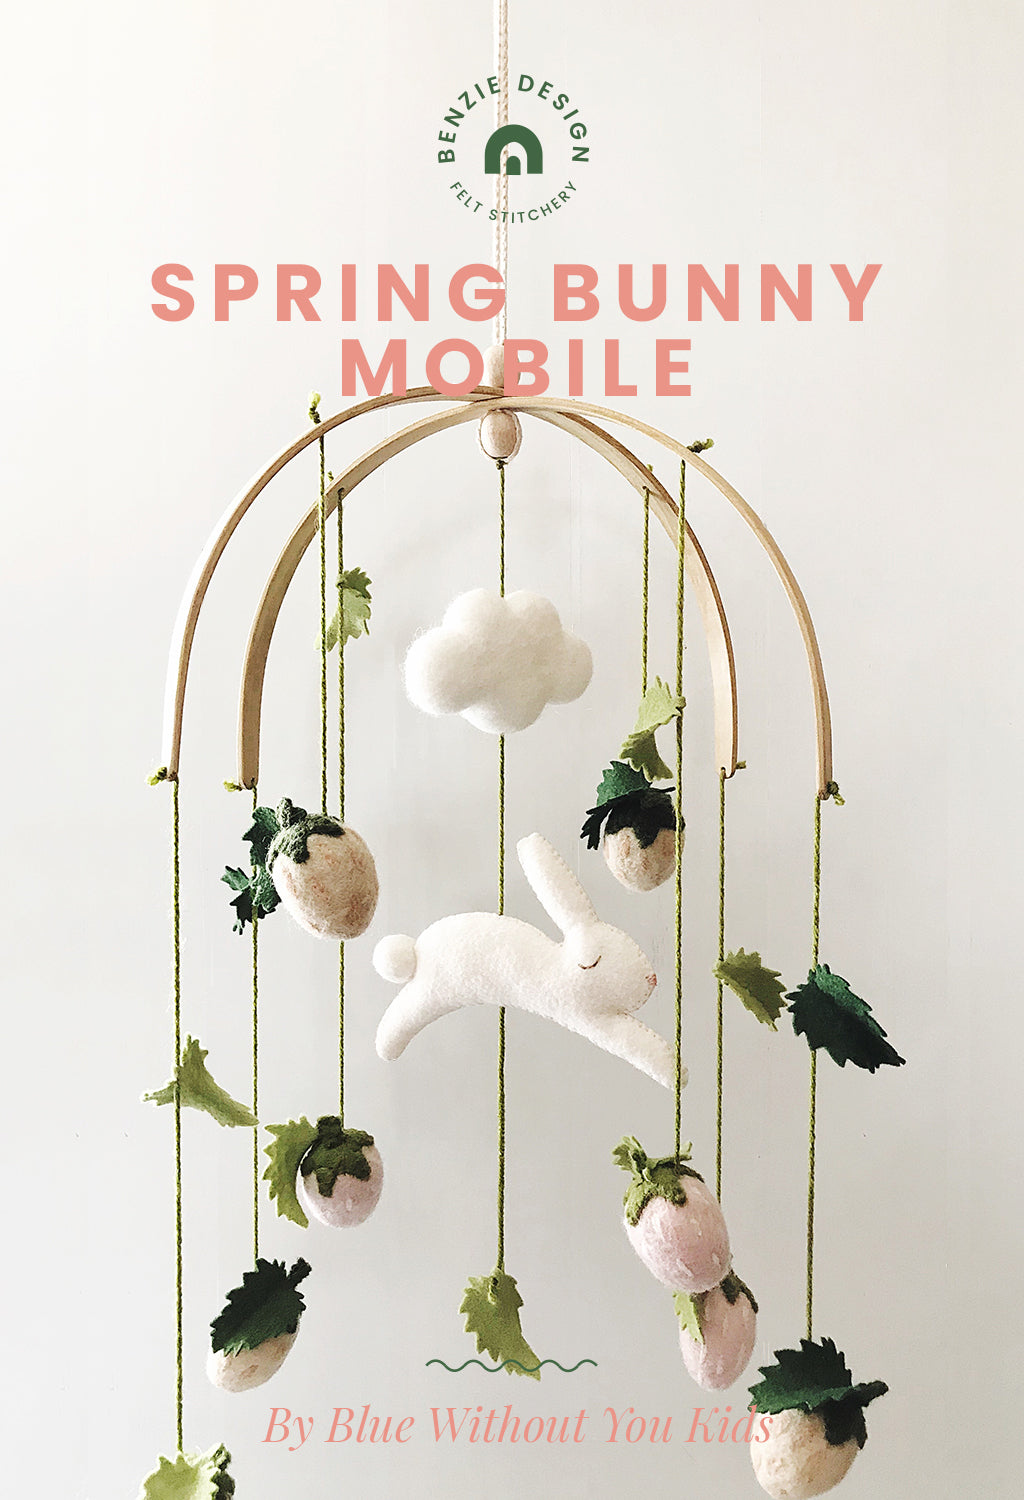
Sweet dreams are made of these. Using a few key supplies from Benzie, Maker Team Member Sue of @bluewithoutyoukids has created a beautiful mobile that is perfect for those sweet Spring babies. Follow along to see how she put together this absolutely delightful Spring Bunny Mobile.
Baby mobiles are often one of the most treasured pieces in a nursery. There are so many gorgeous handmade ones to choose from but they can also be very pricey. My goal in designing this DIY was for it to be simple enough for beginners but also sophisticated and fun. Benzie’s mobile base provides such a beautiful frame for this project. The hand-stitched bunny has a minimal design which is on-trend but also easy to stitch! The adorable strawberries cascading around him come ready to string; I just added a few handmade leaves for visual interest. Choose the cameo and cream colorway for a more feminine version of the mobile…or the more gender-neutral colorway of mojave and cream!
Skill Level: Beginner
Time: 3 hours
Bunny Template PDF (click to download)
Directions:
1. Download and print the Bunny Template PDF pattern above. Cut two bunny shapes from the wool blend felt and transfer markings for the eyes. Make sure the bunnies are facing opposite ways. Using three strands of embroidery thread, stitch the eyes with three small stitches as shown.
2. Pin bunny shapes together, right sides facing out. Starting just behind the front leg, attach the two pieces using a whip stitch. For the cleanest finish, make your stitches evenly spaced, (approx. 1/16” apart) and as close to the the edge as possible (approx. 1/16” from the edge).
3. Stop stitching just past the ears to stuff the front legs and ears. Break off tiny pieces of stuffing and use a pencil tip or dowel rod to fill them a little at a time. Continue stitching, then stop again just past the hind legs. Fill the hind legs in the same way as the front, then the head and the rest of the body. Bunny should be firm but not overstuffed. For more detailed instructions on stuffing, see Benzie Maker Hillary’s tips here.
4. Finish stitching the tummy and tie embroidery thread ends in a square knot. Hide the ends by pulling them back through to the center of bunny. Clip ends of thread so they won’t show.
5. Stitch the nose by making three or four stitches using three strands of pink embroidery thread.
6. Cut a slit into the side of a small pom-pom and hot glue to back of bunny for a tail.

7. Cut nine 18” lengths of yarn and set them aside. This is more than you’ll need but you’ll adjust later.
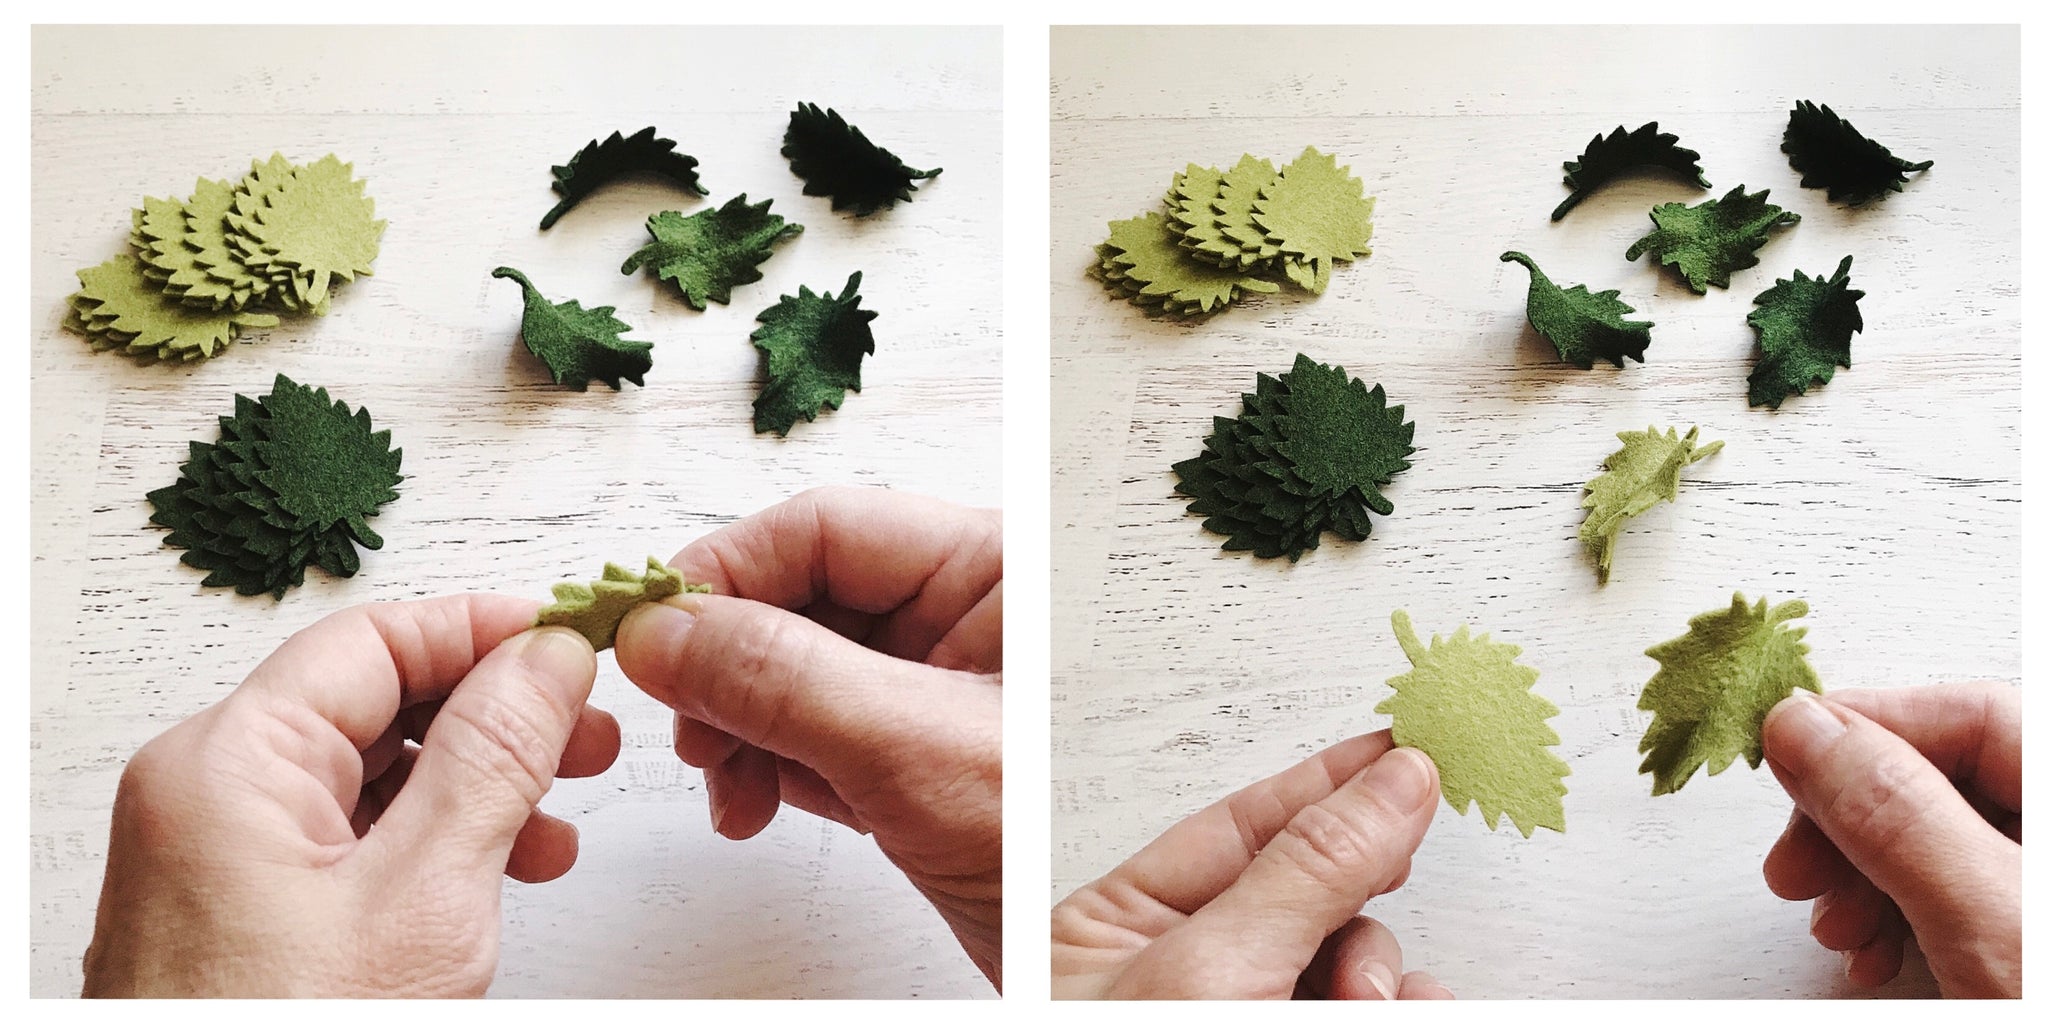
8. Using the leaf pattern, cut six leaves out of the Moss wool blend felt and nine leaves out of the Fern wool blend felt. Fold the leaves in half lengthwise and hold them with both hands, fingers and thumbs together. Pull the felt downward and out along the fold, tugging and twisting as you go. When you unfold them, your leaf will have a more natural ruffled look.
9. Tie a knot in the end of each string and thread it through the holes in the mobile arms. Attach the center string by using your embroidery needle to string the yarn under the hanger on the mobile base as shown.
10. Using the awl, poke a hole through the center of the cloud from top to bottom. (You could also use wool roving to make a three-dimensional cloud.) Use a long tapestry needle to thread the center yarn through the cloud. The blunt end of a tapestry needle is best for stringing the mobile pieces because it won’t catch on your felt like a sharp needle would. Thread the yarn through the bunny in the same way.

11. Poke holes in the tops of the strawberries. Placing the holes off-center (in the V where two leaves come together) will create more of a tumbling effect.
12. Pull the yarn all the way through the strawberry using the tapestry needle. Then, slowly pull the yarn back out of the strawberry just until the end of the yarn disappears inside. Secure the yarn by putting a small dot of hot glue in the hole where the yarn enters the strawberry at the top.

13. Attach a fern-colored leaf to the top of each pink strawberry using a small dot of hot glue on the stems. Attach a moss-colored leaf to the top of the cream strawberries.
14. Attach the rest of the leaves by placing a small dot of glue on the very end of the stem then wrapping it around the yarn as shown. Attach one of the fern colored leaves to the center yarn under the bunny.

15. Use the measurements on the pattern to create the mobile as shown (but it’s really personal preference how you choose to adjust them). A simple double knot should keep the yarn from slipping through the hole on the arm of the base.
16. Add a longer piece of thread to the top for hanging from the ceiling!

You’ve just completed a beautiful handmade mobile! Whether you give it as a gift or make it for yourself, I know it will be a timeless keepsake for years to come!

Thanks to Sue for designing and writing this tutorial! You can follow her on Instagram @bluewithoutyoukids. Stay tuned for more Benzie Design Maker Team tutorials from Sue and the rest of the Team!


