Share

Many of you found Benzie Design when you were searching for quality wool and wool blend felt. For our faithful felt crafters, have you tried cutting your Benzie felt with a laser cutter? There's definitely a learning curve! Luckily, Maker Team member Tara of @weftyneedle is sharing all her tips and tricks for cutting wool blend and pure wool felt on a Glowforge. Time to fire up those lasers!
This will be quite a bit different from my usual tutorials! I’m going to share my experiments with cutting felt on my Glowforge, and share the best settings I found for Benzie’s pure wool and wool blend felts. If you are already a Glowforge user, this will take some of the guesswork out of your experiments. If you haven't ever used a laser cutter for felt, perhaps this will give you the courage to try!
What is a Glowforge?
For those of you here to learn more about this topic in general, a Glowforge is an at-home laser cutter. It uses a teeny tiny laser beam to cut and/or engrave materials like wood, acrylic, leather, paper, fabric - and felt! You connect the machine to your computer through wi-fi, and use the Glowforge software to set up material specifications, design placement, and cutting commands. You do all your designing on your own software (I use Illustrator) or in Glowforge’s system.
I used my Glowforge to cut the shapes for several Benzie felt projects. It cut most of the elements of my Wreath Candy Mat, diamonds to make six pointed stars and tumbling block motifs, and the lettering for felt banners.


You can take a gander at other things I’ve made on my Glowforge here, but for this blog post, I want to talk specifically about the best settings for cutting felt. Felt is an “unspecified material,” as in not proofgrade. With proofgrade materials, Glowforge has the settings available for you. With unspecified materials, you have to enter the machine’s settings manually, which includes the thickness of the material. The advice I found on the owner’s forum varies, so I decided to be as scientific as possible to find the right settings.
Glowforge Settings
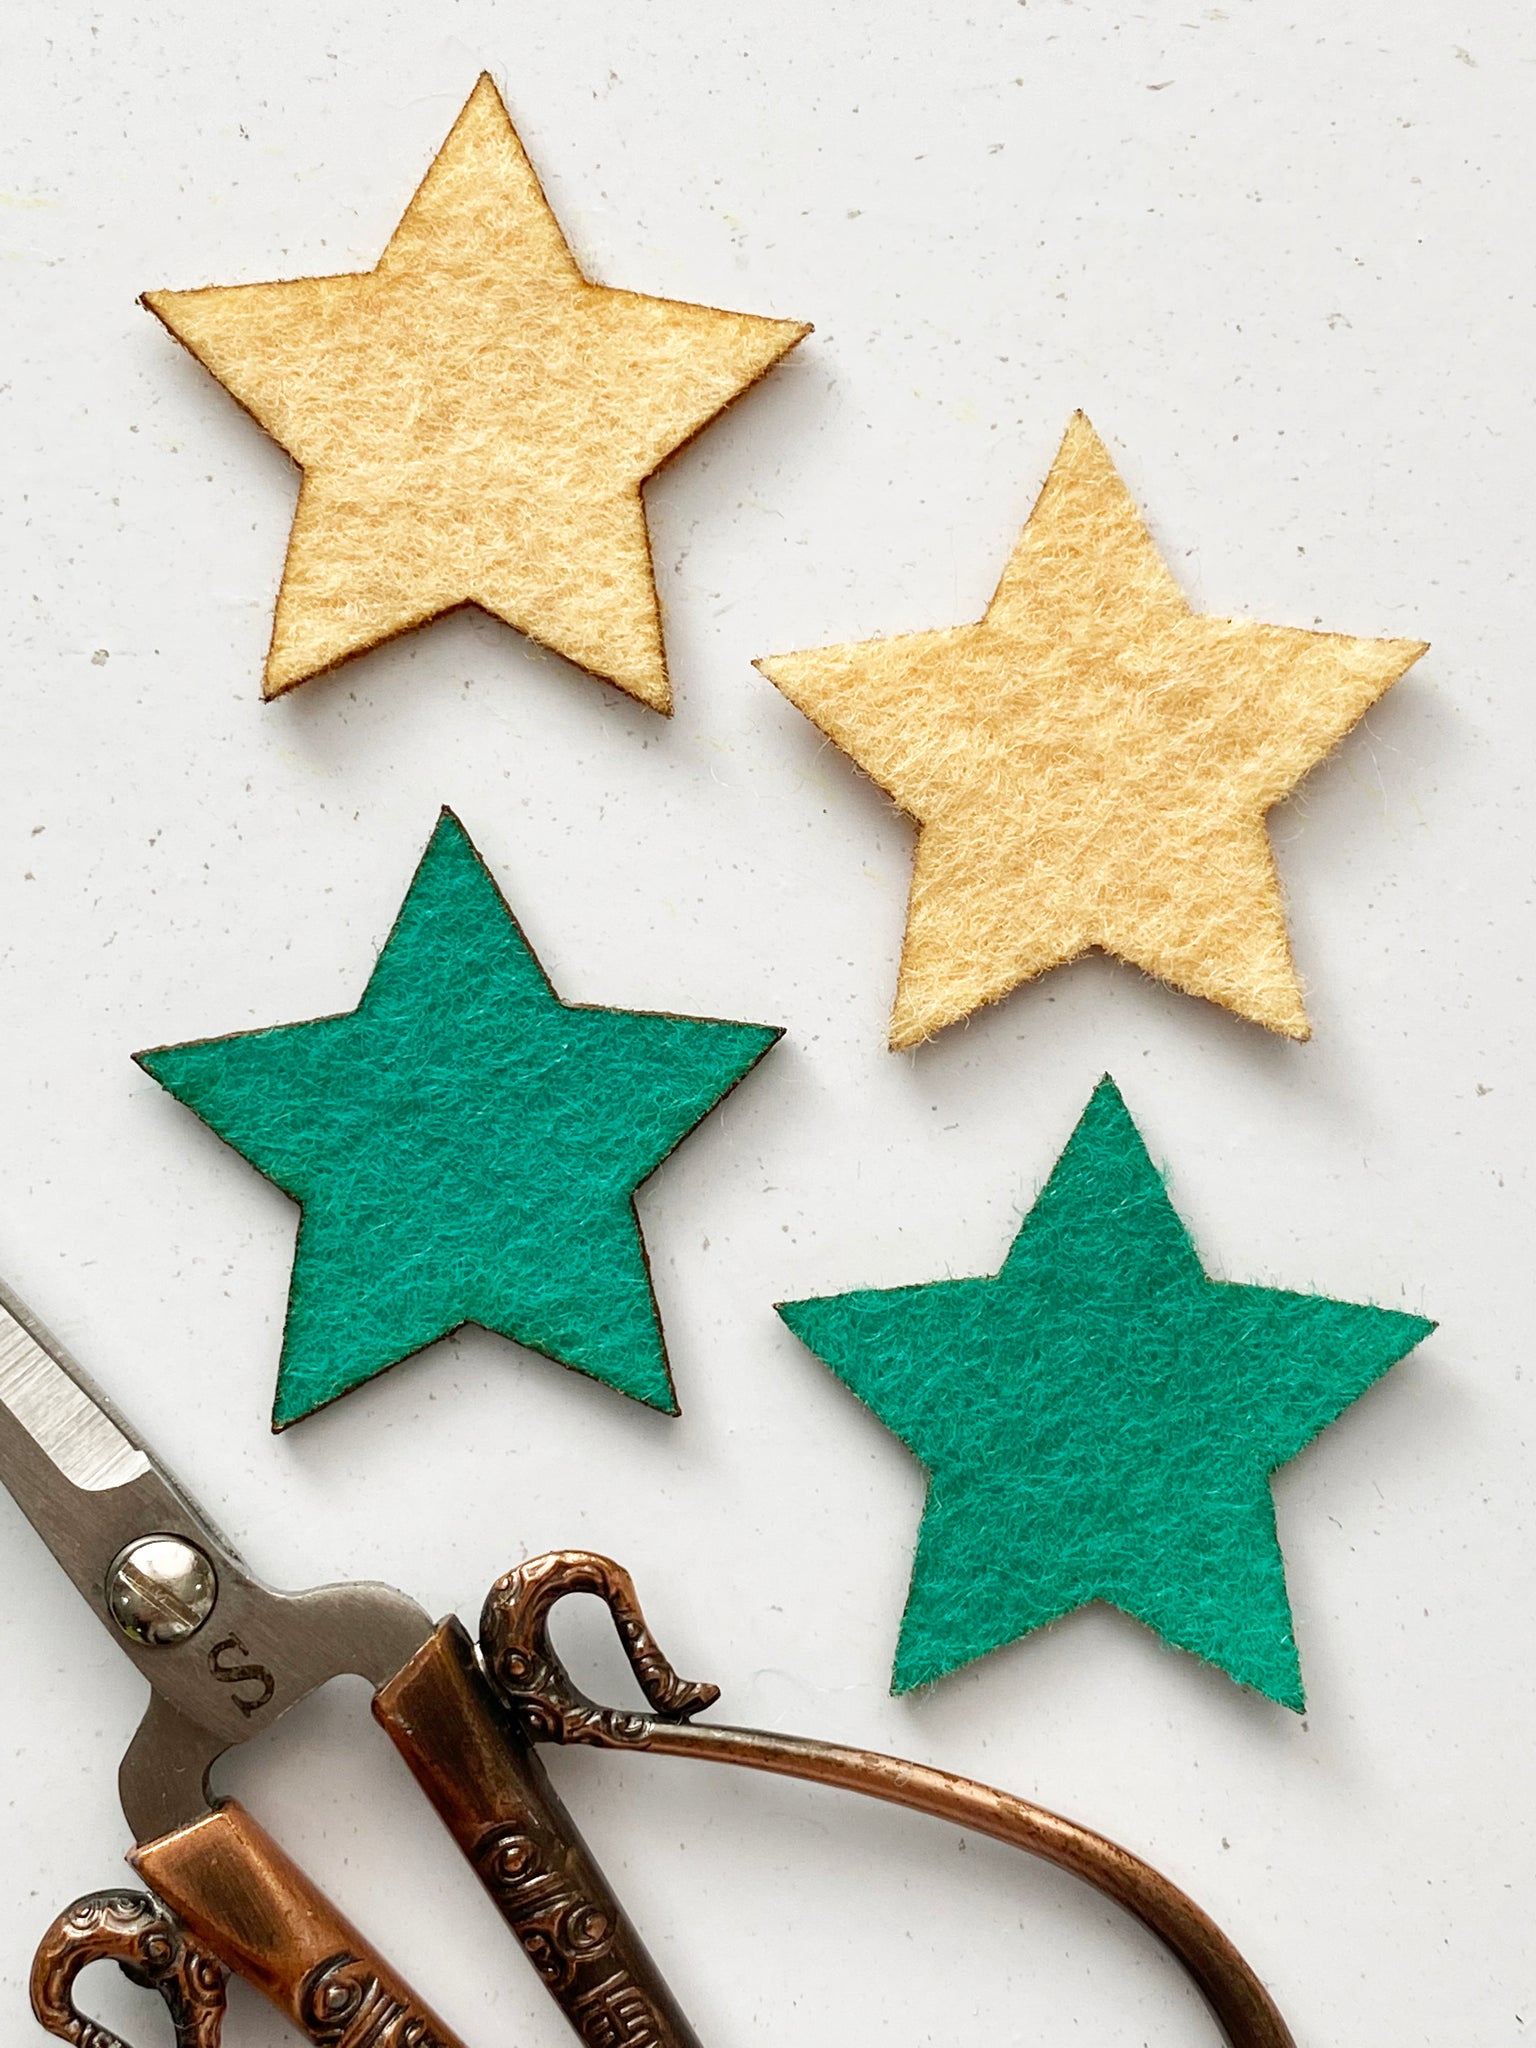
I started with a sheet of Benzie wool blend felt and a shape I thought would need to look precise and clean to work: a five pointed star. I experimented with almost 40 setting combinations on the wool blend felt, using each to cut out one star and then see how it looked. By the time I got to the Bellwether pure wool felt, I was able to zero in on the best settings more quickly with only 11 variations.

I wanted to find two optimal setting options for wool blend and pure wool felt: settings for a clean cut all the way through and settings for cutting guidelines most of the way through. A bit of a burnt edge is a natural and unavoidable side effect of working with a laser cutter. The discoloration from laser burn can sometimes add to the project. However, in other cases it may be undesirable, so thought it would be nice to find a way around it. By cutting deep guidelines and finishing with scissors, I have the option to turn the shape upside down and not see any marks from the laser around the edges!

Material Thickness
The thickness of a sheet of Benzie felt is around 3 mm, or 0.07 inches. I also experimented with using 0.08 inches as the thickness of the material, but found that 0.07 yielded the cleanest cut.
Wool Blend Felt
For a clean cut -
Speed: 200
Power: 15
Thickness: 0.07 inch
For a deep guideline -
Speed: 200
Power: 10
Thickness: 0.07 inch
Bellwether Pure Wool Felt
For a clean cut -
Speed: 230
Power: 30
Thickness: 0.07 inch
For a deep guideline -
Speed: 250
Power: 30
Thickness: 0.07 inch
Stars shown below were cut from Bellwether Teal and arranged on Butterscotch.

When testing out these settings on a project, it’s best to try a sample cut on the felt you plan to use. I noticed the effectiveness of these settings vary a bit from felt to felt, probably due to slight variations in density.
Want a Glowforge of your very own? Use my affiliate discount code for $500 off a Pro, $250 off a Plus, or $100 off a Basic. If you are debating on the pros and cons of getting a laser cutter, you can read my review of the Glowforge Plus on my blog. I would love to know if you’ve had success with other settings and see what you’ve made with your laser cutter. Happy crafting!
Thanks to Tara for designing and writing this tutorial! You can follow her on Instagram @weftyneedle or visit her website. Stay tuned for more tutorials from the Benzie Design Maker Team!