Share

What does a miniature felt lioness need? A fabulous winter coat, of course! In Part Two of our Miniatures series, Maker Team member Dani @knitty34 is sharing tips for sewing miniature accessories from patterns as well as creating your own designs. Proceed with caution - Dani's enthusiasm is contagious!
Last month we worked on stitching a miniature felt creature from one of Benzie's Cynthia Treen kits. Now that you have your creature, what else can you make for them? I am here to encourage you and show you that the possibilities are endless!
Skill Level: All
Time: Varies

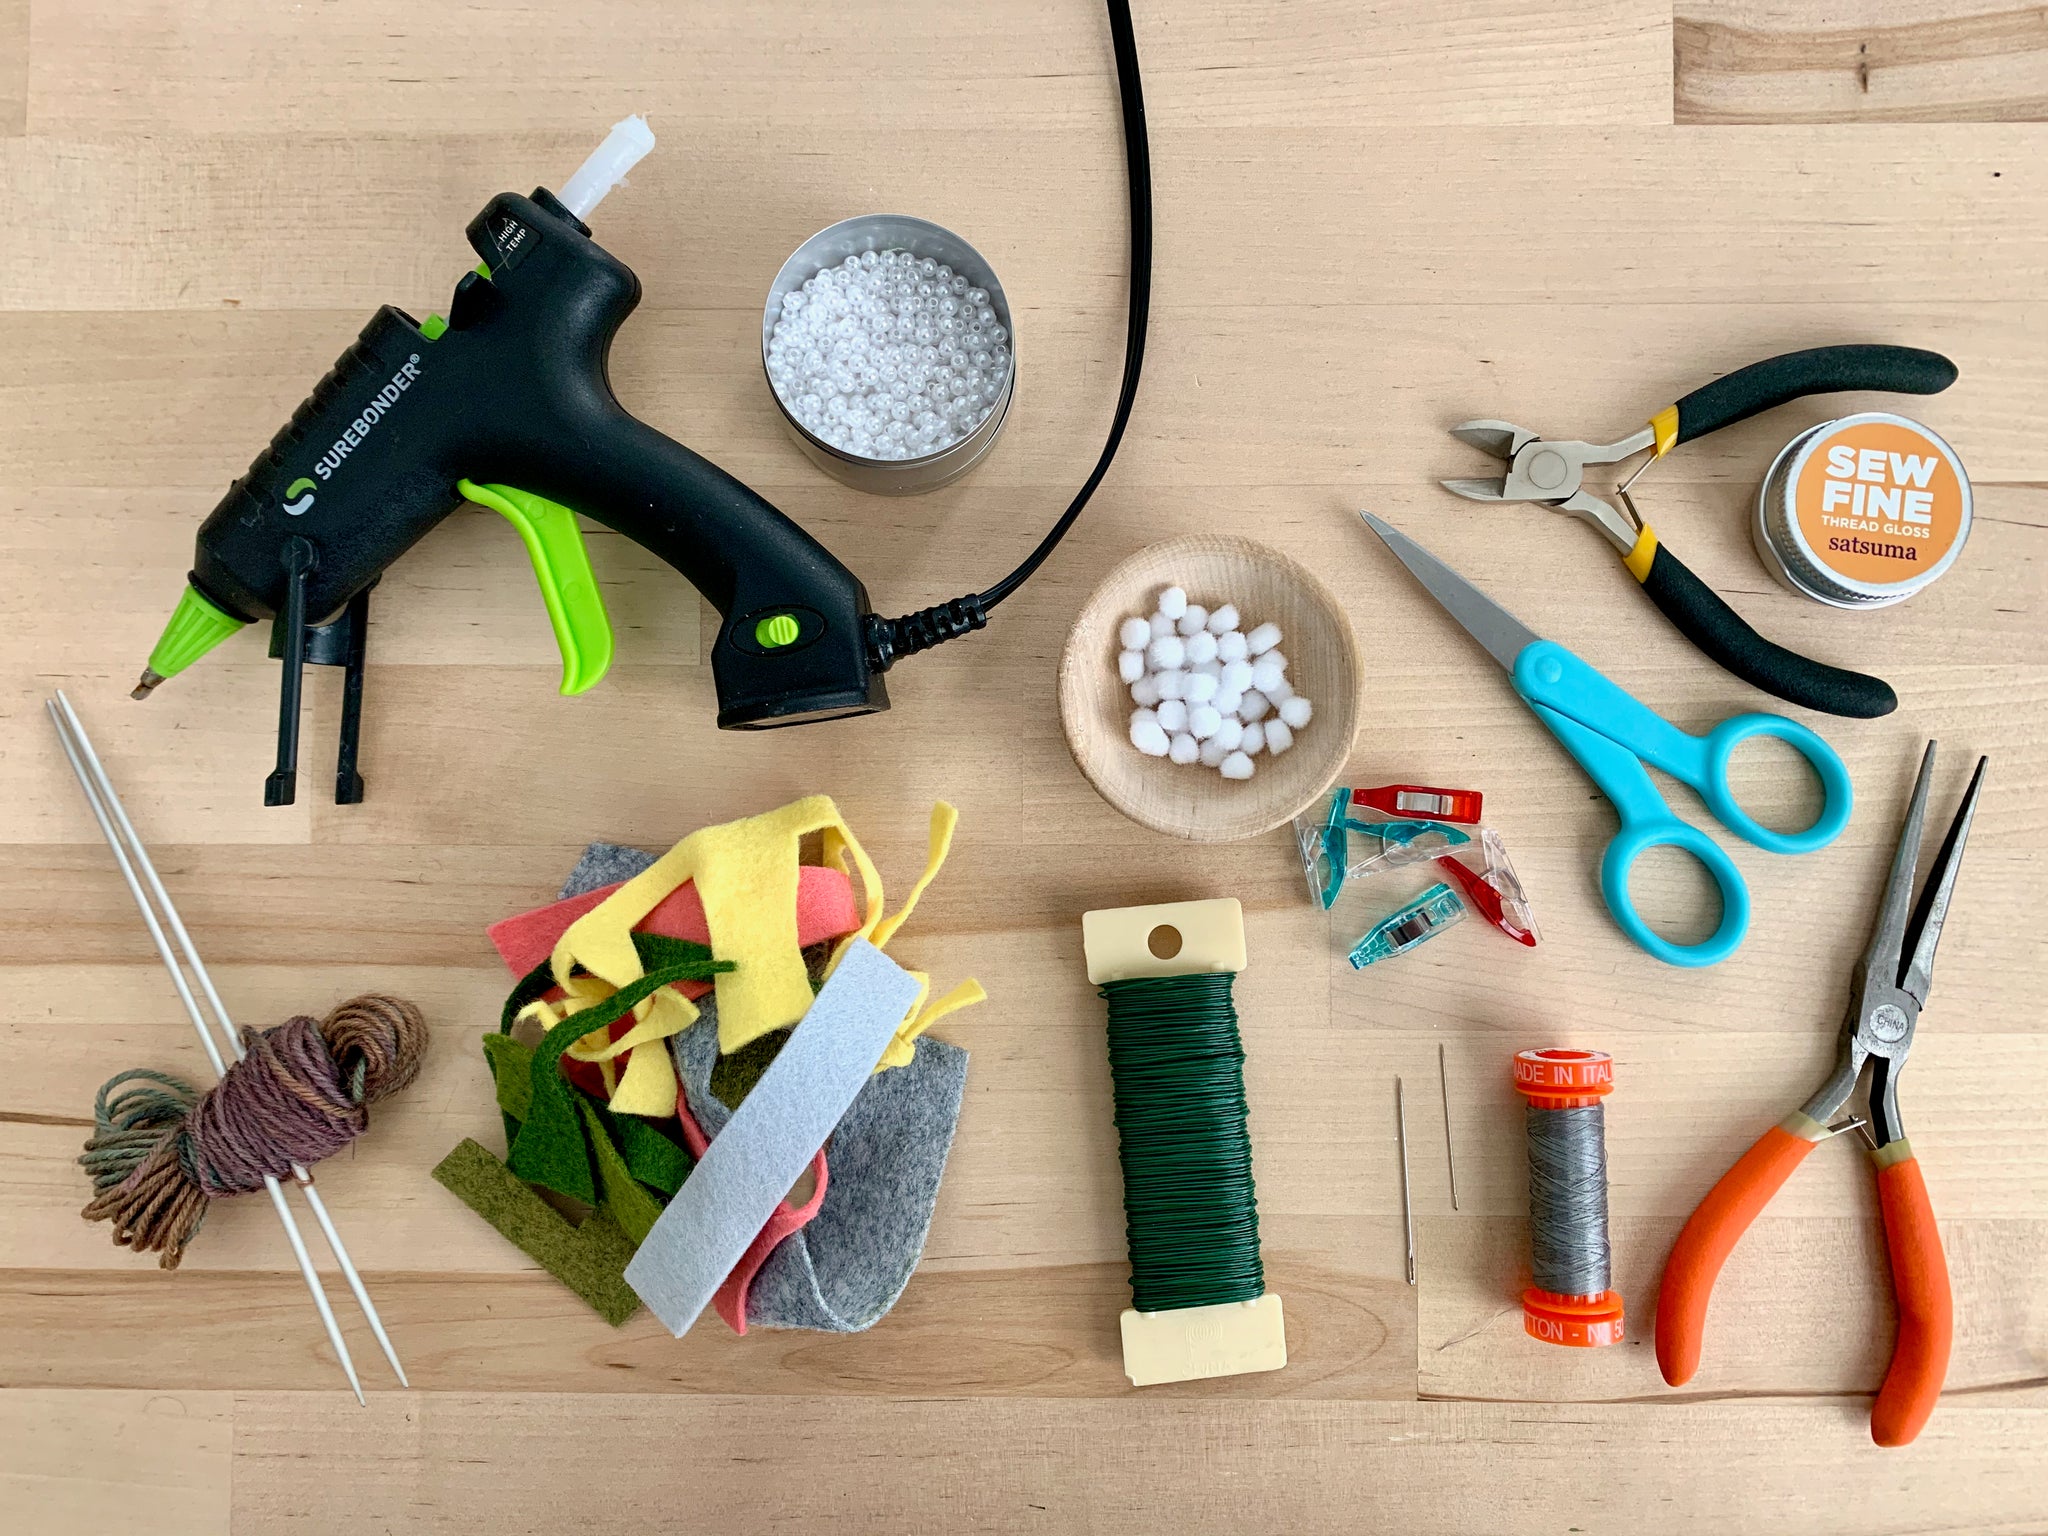
Supplies:
Miniature Hand Sewing Kit (Some include clothing patterns and materials)
Wool Blend Felt - Palettes, Scraps or Bolt Ends
Fabric Scraps
Yarn Scraps
Embroidery Floss
Floral Wire
Mini buttons
Mini Acrylic Pom-poms
Glass Pearls
Scissors
Round Nose Pliers
Wire Side Cutters
Mini Wonder Clips
Sewing Needle
Thread
Hot Glue or Tacky Glue
Knitting Needles
Sewing from a Pattern
- Many of the hand sewing kits come with clothing and accessory patterns and materials for your creature, such as dresses, pants, and even a raincoat and boots for Rilla Raccoon! These pieces are interchangeable between the different animals. For example, you can take the rain boots for Rilla Raccoon and turn them into winter boots for Charlotte Fox. For these pieces, you can follow the same tricks and techniques that I outlined last month.

- In addition to the patterns that come in the kits, there are also three add on patterns available from Cynthia Treen Studios on Etsy - a sweet winter coat, a cloak, and a fairy dress. I made the winter coat for Charlotte Fox and customized it with tiny leather buttons!

Modifying a Pattern
- While it is fun and easy to follow a pattern, it can also be interesting to branch out and get creative! The easiest change is to try different wool blend felt color combinations. I made blue pockets on Rilla’s coat so they would stand out. I also put them on top of the coat, rather than inside.

- Another option is to embellish the kit clothing. You can add puff paint to create a flower or a heart on a dress. I added paint to the center of the flower on Charlotte’s dress and I used a mini pom-pom to make a button on Dandelion’s navy shift. This is also a great opportunity to try out a new embroidery pattern. On Ludwig’s pants I did some visible mending!
If you haven’t worked with puff paint before, you will want to test out some shapes on scrap felt before starting on your finished piece. It takes a little practice! You may also want to have a toothpick nearby to help smooth out your shapes. Make sure you give the paint four full hours to dry before touching it.


Creating Original Patterns
Cowl - Cut a piece of scrap fabric approximately 6 x 2”. Fold widthwise with the wrong sides together and stitch up the long side to create a tube. Turn the tube right side out, and tuck under the open ends. Tuck one end into the other and stitch the tube into a loop. The stitching in the photo is in a contrasting color, so it is easier to see.

Necklace – Using some glass beads and sewing thread, it is simple to make a pearl necklace. Once I tied on the necklace, I put a dot of hot glue on the knot to make sure it did not come undone or twist around.

Scarf – If you have basic knitting skills and some scrap yarn, you can easily make a little scarf! Using some leftover sock yarn and small (US size 1) needles, cast on 8 sts. Knit back and forth in garter stitch until your scarf is about 6” long. Bind off. You can also add some fringe.
- Another scarf option is to use felt! Cut a 7 x ¾” piece of felt and glue some mini pom-poms to the bottom.

Hangers - Cut a piece of floral wire 5” long and, using round nose pliers, bend the end to create the hook shape of a hanger. Bend the wire into a basic hanger shape, about 2” wide across the bottom. Twist the top together and trim off any excess wire. Ta-da!


In addition to accessories that your creature can wear, you can also make little things for them to “do”. While we will be creating a whole mini room in the next two posts, you can also make simple vignettes with activities for your friends. The doll house section of craft stores can be really fun for this! Here Rilla is working in the garden with a miniature pot, felt pom-pom, and flower head pins.
If you create a vignette of you own, tag us @benziedesign and use the hashtag #benziemakerminis!

Thank you to Maker Team member Dani for designing and writing this tutorial! You can follow her on Instagram @knitty34. Check out parts 1, 3 and 4 of this series and stay tuned for more Benzie Design Maker Team tutorials from Dani and the rest of the team!