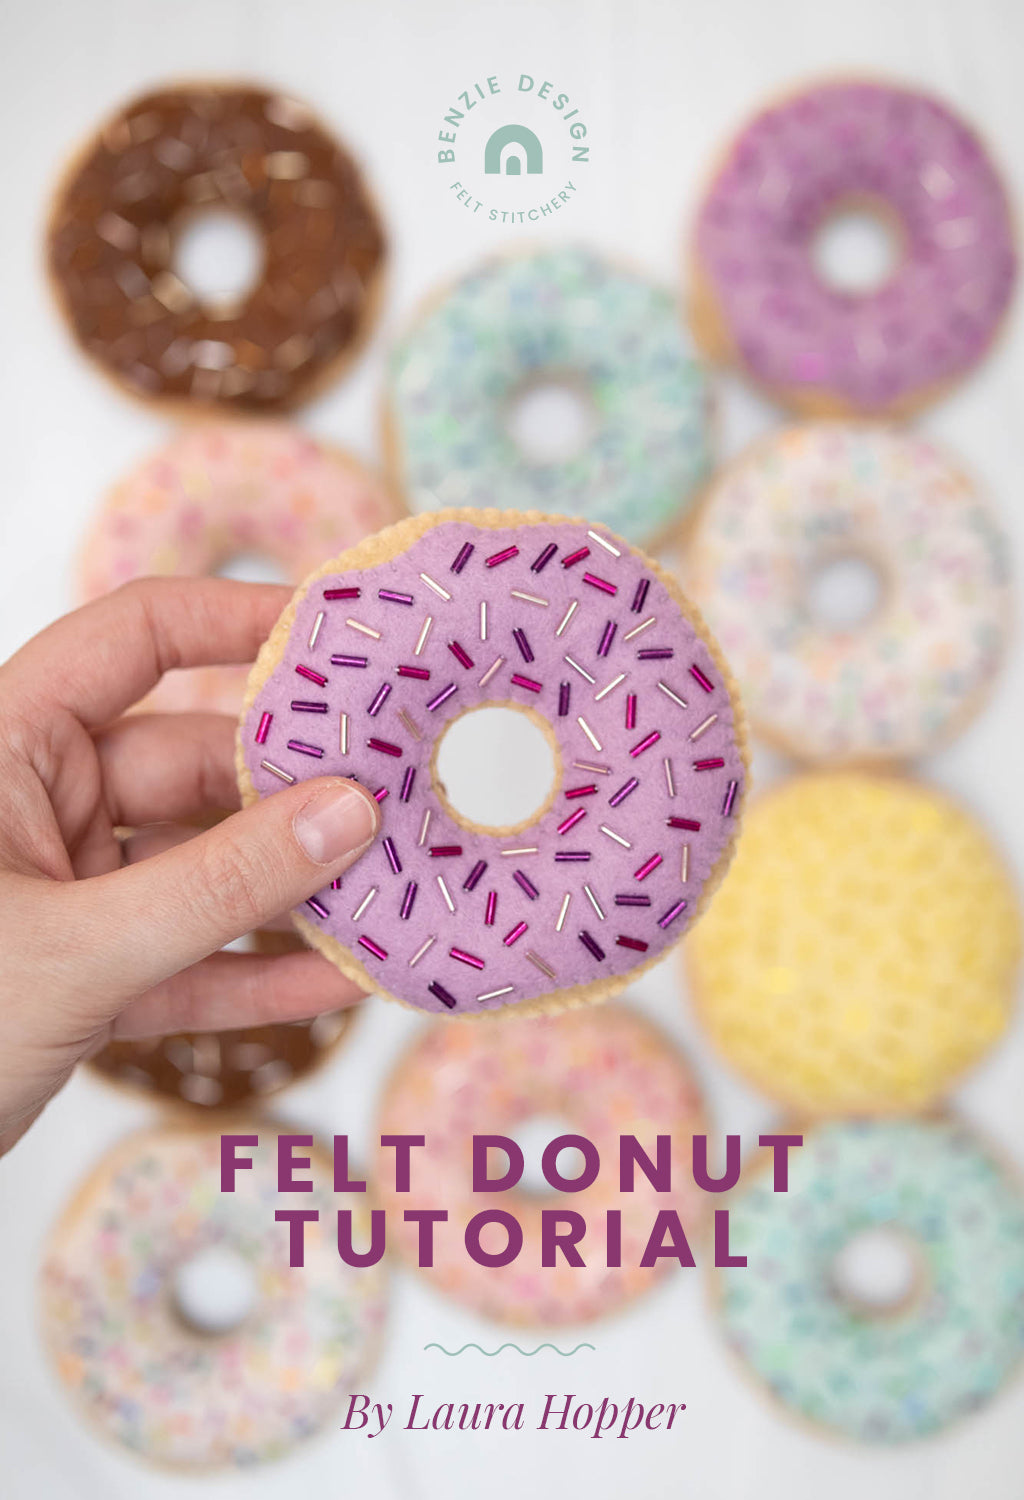
We can't seem to satisfy your appetite for felt food! Luckily Laura Hopper of @sonicstitches has been in the kitchen whipping up a batch of felt donuts. The scrumptious felt colors and yummy beads are the perfect recipe. Tie on your apron and let's get started!
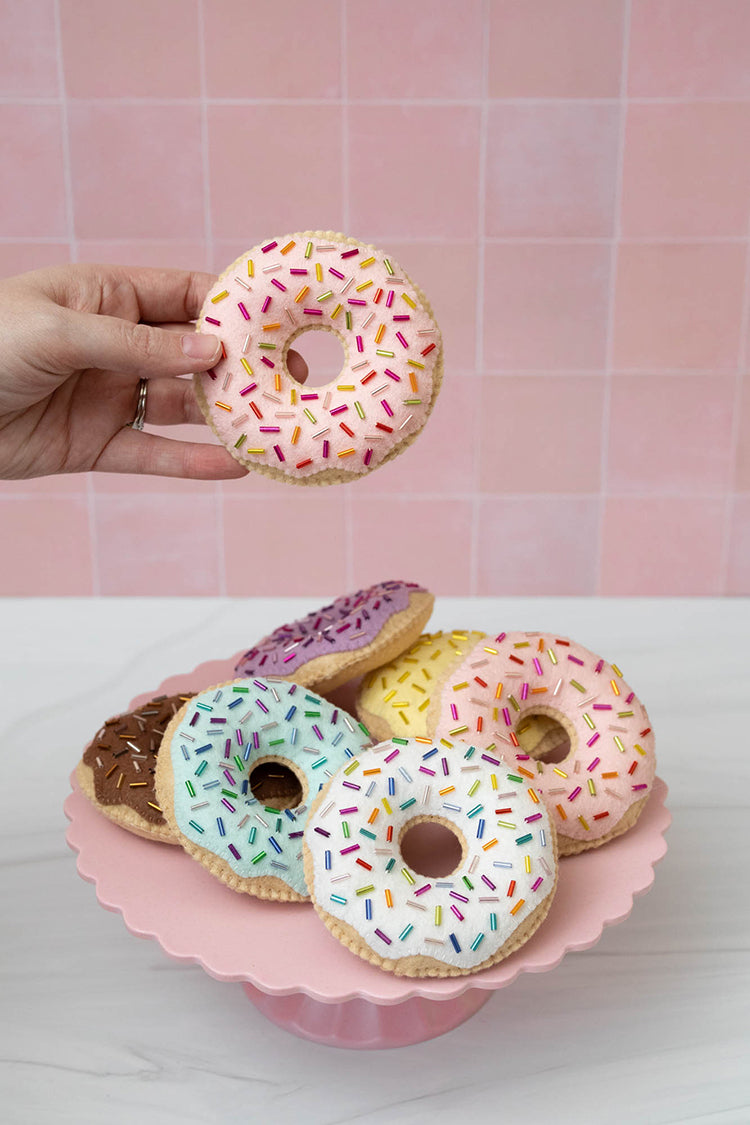
They say diamonds are a girl’s best friend…but I like donuts better! And with this felt donut tutorial, you can make donuts that shimmer and sparkle just as bright as any diamond. That’s because Benzie Design sells the most beautiful bugle beads! They make the perfect sprinkles for felt toy food.
Skill Level: Confident Beginner
Time: About one hour per donut
Additional Supplies:
Donut Template (click to download)
NOTE: The supplies listed will make six donuts.
Directions:
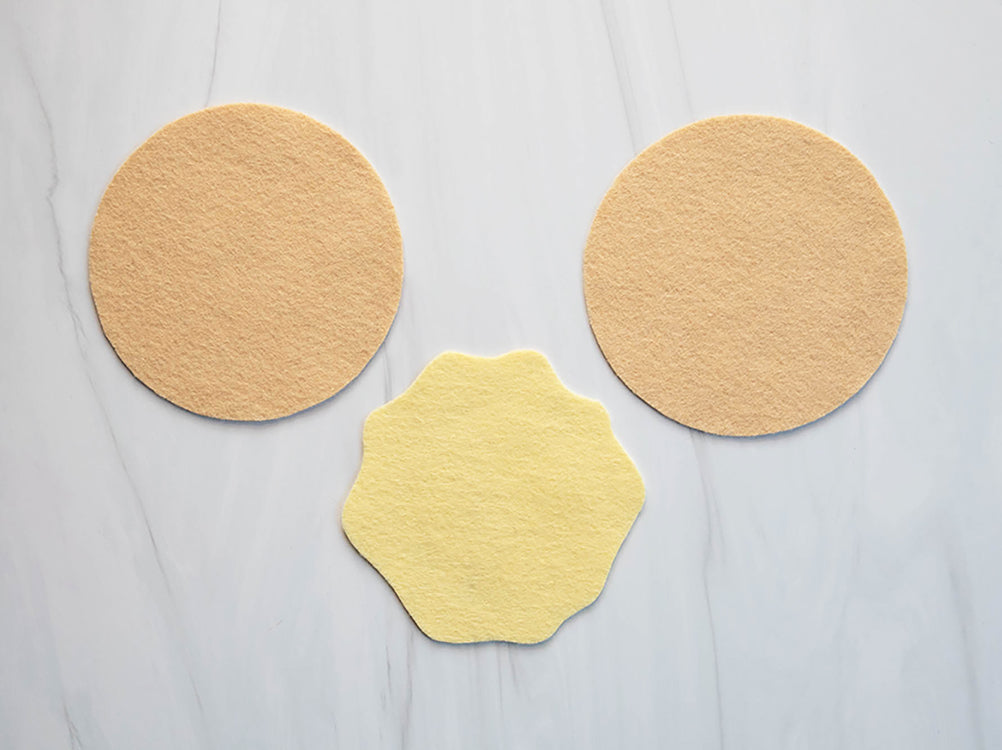
1. Print template above on freezer paper and cut out donut pieces. If you do not have freezer paper, trace around the paper template or create a cardboard template. Each donut is made using one frosting piece and two donut pieces.
To make the yellow lemon donut, use the same templates but do not cut out the center circle for any of the three pieces.
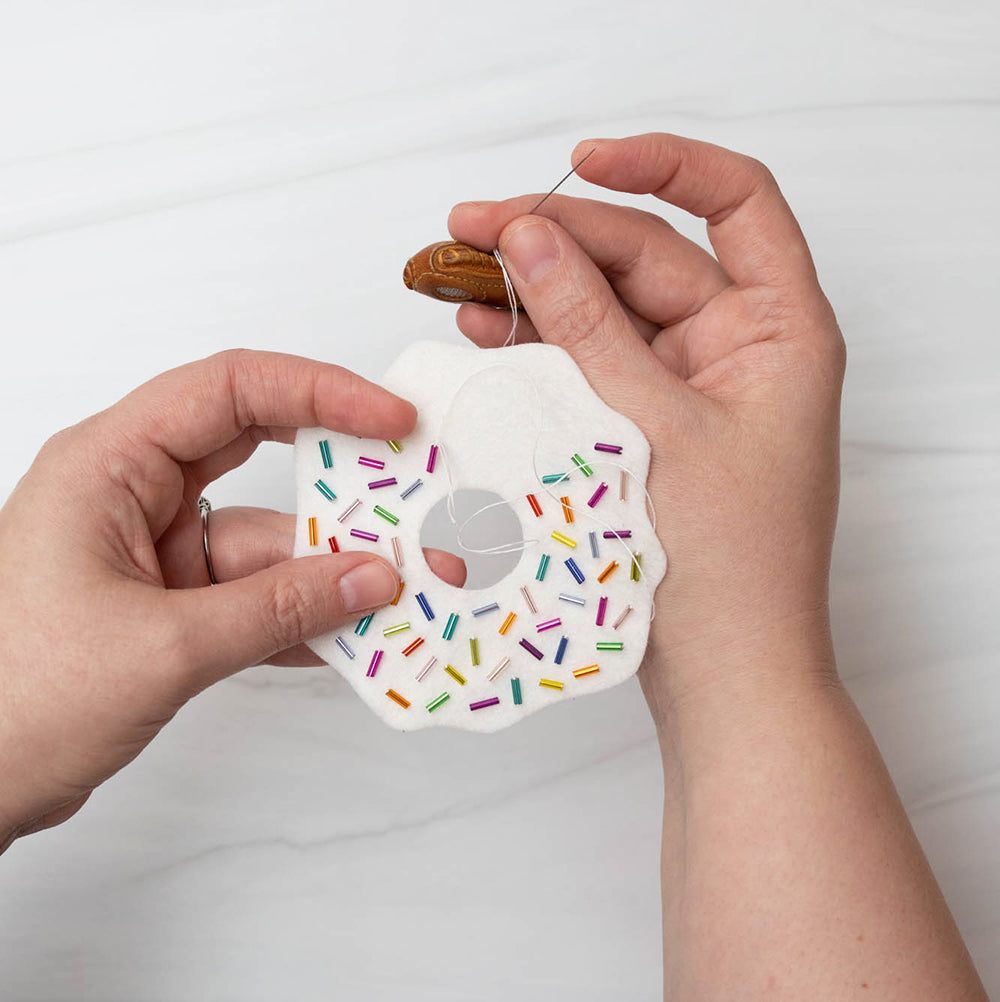
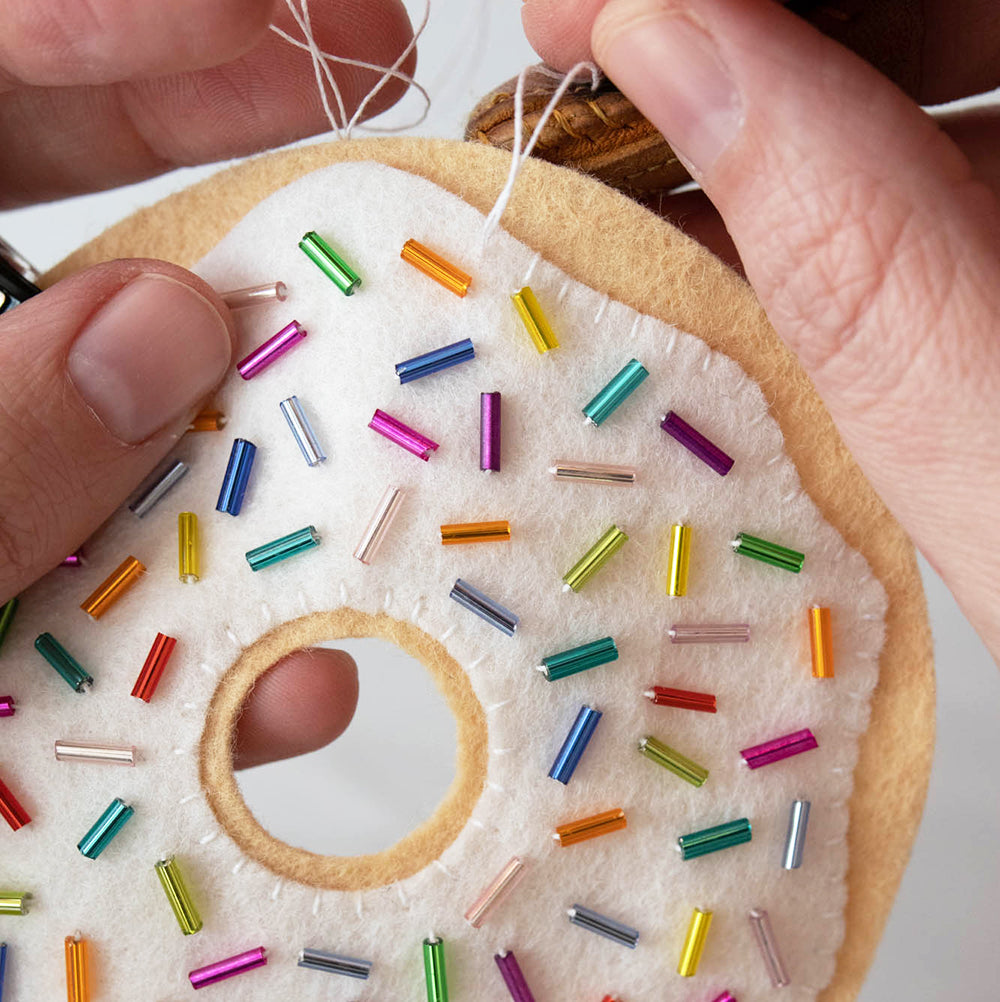
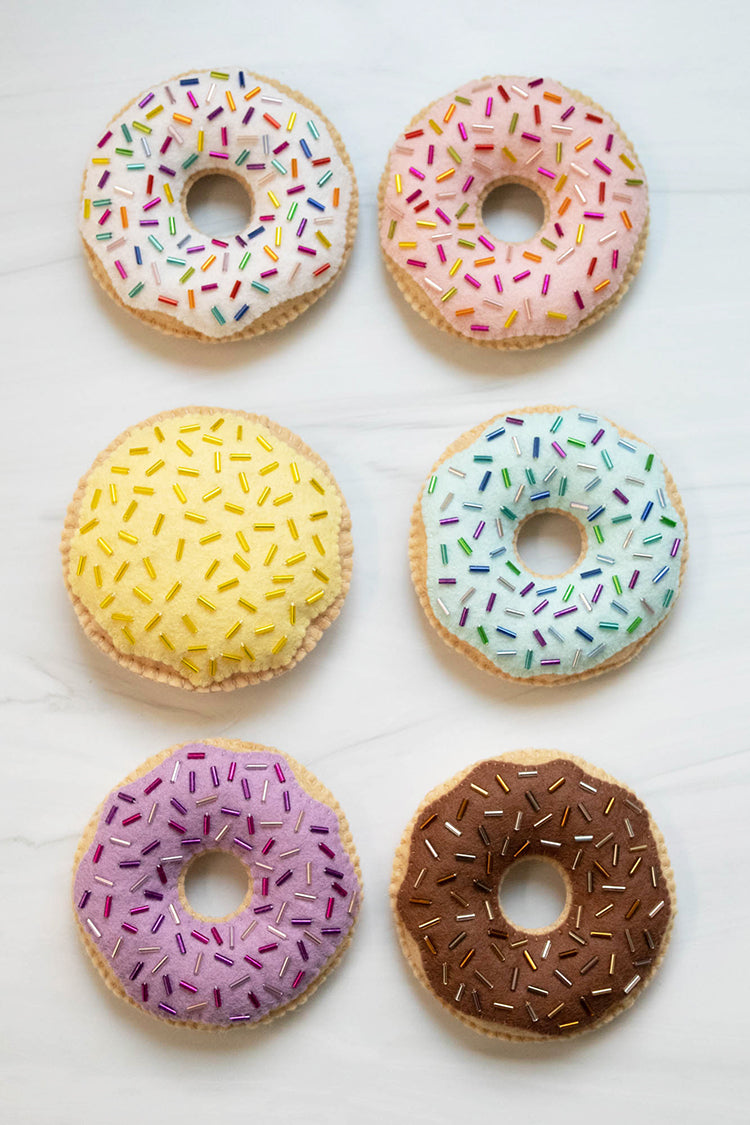
2. Using a beading needle, add bugle beads to the frosting piece to mimic sprinkles. Use thread that coordinates with the felt frosting color. To recreate the donuts shown in this tutorial exactly, follow the combinations of felt and bugle beads listed below:
Pink - Warms
Blue - Cools
Brown - Neutrals
White - Combination of Warms and Cools (do not use too many yellow beads for this to save enough for the yellow donut)
Yellow - Yellow beads only
Purple - Purple and pink shades only
3. Clip or pin embellished frosting piece to one donut piece. Using a whip stitch, begin attaching the frosting to the donut piece in the center circle.
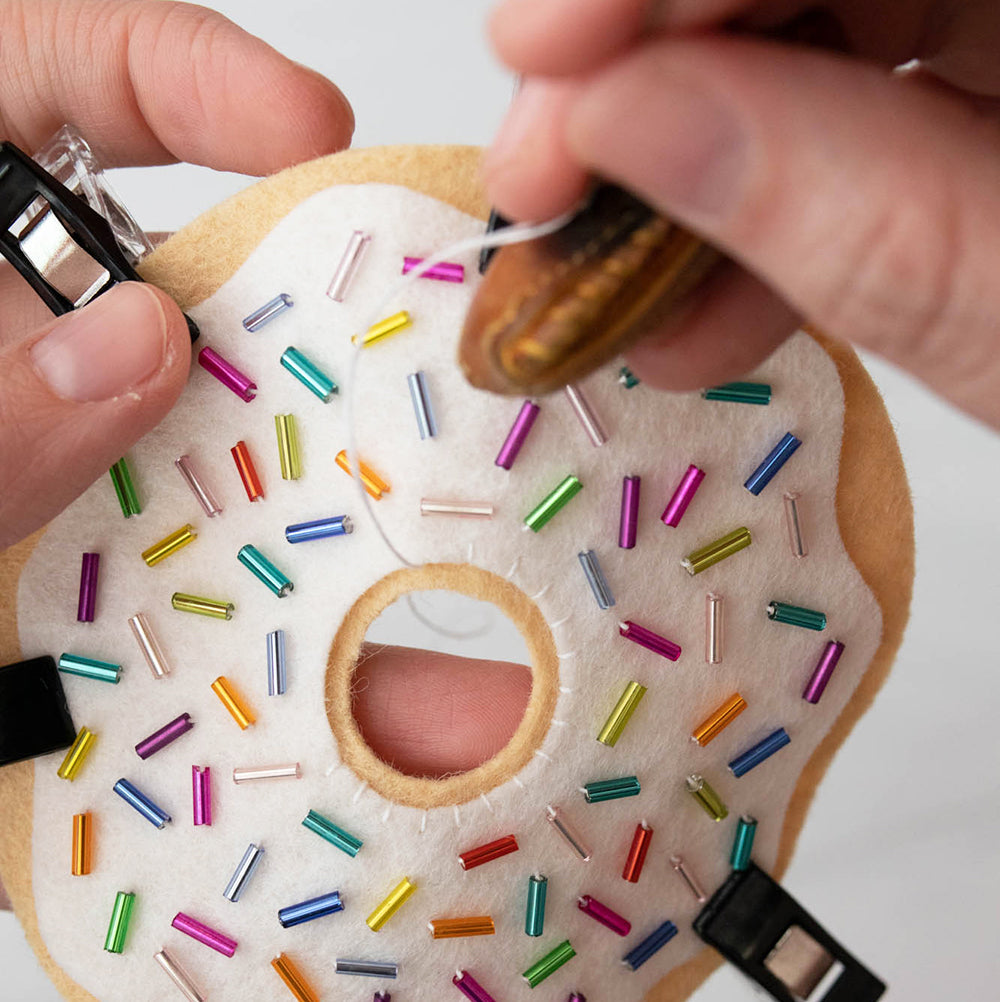
4. Finish attaching the frosting to the donut piece by whip stitching around the lumpy edge of the frosting.
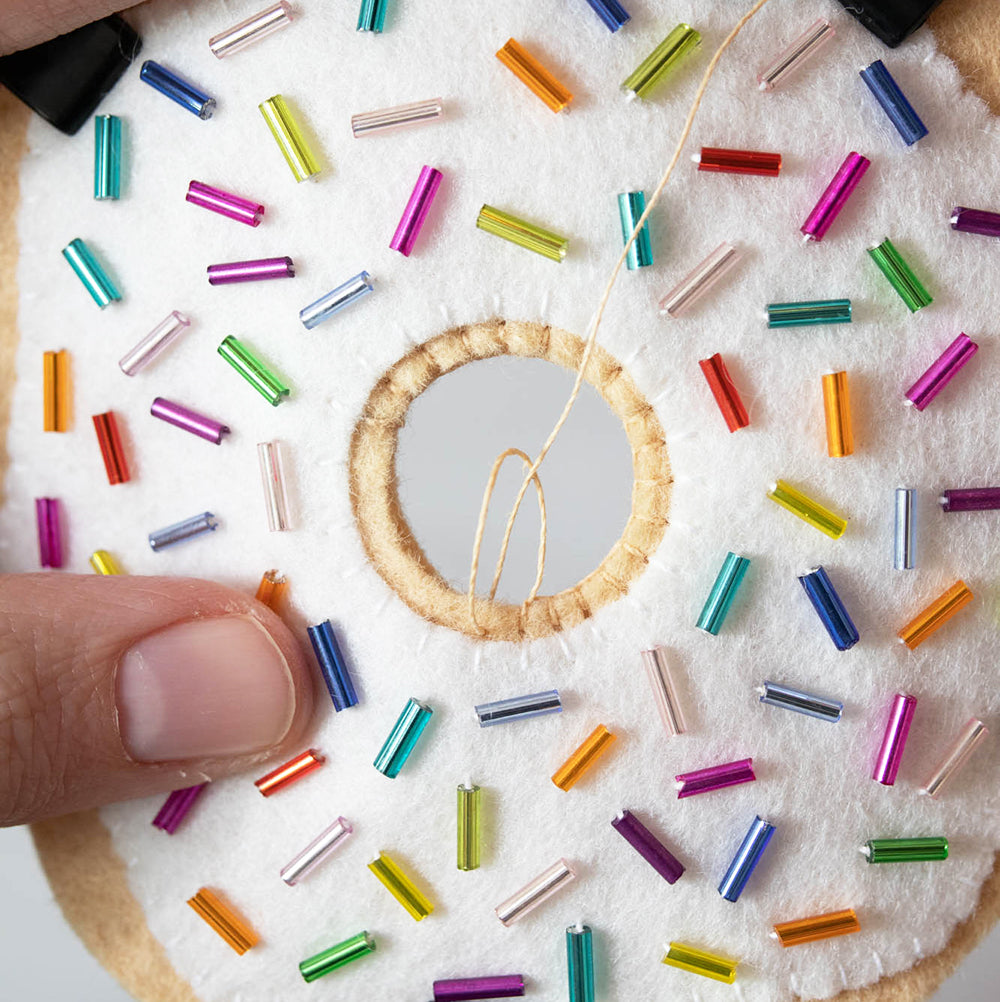
5. Clip or pin the second donut piece to the back of the frosted donut piece completed in Step 4. Begin attaching the donut back by blanket stitching in the center circle. The stitching should meet the frosting ring but not go into it.
For a clean look, make the blanket stitches mirror the whip stitches as shown below. This will make the two stitches look more like one continuous stitch.
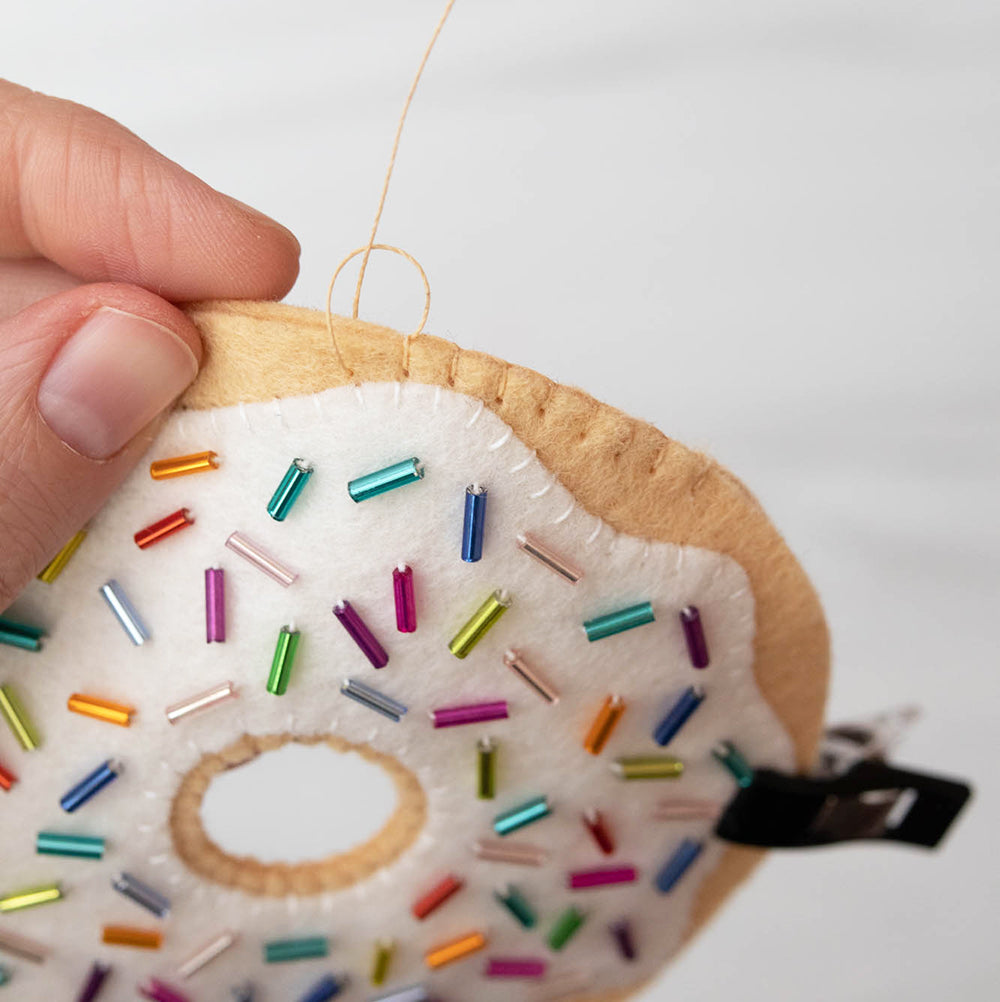
6. Blanket stitch around the outer circle of the two donuts. Stitch about halfway around the two donuts.
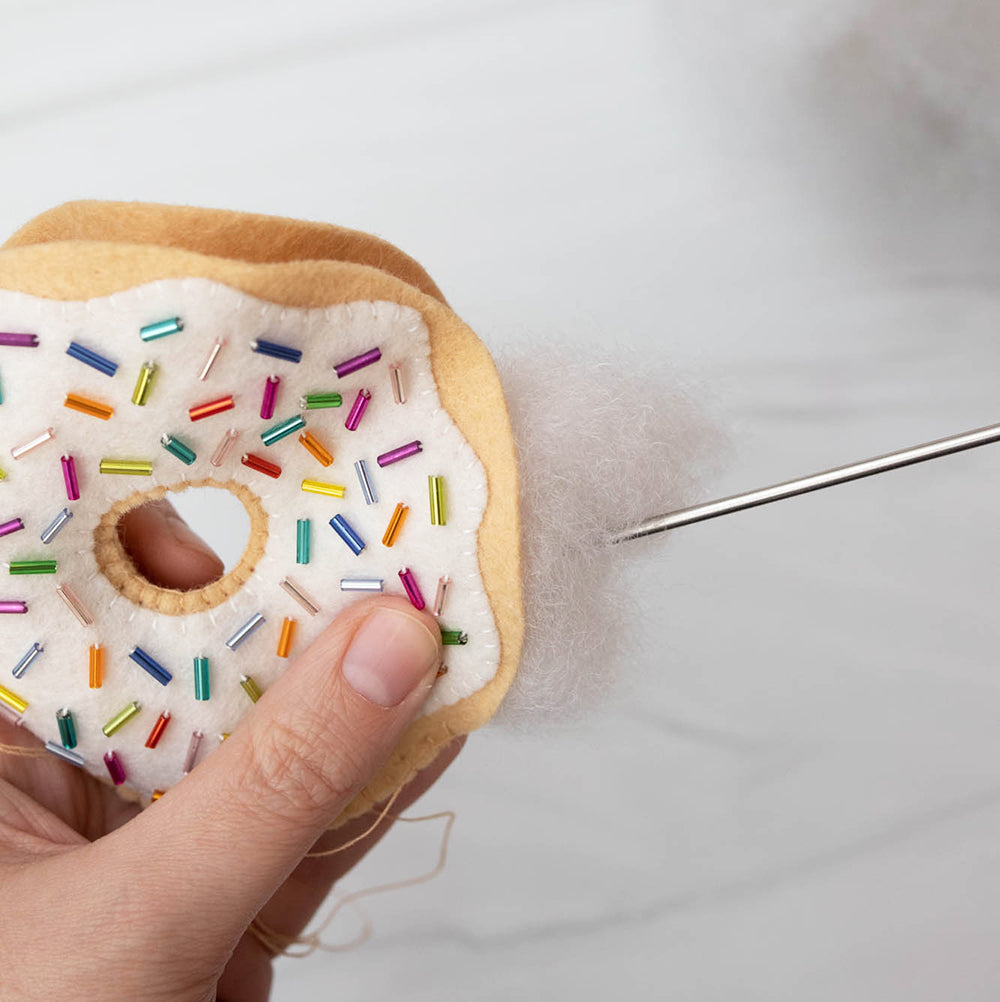
7. Begin stuffing the donut firmly with polyfil. Once the first half of the donut is fully stuffed, continue blanket stitching around the edges and stuffing until the donut is complete!
Isn't this the most delightful assortment of donuts? They look good enough to eat!
Thanks to Laura for designing and writing this tutorial! You can follow her on Instagram @sonicstitches or visit her website. Stay tuned for more tutorials!


