
It's time to elevate the mundane! This floral cross stitch keychain brings an equal measure of personality and functionality to daily life. The vivid cross stitch feels delicate but the keychain is constructed to stand up to daily wear and handling. In a world of endless coffee mugs, we think it would be a welcome way to say "thank you" to the teachers and mothers in your life. Follow along as we make a cross stitch keychain... or two or three.
Skill Level: Beginner
Time: 5 hours (stitching) + 30 minutes (assembly)
Additional Supplies:
Floral Cross Stitch Pattern (click to download)
Pliers
Iron
Directions:
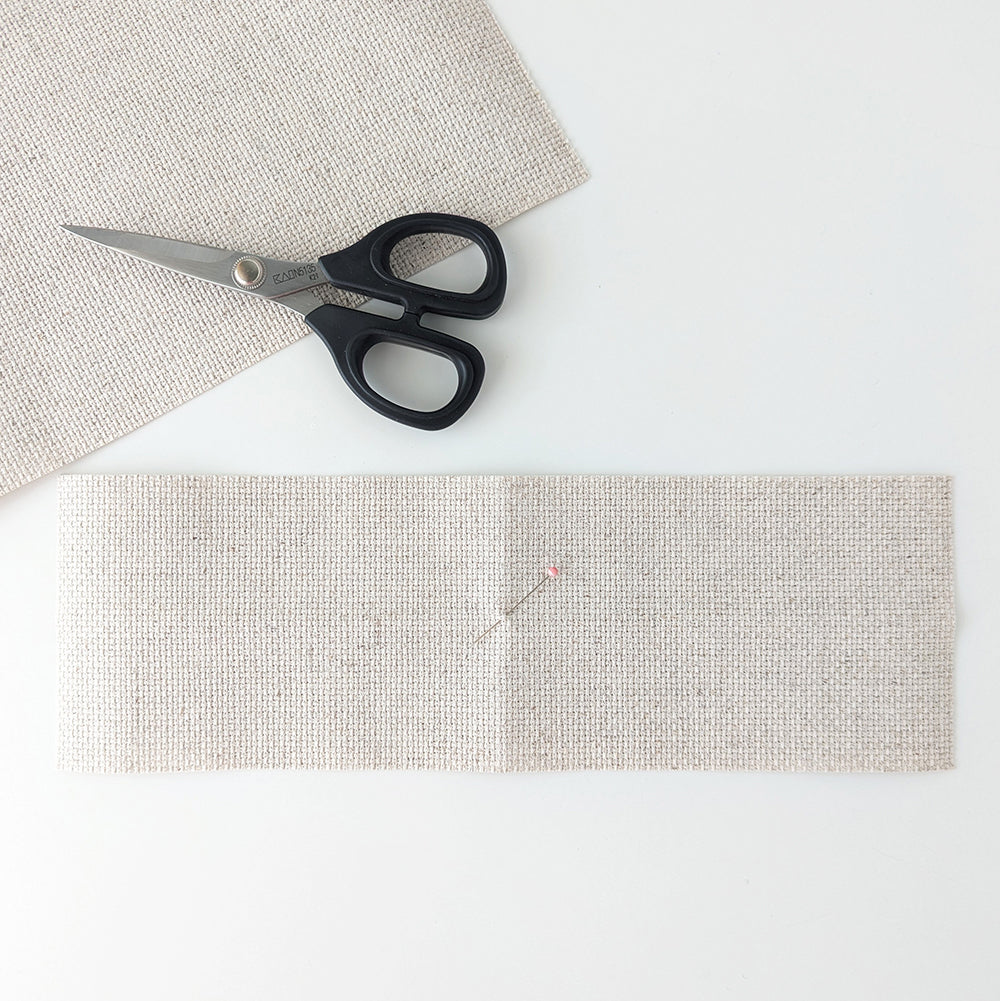
1. Cut a 3 ½ x 10" strip of 14-count fabric. Fold in half lengthwise and widthwise to find center of the fabric. Mark center with needle or pin.
2. Print Floral Cross Stitch Pattern. On the pattern, count the number of squares from the center of the chart to where you wish to start. Then, from the fabric’s center, find your starting point by counting out the same number of stitches (or squares).

3. Cross stitch design onto fabric. Remember that cross stitch is a slow craft. This step might need to be completed in multiple sittings. For a cross stitch refresher, check out this tutorial.

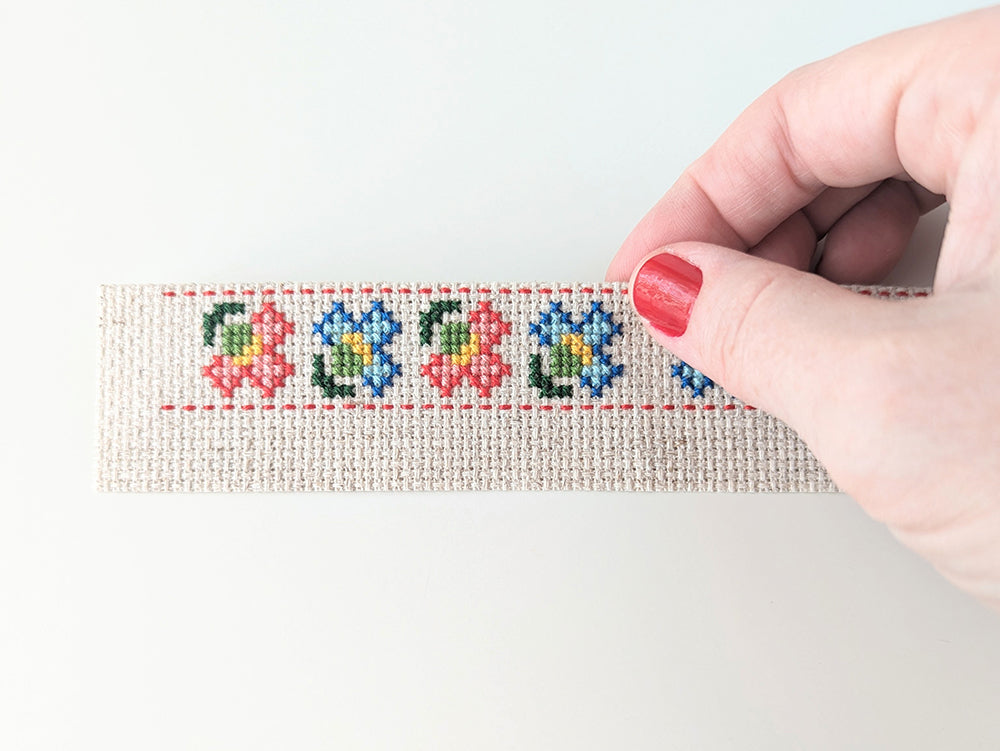
4. Iron finished design onto a clean towel face down. Along the long edge of the design, count out eight squares past the backstitching and trim away excess fabric.

Along the short edge of the design, count out six squares past the last stitch (a red backstitch) and trim away excess fabric.

5. Fold along both long sides of the design one square away from the backstitching. Press with an iron to reinforce the folding.
6. Glue the two folded flaps overlapping onto the back of the design.

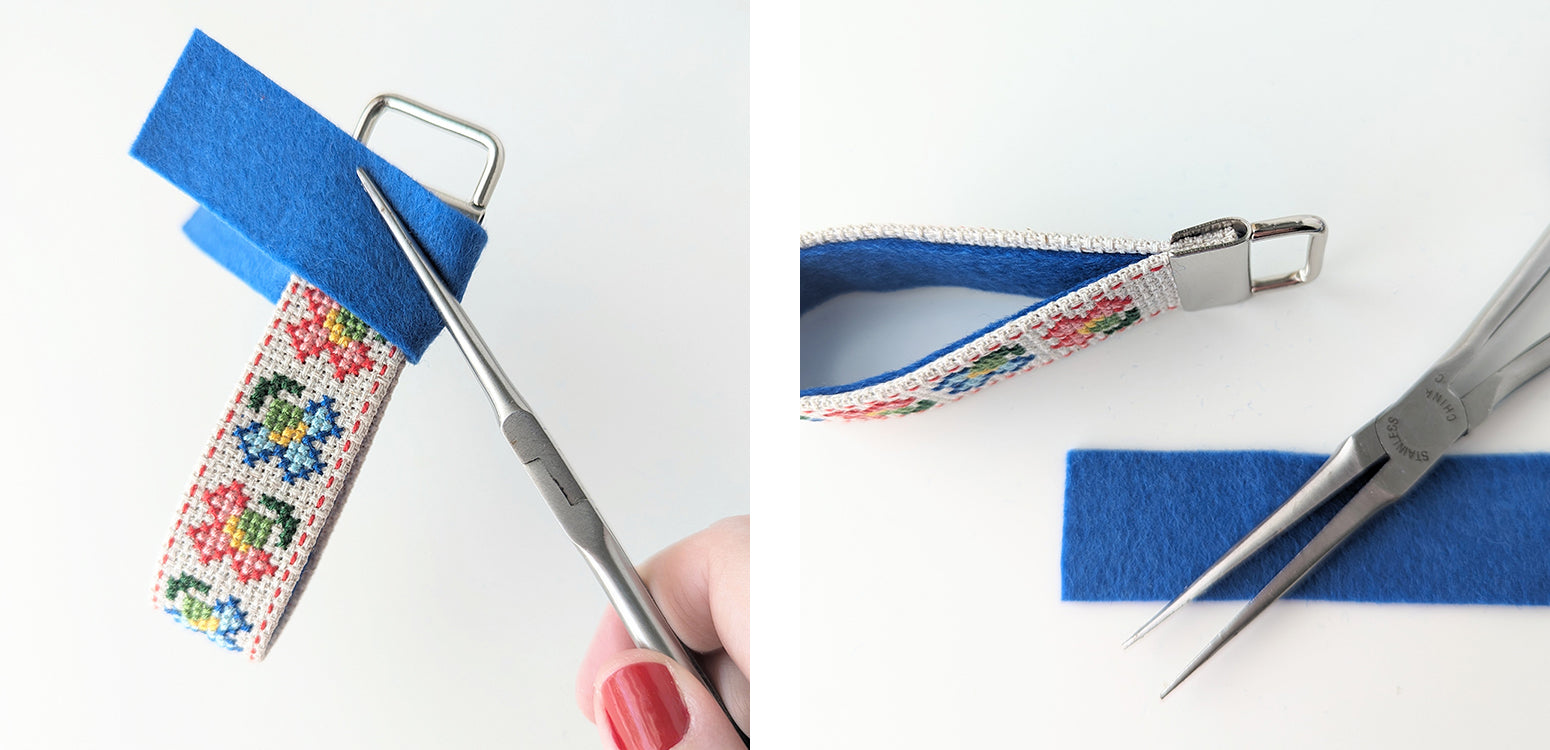
7. Cut a ¾ x 9" strip of felt. Center the felt lengthwise and widthwise onto the back of the stitched fabric. Glue in place. Felt will extend beyond cut ends.

8. Fold the fabrics in half. Press and shape fabrics as the glue dries to form a rounded loop. Continue to press the felt along the back of the stitching. It will shift from the original position, which is why this must be done before the glue dries.

9. After the glue dries and the fabrics are stiffened into shape, trim any felt extending past the ends.

10. Add glue to the cut ends of the fabric loop and insert into keychain hardware.

11. Use pliers to clamp the hardware firmly around the fabric ends. Place a piece of fabric between the hardware and pliers to keep it from getting scratched while clamping.
Attach the ring (and keys) and the keychain is finished! Wouldn't this be a great gift for Mother's Day? Not that Mom ever has trouble finding her keys...


