
April showers bring May flowers! And May also brings Teacher Appreciation Week and Mother’s Day. If you want to make a handmade gift for either of these holidays, an embroidered lavender sachet is perfect. This quick and easy project shows that you care and will be a reminder of that kindness all year long. Benzie Design contributor Laura Hopper of @sonicstitches walks you through all the steps in this lavender sachet tutorial.
NOTE: Always check for a lavender allergy before gifting a lavender sachet.
Skill Level: Beginner
Time: About one hour per sachet
Additional Supplies:
Lavender Embroidery Template (click to download)
Sewing Machine
Scissors, for paper
Dried Lavender
Supplies will yield at least four sachets, depending on how fabric is cut.
Directions:
1. Prewash fabric. To do this, machine stitch a line ⅛” from the raw edges to prevent fraying. Alternatively, use pinking shears to trim raw edges. Machine wash and dry on gentle cycles. Press the fabric.
2. Print Lavender Embroidery Template above on Sticky Fabri-Solvy and trim close to the design using paper scissors. Do not use felt or fabric scissors as this will quickly dull them.

3. Secure fabric in embroidery hoop, ensuring fabric is taught and hoop is screwed closed tightly. Remove paper backing on template and gently press it onto middle of fabric.

4. Embroider along lines of template using three strands of floss and the following stitches:
Stems - Using DMC 502, backstitch along stems.
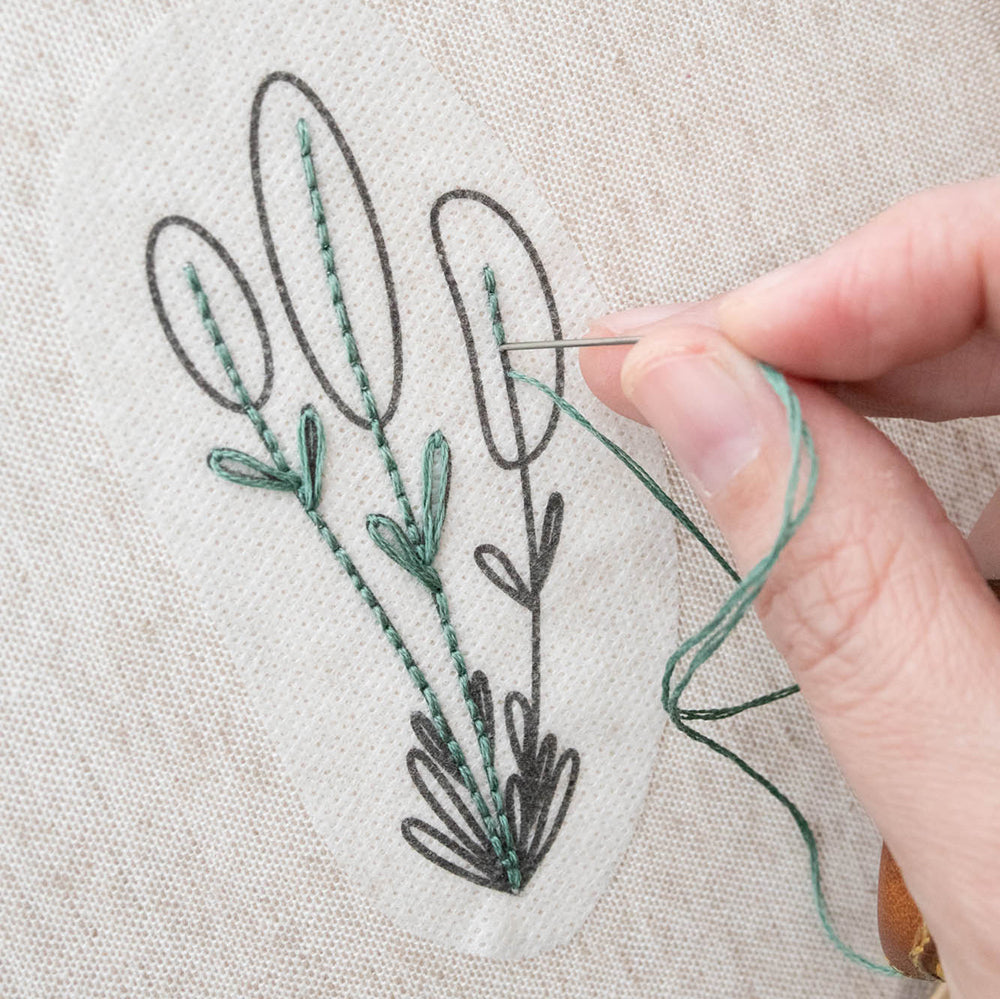
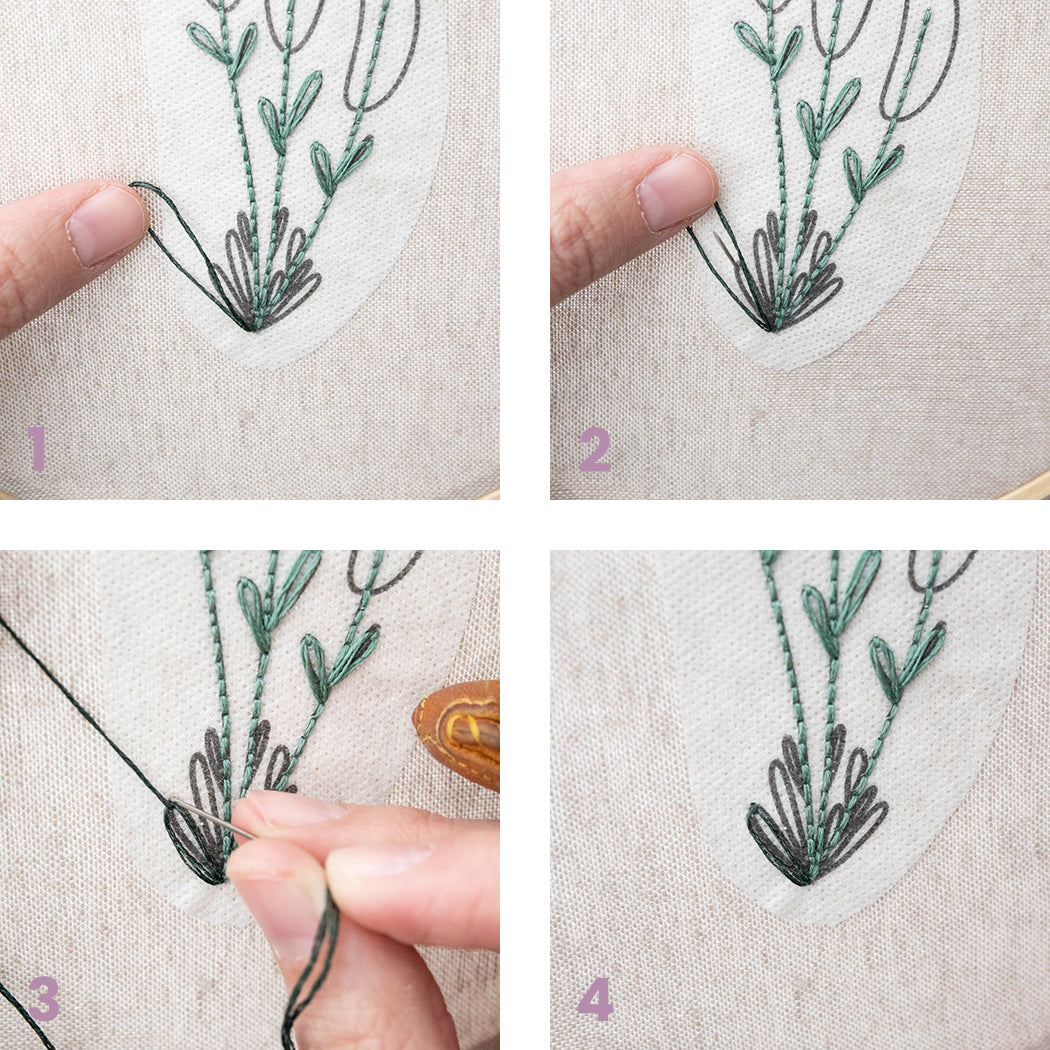
Leaves - Using DMC 500 and 502, stitch leaves using a lazy daisy stitch. Stitch upper leaves using 502 and lower leaves using 500.
Lavender - Beginning at top of the stem, make clusters of French knots close together within oval area on template. Create a gradient with DMC 153 at the top, 210 in the middle, and 553 at the bottom of each oval. Loop thread around needle three times for each French knot.

5. When embroidery is complete, remove hoop and soak embroidered fabric in warm water for 10-15 minutes to dissolve Sticky Fabri-Solvy. If any Sticky Fabri-Solvy remains after soaking, run it under warm water rubbing the Sticky Fabri-Solvy away. Dry on a flat surface.

After soaking, I like to place paper towels on both sides of the fabric and press some of the water out. This helps the fabric dry faster.
6. Using a disappearing ink pen, mark a 4 ½” square with lavender embroidery centered in the square, and trim. Cut another 4 ½” square of fabric.

7. Place two pieces of fabric with right sides facing and pin or clip together. Using a ¼” seam, sew pieces together, leaving a 2” gap to turn fabric right side out. Backstitch at the beginning and end. This step is easiest to complete with a sewing machine, but can be accomplished by hand sewing, if a machine is not available.

8. Trim four corners of fabric to reduce bulk. Do not cut into the seams!

9. Turn fabric right side out. Be sure corners are all turned out well. Use a chopstick or other point turning tool to push corners out, if needed.

10. Fill sachet with lavender through opening in the seam. I used a coffee filter as a funnel to make this step easier and less messy.

11. Using a ladder stitch, close unsewn area of the seam. Stitch across open seam and then stitch back to the beginning for added security. Knot off thread and bury it in the sachet.

These lavender sachets are so easy to make, you won’t be able to make just one!


