
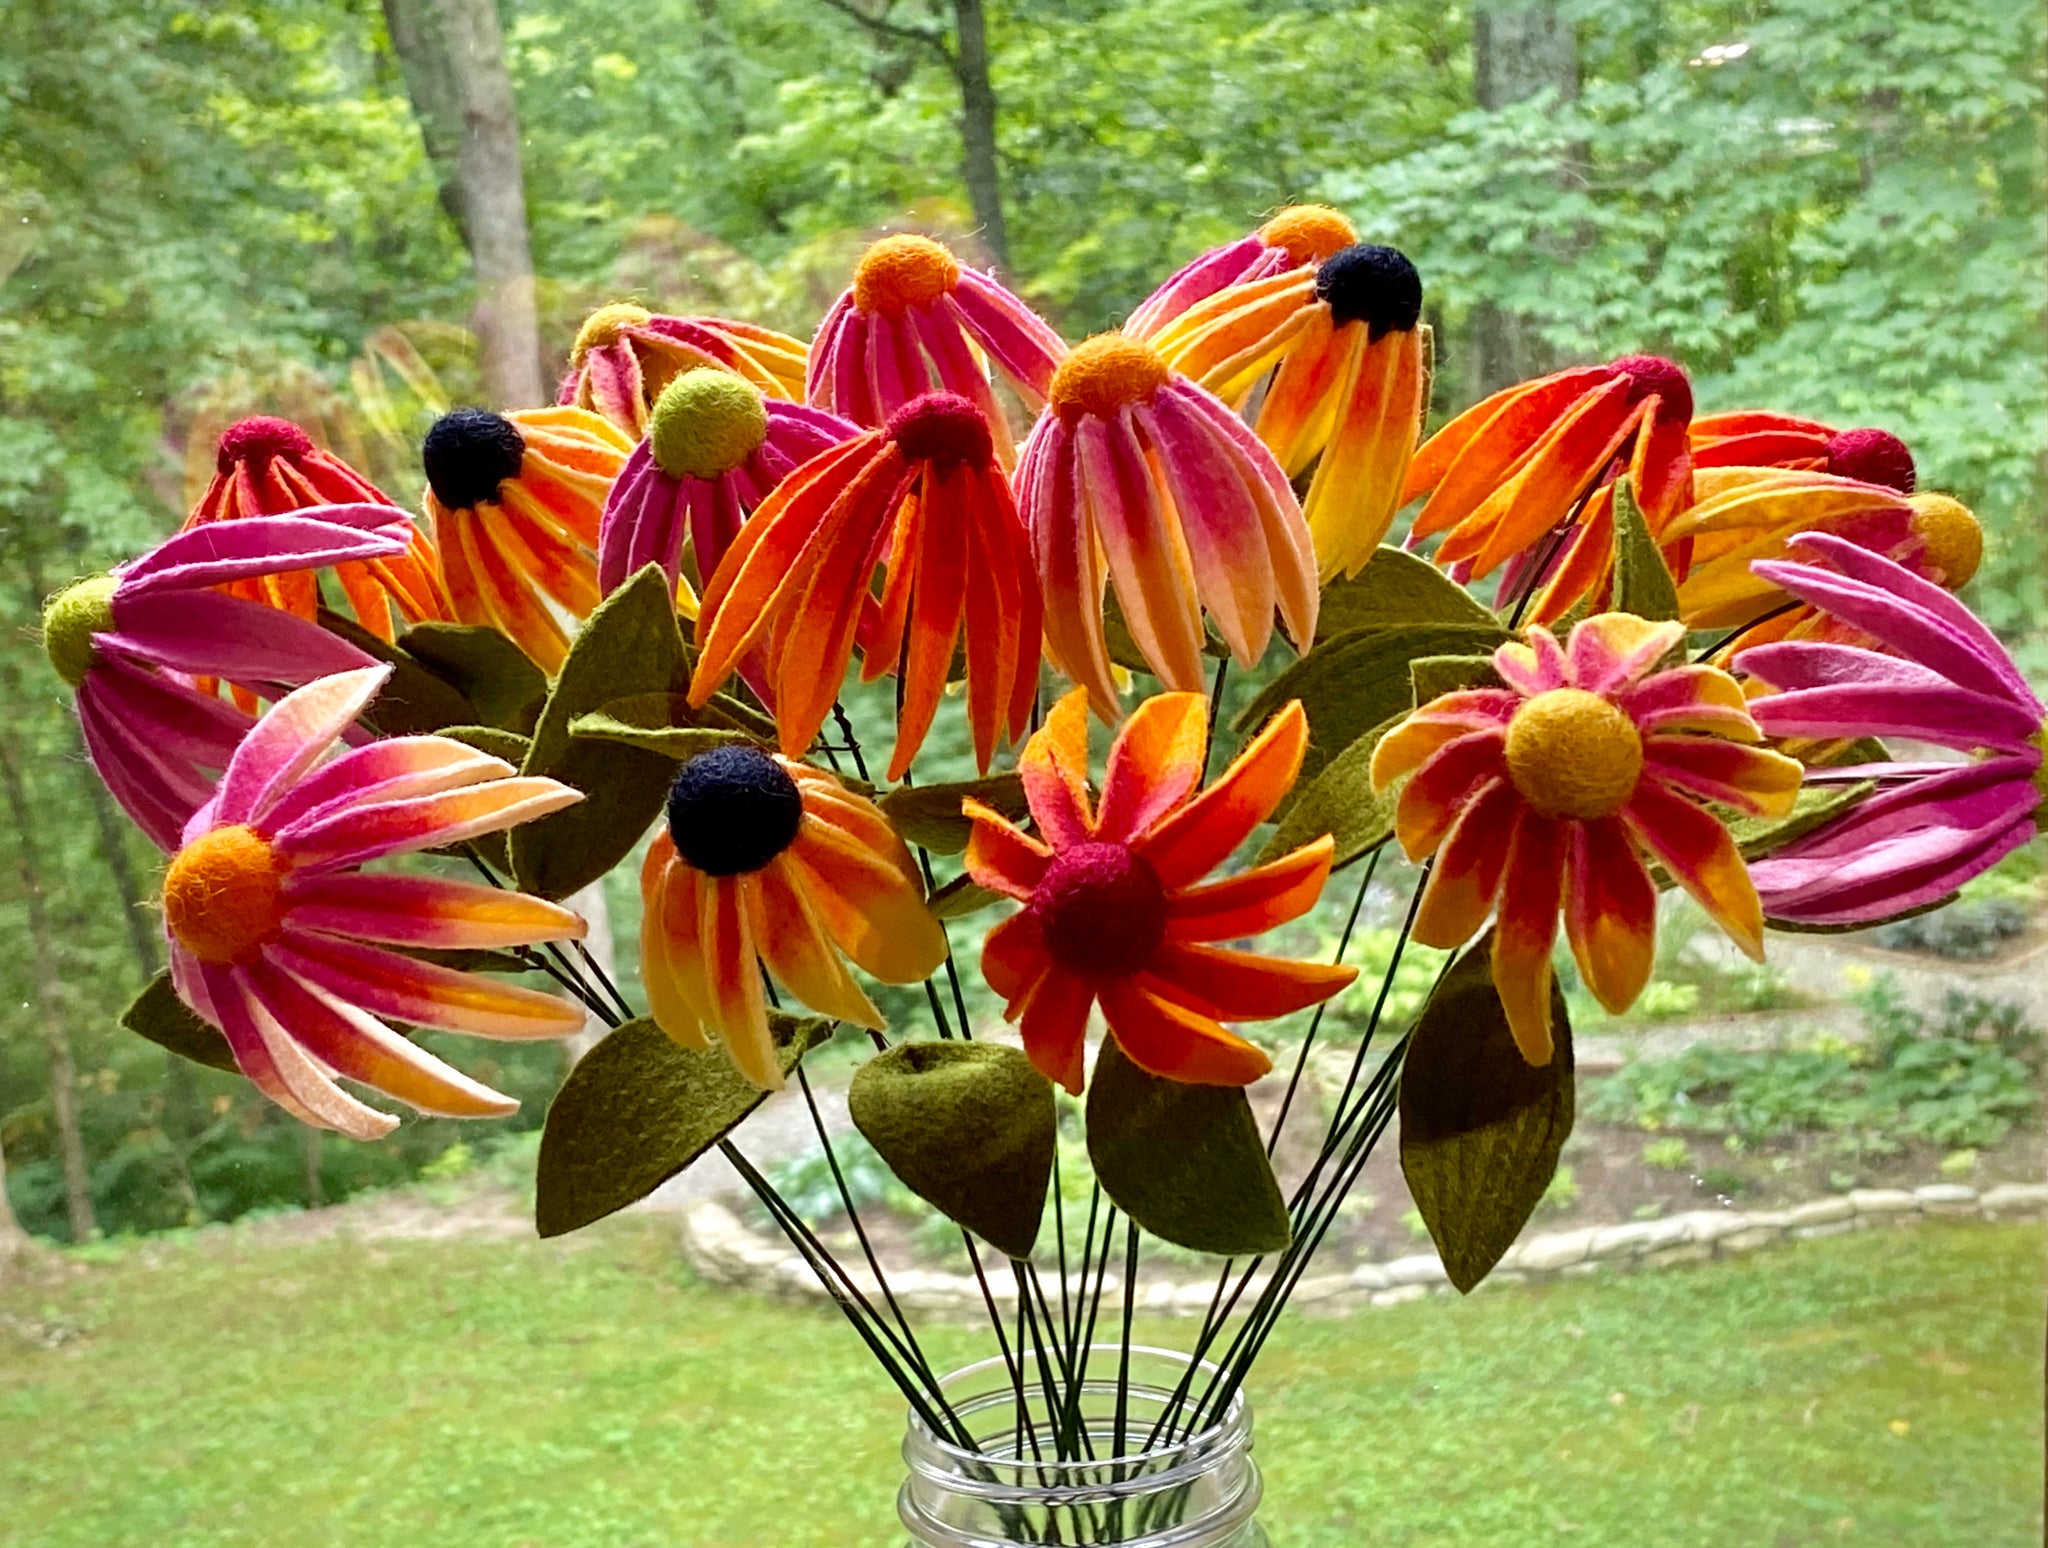
Whether or not you have a green thumb in your real garden, handmade felt flowers can add a low-maintenance pop of seasonal color to your home. Take some time to smell - or make - the flowers to help your summer last a little longer with this coneflower tutorial by Astrid of @treehousefeltflowers!
Coneflowers (Echinacea) are native to the Central and Eastern areas of the country and are found in many beautiful colors. Choose your colors for your flowers from an incredible selection of Benzie wool blend felt and poms. With a little time and hot glue, you will have a beautiful bouquet of custom colored flowers perfect for the end of summer or fall.
These instructions are for making a single flower.
Skill Level: Beginner, intermediate (some skill with a glue gun required)
Time: About an hour to make 1 flower. (I usually cut enough strips to make several at a time)
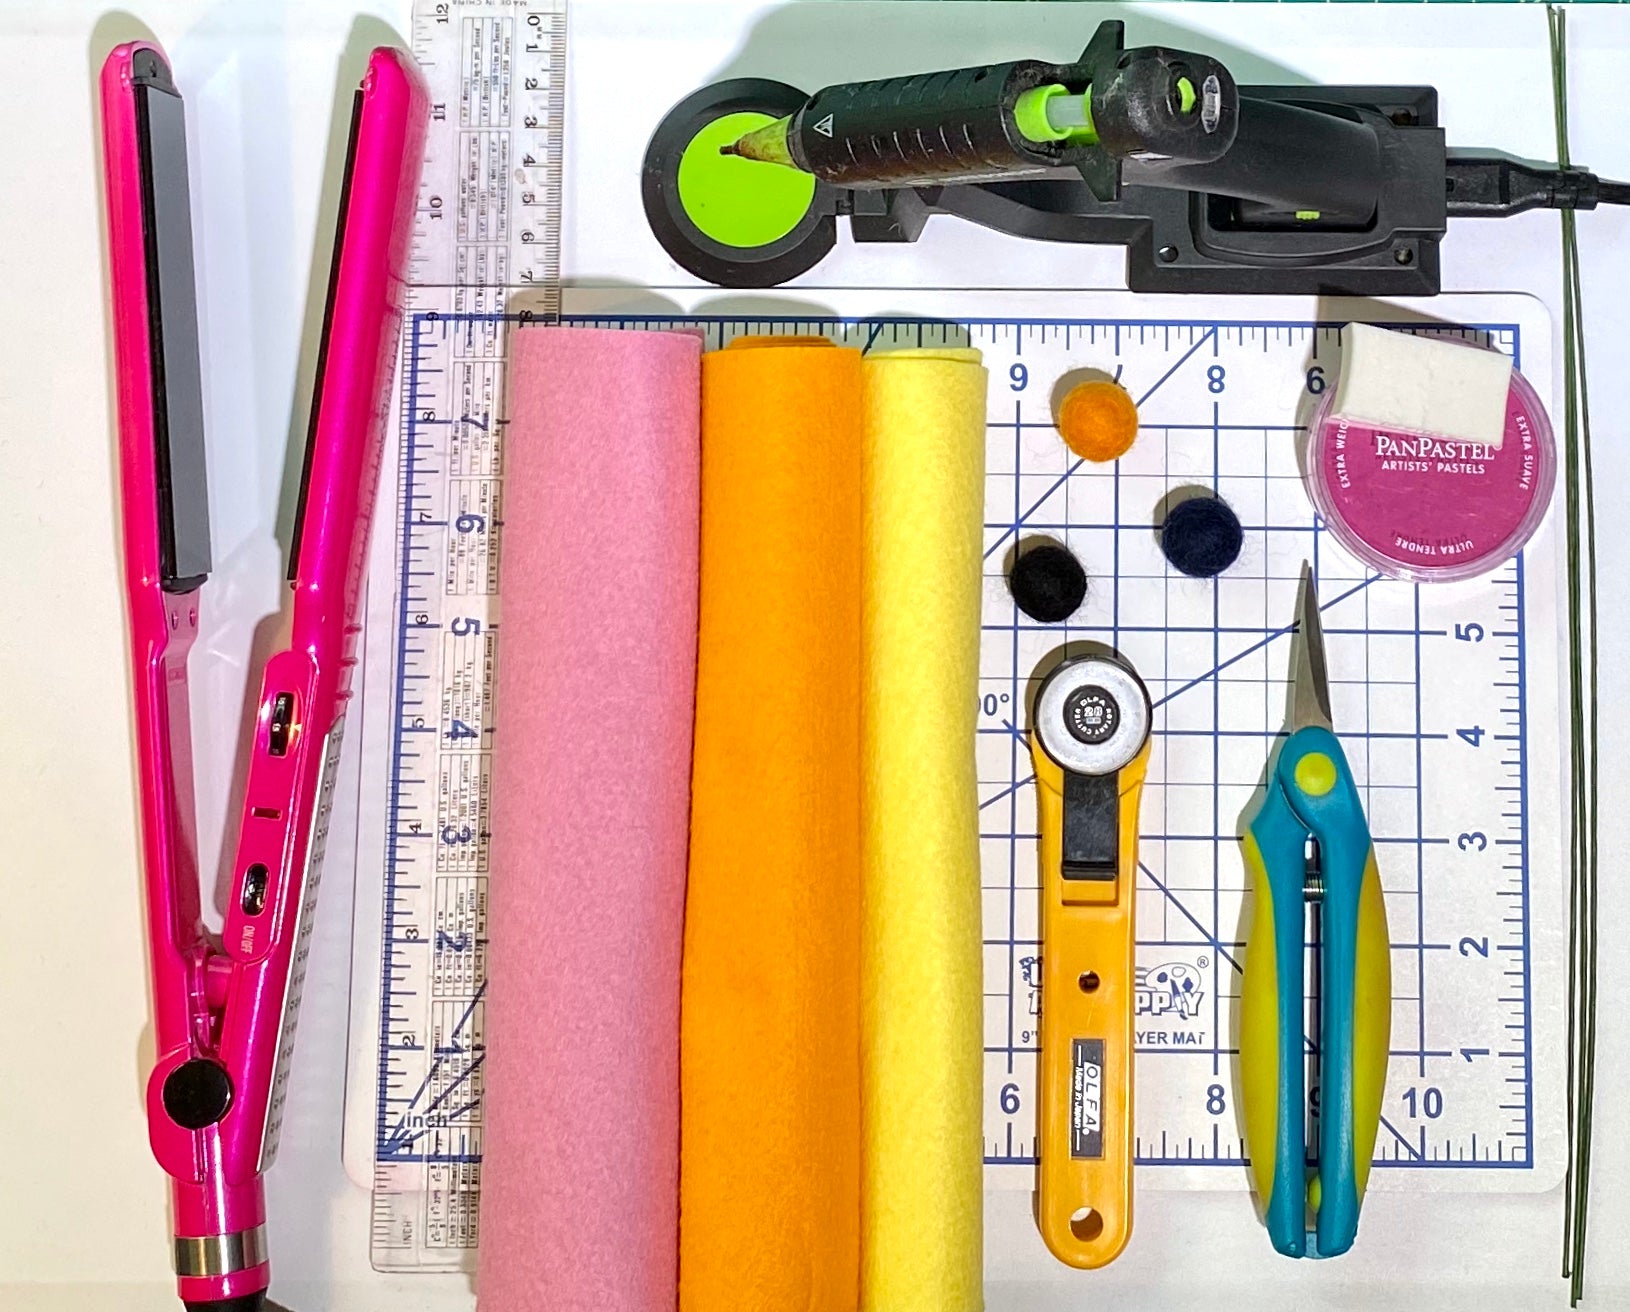
Supply List
Wool blend or 100% wool Bellwether felt for petals and leaves in size 9x12", this tutorial using the following combinations of felt and poms:
Peach Wool Blend Felt / Tangerine Small Pom
Lemonade Wool Blend Felt / Black Small Pom
Dandelion Wool Blend Felt / Mustard Small Pom
Foxglove Wool Blend Felt / Moss Small Pom
Tangerine Wool Blend Felt / Crimson Small Pom
Wire Stem for the Flower (14” 18 gauge floral stems)
Wire Stem for the Leaves (2” of 22 gauge floral wire )
Wire Cutters
Glue Gun
Hot Glue Sticks
Scissors
Rotary Cutter and Self-Healing Mat
Ruler
Flat Iron or Regular Iron
PanPastel Artists’ Pastels
Sponge Applicator
Paper Towel
Additional Optional Equipment:
Soldering Iron
Tweezers
1. Prepare the Pom center: Using very sharp scissors, poke a hole about half way through the pom. Fill the hole with hot glue and insert one end of a wire stem. Twist until secure. Hold for a few seconds until glue sets.


2. Prepare the petals: Cut 3 strips of felt ¾” wide by 8” long. Using a flat iron on a low setting, create a fold in each strip by ironing the strip in half lengthwise. Do this for all 3 strips. I cut the petals from strips rather than a pattern because it is much easier to iron a fold into a strip of felt verses a small individual petal.


3. Once the fold has been ironed, cut the strips into 2’ pieces. Each piece will be a petal.


4. Cut each piece into a half moon shape, starting in one corner by the fold side. Cut a small notch out of one side. This notched angle is what allows the petal to rest against the curve of the center pom. If you do not cut this notch, the petal will stick straight out and you will not get the look we are going for!

5. Shading: Your flower will look more realistic if you put a little color on the petals to give them depth. Using the Magenta Pan Pastel, rub the foam applicator slightly on the pastel then gently over the top third of each petal (the side nearest the notch). Wipe off any excess pastel by gently blotting each petal on a paper towel.

6. To assemble the flower, dab a small amount hot glue on the cut notch edge of the petal. Gently attach it to the pom, holding in place until the glue begins to set. You will need about 11-12 petals per flower, depending on how close you pinch the petal when attaching.


Tip: Less is more when it comes to hot glue! Hot glue works really well on felt, so you do not need to put a lot of glue on your projects. Hot glue has a tendency to form long strands. Use a pair of tweezers to remove any glue strands that may be left on the flower.
7. Leaves: Use two green leaves per Coneflower stem. I prefer the Benzie colors of Meadow or Moss for leaves. Using your rotary cutter or scissors, cut out two rectangles that measure 2.5” x 1.25”. Cut a simple leaf shape from each rectangle as shown.


Optional leaf veining: If you would like to add more dimension to your leaves, you can use a low heat soldering iron to make veins. Heat the iron, then run the hot tip along the leaf to make veins. This will work well with Benzie wool-blend or 100% wool Bellwether felt, but it will melt acrylic felt so do NOT try this with acrylic felt!
Glue the base of each leaf to a small piece of 22 gauge wire, about 2” long. Press the base to the wire until the glue dries.
Wrap the leaves around the stem about 3” below the flower head.


Have fun choosing different color combinations for your flowers! I love to look at photos of real Coneflowers to get ideas. Make a batch of these beauties and place in a vase to enjoy their cheerful colors for a late summer or fall display!

Thanks to Astrid for designing and writing this tutorial! You can follow her on Instagram @treehousefeltflowers or visit her website. Stay tuned for more Benzie Design Maker Team tutorials from Astrid and the rest of the Team!


