In this tutorial, we demonstrate how to needle felt using a cookie cutter form. Utilizing a cookie cutter not only keeps your fingers safe but helps to easily create shapes from any cutter you can find! This is a great way to explore how fibers blend, bunch and felt. Today we are making a felt star from marbled ombre wool.
If you are a new to needle felting or need a refresher, we have a wonderful blog post that explains the basics of this craft.
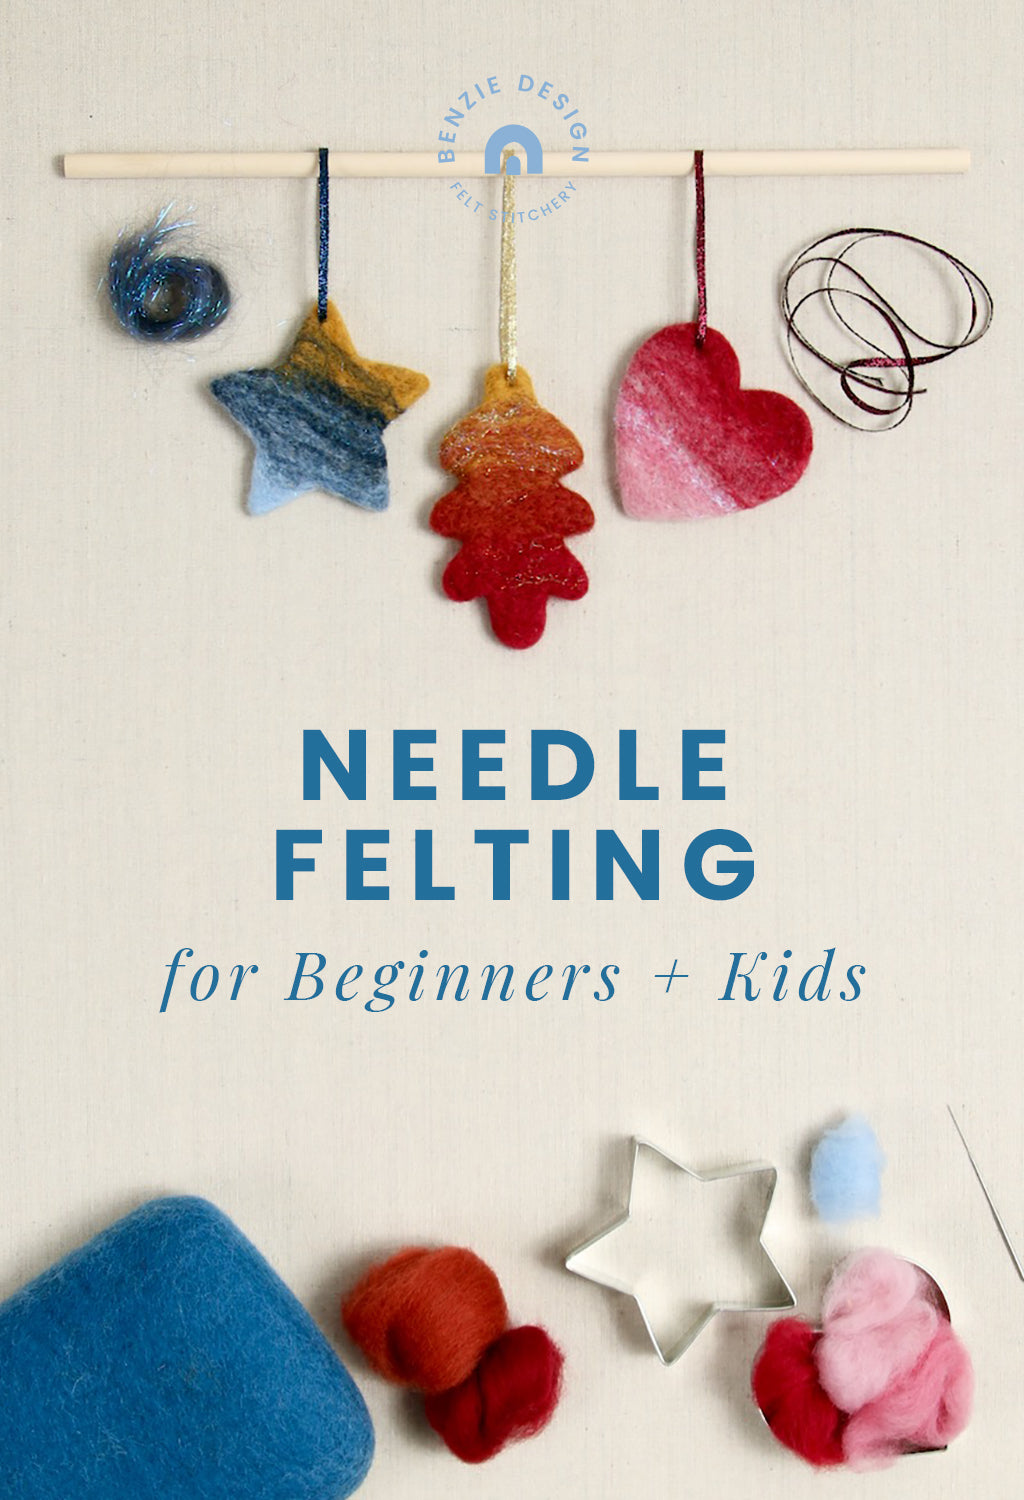
If you're starting from scratch, we now offer all these supplies in Beginner Needle Felting Kits featuring a Star, Oak Leaf and Heart.

As you begin to work with the wool felt fibers, you will notice our fibers come in a knot or a roll that can easily be loosened to the full length. Here are some needle felting terms you should know as you get started:
Staple - Length of the individual strand fibers that make up roving.
Length - Raw end to end of a piece of roving. The staple (or strands) of the roving run lengthwise.
Crosswise - Fibers are opposite of length.
Divide - Holding end to end pull apart the fibers to shorten the overall length. If resistant, hold hands further apart from each other. Do not use scissors as it compromises the integrity of the roving.
Split - Holding the fibers vertically, pull or split apart to thin the fibers.
Thin - Wool is prepared by dividing and splitting fibers (one hand on each end) over and over to shorten the staple of the roving.
Blend - A technique (used in conjunction with Thinning the Fibers) to mix two different colors together.
Directions:
1. Decide on a cookie cutter form for your project. Benzie has a great selection available here.

2. Prepare wool roving by dividing a 6" length of each color. We used three different colors in our star.

3. To get a smooth ombre effect between colors - or to create new colors - blend lengths of roving together. For medium blue, we blended light blue (1) and dark blue (2) fibers.

4. Blending is the action of pulling the fibers apart over and over. You will notice the length will shorten the more you blend! This shorter length is desirable for many smaller needle felted items.

5. Once the fibers are blended to the length and color you desire, pull out a felting needle, cushion and cookie cutter to start needle felting.

6. Arrange the fibers in the order you would like the finished shape and place roving directly in the cookie cutter.

7. Hold the cookie cutter in place with your fingers and keep your eye on the needle. (Poked fingers hurt!) Punch the needle straight up and down repeatedly to felt the roving. The fibers will be fuzzy at first and eventually start to firm up. Lay more roving around your shape at any time to get the desired look and thickness. This tutorial explains how to achieve a marbled effect.

8. As an additional step, add Angelina Fibers to give the needle felted item just a touch of sparkle! Sparkle can add a bit of realism (snow) or magic (fairy). In this design, it adds depth and personality to the shape.

Keep in mind that Angelina Fibers do not felt on their own and first need to be blended with wool roving. Take just a pinch of the Angelina Fibers and add it to a small length of roving.

9. Continue to blend the two fibers together until you get your desired look.

10. Finish your project by adding a length of ribbon. Use an awl to bore the hole for ribbon. Hang and enjoy!


