
We are delighted to introduce our newest die set: Midnight Moth. Midnight Moth was designed by Erin Paisley and can be made into an ornament, wearable art or even an enchanting doll costume. Even though this is ranked as an intermediate project, Erin's thorough explanations make this approachable for an ambitious beginner. And if you think this moth is fabulous, be sure to meet her sister: Flora Moth.
Additional Supplies:
Pattern Placement Guide (click to download)
Resealable Plastic Bags
Coordinating Sequins and Beads - optional
Needle, for beads - optional
Glue Stick - optional
Directions:
1. The Midnight Moth deep etch die comes with many pieces and it is helpful to lay them out according to wing layers. Beginning with the Front Wing, use the die shapes shown below. Cut two from the same color felt for the pieces marked.

Tip: Make the most of your felt by cutting smaller pieces from scraps. You can also cut two pieces at a time by layering two pieces of felt under the die.

2. Once Front Wing pieces are cut, place them in a resealable plastic bag marked "Front" to keep them organized.
3. Cut Back Wing using the die shapes shown below. Cut the amounts indicated from the same color felt.

4. Place Back Wing pieces in resealable plastic bag marked "Back."
5. Working with felt pieces from Front Wing, layer the Base and Layer 1 as shown below. The tips of each "feather" should touch the bottom of Base. Use two strands of coordinating floss to whip stitch across top. This stitching will not be visible when finished.

Tip: A glue stick works well to hold felt in place while securing with stitches. The needle glides through easily, even when glue is dry.
6. Add Layers 2-4 in same way. The top part of each subsequent layer should match in width to the section of wing base it is placed on (as demonstrated by arrows.)

7. Situate the top layer, or Collar, to overlap Layer 4 and slightly extend past top of Base. Yellow markings illustrate stitch placement on Collar.

8. Draw guides for decorative stitches with a disappearing ink pen. Use two strands of metallic floss to stitch straight stitches and french knots as shown.

9. Add largest dot to wing. Secure with stitches halfway to center, as center will be covered by other dots.

10. Use glue stick to attach next two dots. Secure both by adding decorative stitches to smallest dot.

11. Add three french knots (or beads) below smallest dot.

12. Stitch straight stitches between each scallop of Layer 2. Add sequins and beads to each scallop, if desired.

13. Finally, add straight stitches and french knots (or sequins) to "feathers" of Layer 1. Remove any visible pen markings with hairdryer.

14. Repeat steps 8-13 for the other side of Front Wing.

15. When embroidery is complete, flip Front Wing over and attach matching Wing Base to cover stitching. Secure with clips.

16. Stitch Wing Bases together with two strands of coordinating floss and a whip stitch. Lift upper layers to avoid stitching through anything other than base layers. Set completed Front Wing aside.

17. Let's begin work on the Back Wing. Place one Back Wing Base on Placement Guide. The Wing Outline should slightly extend past the innermost side and bottom of Base.

18. Use tacky glue to secure Wing Outline.

19. Repeat step 17 with second Back Wing base. Hold two pieces back to back (before glue dries) to ensure they fit together properly. Adjust if necessary.

20. Repeat steps 17-19 for remaining Back Wing bases. The front and backs (with extended Wing Outlines) should look as shown:

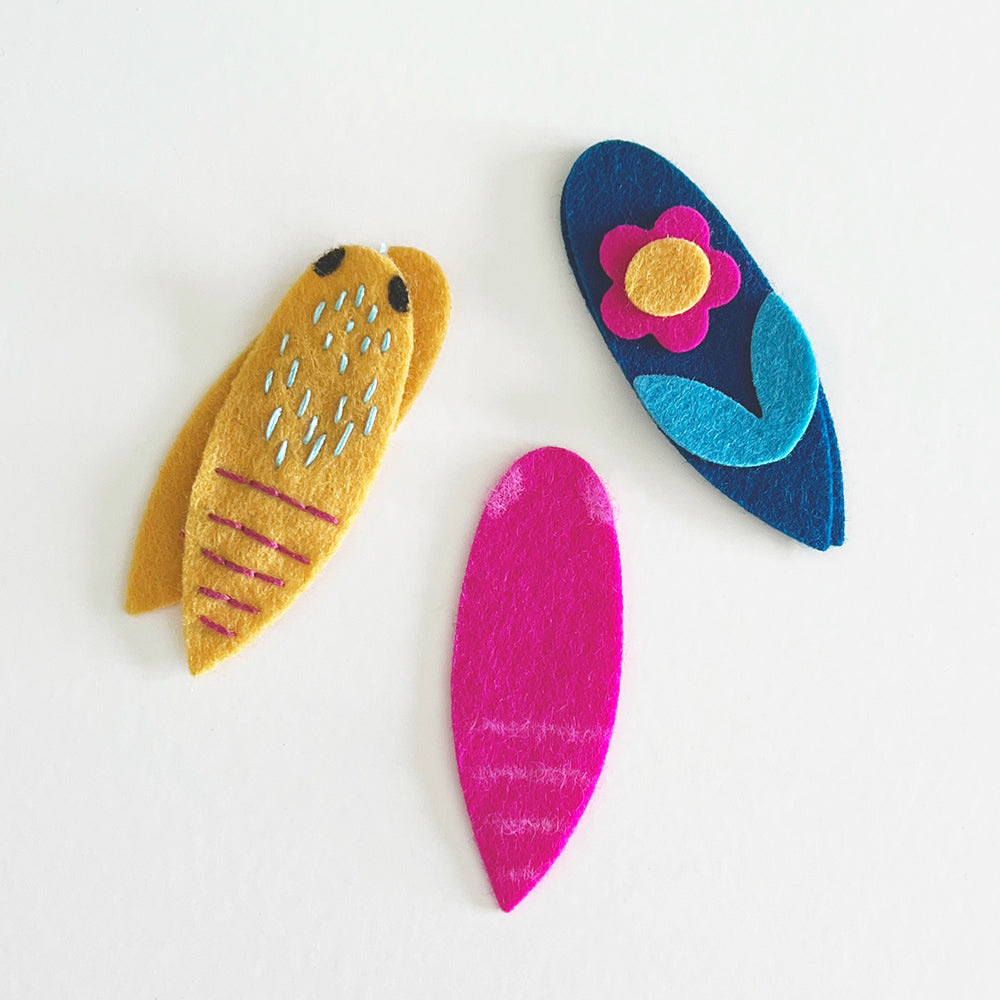
21. Set aside two mirrored Back Wings. Take remaining two mirrored Back Wings and glue on Dots and Flower as shown below.

22. Use two strands of contrasting floss to secure with decorative stitches. Use a disappearing ink pen to draw guidelines, if desired.

23. Secure Wing Outlines with french knots (inside each scallop) and straight stitches (between each scallop.) Stop straight stitches short of ouside edge - do not wrap thread completely around.

24. Add finishing stitches to all four Wing Outlines to create four finished Back Wings.

25. Place two Back Wing pieces (one with flower, one without) together, right sides out. Use clips to hold in place and whip stitch together along Wing Outline with coordinating floss.

26. At end of Outline, knot and cut floss. Switch to new coordinating color and complete whip stitch around perimeter of Back Wing.

27. Repeat steps 25-26 for remaining Back Wing pieces.
28. Place Front Wing front side down. Position Back Wing on top with front side up. Clip in place. Flip over and check positioning from the front. Adjust if necessary.

29. When satisfied with placement, make a few stitches at top of Back Wings, only stitching through back layer of Top Wings. These stitches will be covered in the next step.

30. Add Collar to Back Wings in alignment with front Collar. Using coordinating floss, whip stitch along bottom half (only going through Back Wings) and then along top half, catching Collar in front.

31. If you'd like to make the Midnight Moth wings into a proper bug ornament, use the Flora Moth Body die (LINK) or Moth Body templates from the Placement Guide above. Add decorative stitching or felt shapes to Body before stitching and stuffing.
32. There are three ways to add eyes to the rounded end of the Body - beads (1), paint (2) or satin stitch (3).

33. Attach Body to Wings with a few stitches through the Body and Collar.
There are so many fun ways to use these moth wings! Without the added body, they can be fairy wings, hair clips or appliques. As a completed set, make them into a brooch or ornament.

You can also mix and match pieces with the Flora Moth Deep Etch Die! We can't wait to see what you create!


