
Hello! Nice to see you on the Benzie blog! A friendly hello, either in our shop or virtually on our blog, is a hallmark of the Benzie experience. So we're delighted to bring you this cheerful craft tutorial by Lori of @xoxoloriloves! Follow along with her vibrant rainbow colors or choose your favorite colors of felt poms to create this wonderful welcome message.
Isn’t it amazing that something that takes a fraction of a second to say, can have such a huge influence on the people around you? When someone says “Hello!” to you it instantly brightens your day. This fun and easy pom pom wall art craft is a cheerful reminder to take that extra step, be spontaneous and say “Hello” to a friend, a coworker, a stranger on the street and even yourself! You’ll be amazed at the positive impact it will have on their day and yours!
Skill Level: Beginner
Time: Less than 1 hour
Supply List:
Extra Small Red Felt Poms (one 50 pack)
Extra Small Sunrise Orange Felt Poms (one 50 pack)
Extra Small Mustard Felt Poms (one 50 pack)
Extra Small Leaf Felt Poms (one 50 pack)
Extra Small Blue Felt Poms (one 50 pack)
Extra Small Black Felt Poms (three 50 packs)
Extra Small Lavender Felt Poms (nine individual poms)
Extra Small Magenta Felt Poms (two individual poms)
Glue Gun & Glue Sticks
Design Chart (click to download)
Design Chart Symbols (click to download)
Color Legend (click to download)
Other Supplies:
8” x 10” Frame (glass removed)
Thin Cardboard (cut to 8” x 10” in size)
Black Spray Paint or Acrylic Paint
Foam Brush
Rotary Cutter or Scissors
Ruler
Pencil or Chalk
Painter’s Tape (optional)
Instructions:
1. Paint the 8” x 10” cardboard piece with black spray paint or acrylic paint. Let dry.

2. After the cardboard is dry, use chalk or a pencil to lightly draw a line ¼ inch in from all four sides. (This will allow a margin on all four sides of the finished piece to “sit in” and rest in the frame from the back)
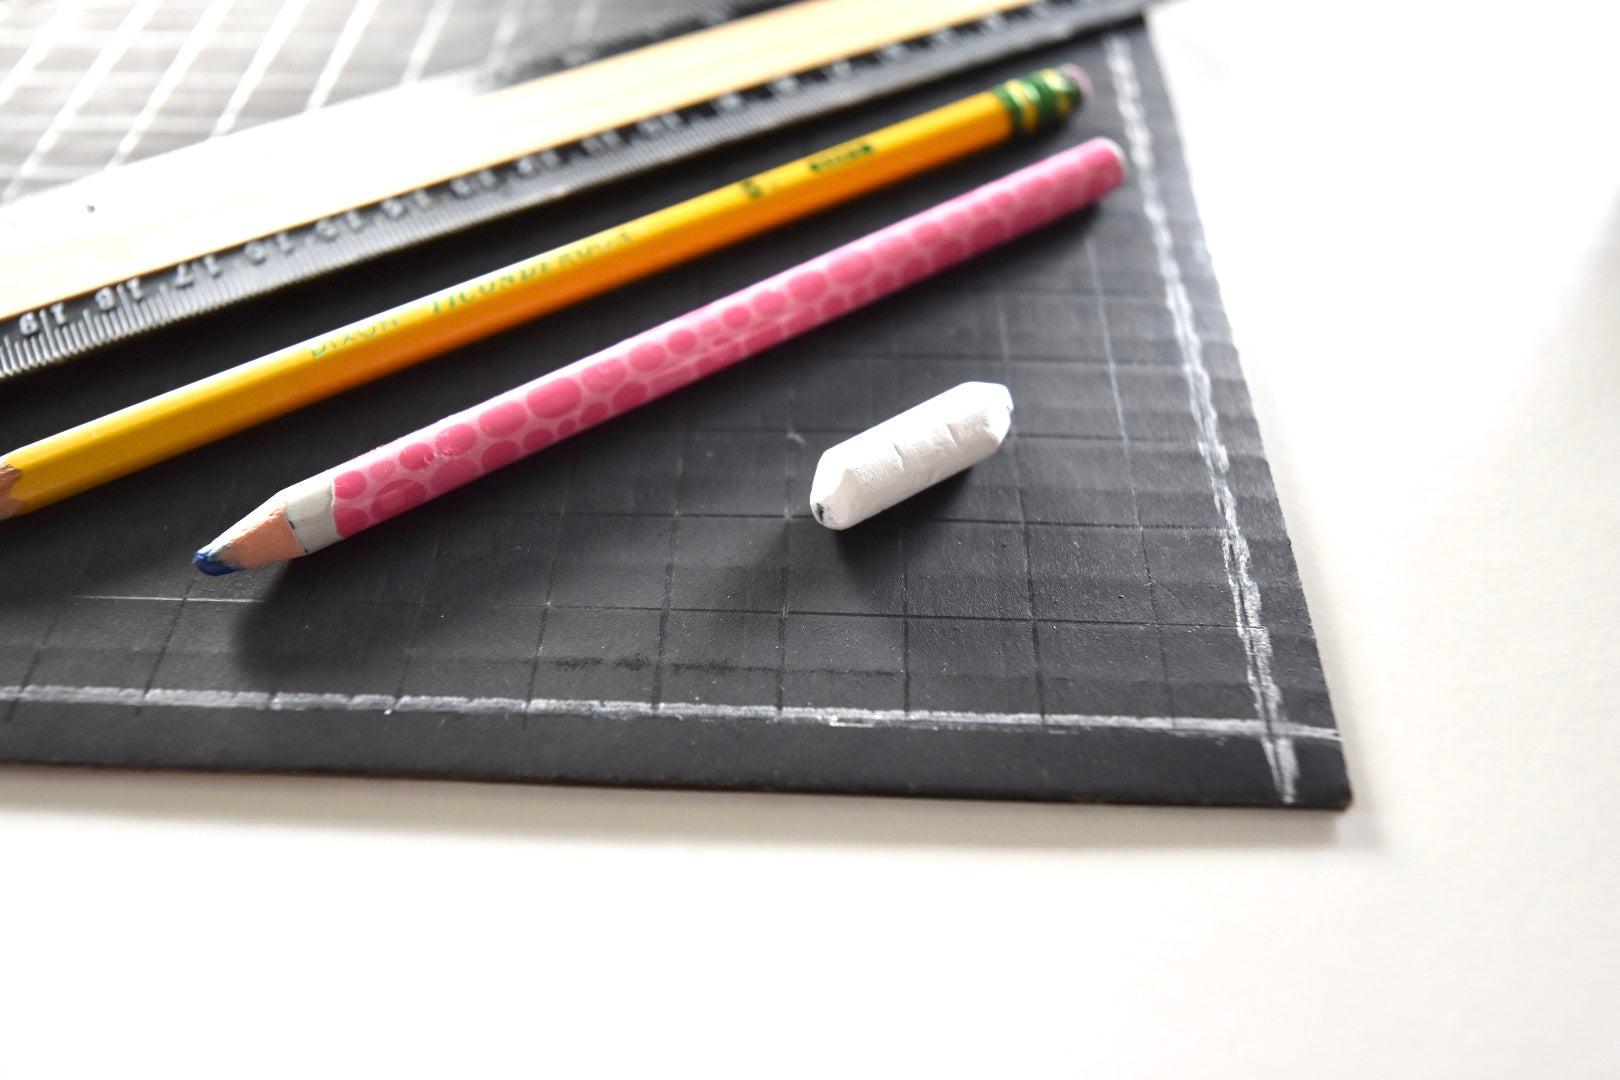
3. Next, starting from left to right, with a ruler (a see-through ruler will make this go way faster!), measure ½ inch from the line you just drew and draw a line. Continue until you get to the end of your board.

4. Repeat Step 3 this time from top to bottom. Your cardboard should now have a grid with 18 half-inch squares across and 14 half-inch squares down.


5. Download and print the HELLO! Design Chart and the Color Legend from the Supply List. Each square on the chart equals one ½” felt pom.
6. Using the Design Chart and Color Legend as your guide, begin hot gluing pom poms onto their corresponding square on your gridded cardboard.


7. Continue gluing on pom poms following the Design Chart until you are finished!

8. Next, take your 8” x 10” picture frame (glass removed) and place right-side down on your table. Place your finished pom pom art in the frame from the back right-side down as well. Secure it in place with whatever backing came with your picture frame. Flip over to make sure everything looks level and/or centered. (Tip: if you cut your cardboard a little too short, add a few dabs of hot glue inside the frame to hold it in place)


You're all finished! Now find a place to hang your new artwork!

Thanks to Lori for designing and writing this tutorial! You can follow her on Instagram @xoxoloriloves or visit her website. Stay tuned for more Benzie Design Maker Team tutorials from Lori and the rest of the Team!


