Share

Babies often need help adjusting to new environments, especially if they are going somewhere for several days. If your baby has a beloved mobile at home, making a miniature version can help sooth them! Guest blogger Laura of @lmhquilts shows us how to make a miniature mobile that will bring joy and comfort to any baby in your life! This quick craft is excellent for busy new parents, to make as a sweet baby shower gift, for hanging above a changing pad, and as a quick gift to make for babies who have to visit the hospital.
Overnight stays away from home can be scary for babies, but they are also a necessity. Whether it's a vacation, a trip to visit family, or an extended stay at a hospital, newborns and infants sometimes find themselves trying to rest somewhere unfamiliar. This project is inspired by my baby, who loves her mobile so much that it was the first thing that made her smile. When we had to stay away from home early in her life, I whipped up a miniature version of her mobile to bring along, and it helped keep her cheerful and calm. Help ease these unfamiliar times by making a special miniature mobile to calm and sooth your baby! Even if you're not traveling far from home, this project is great for keeping distractible babies focused while they're getting changed!
Time: 30 minutes
Skill Level: Beginner
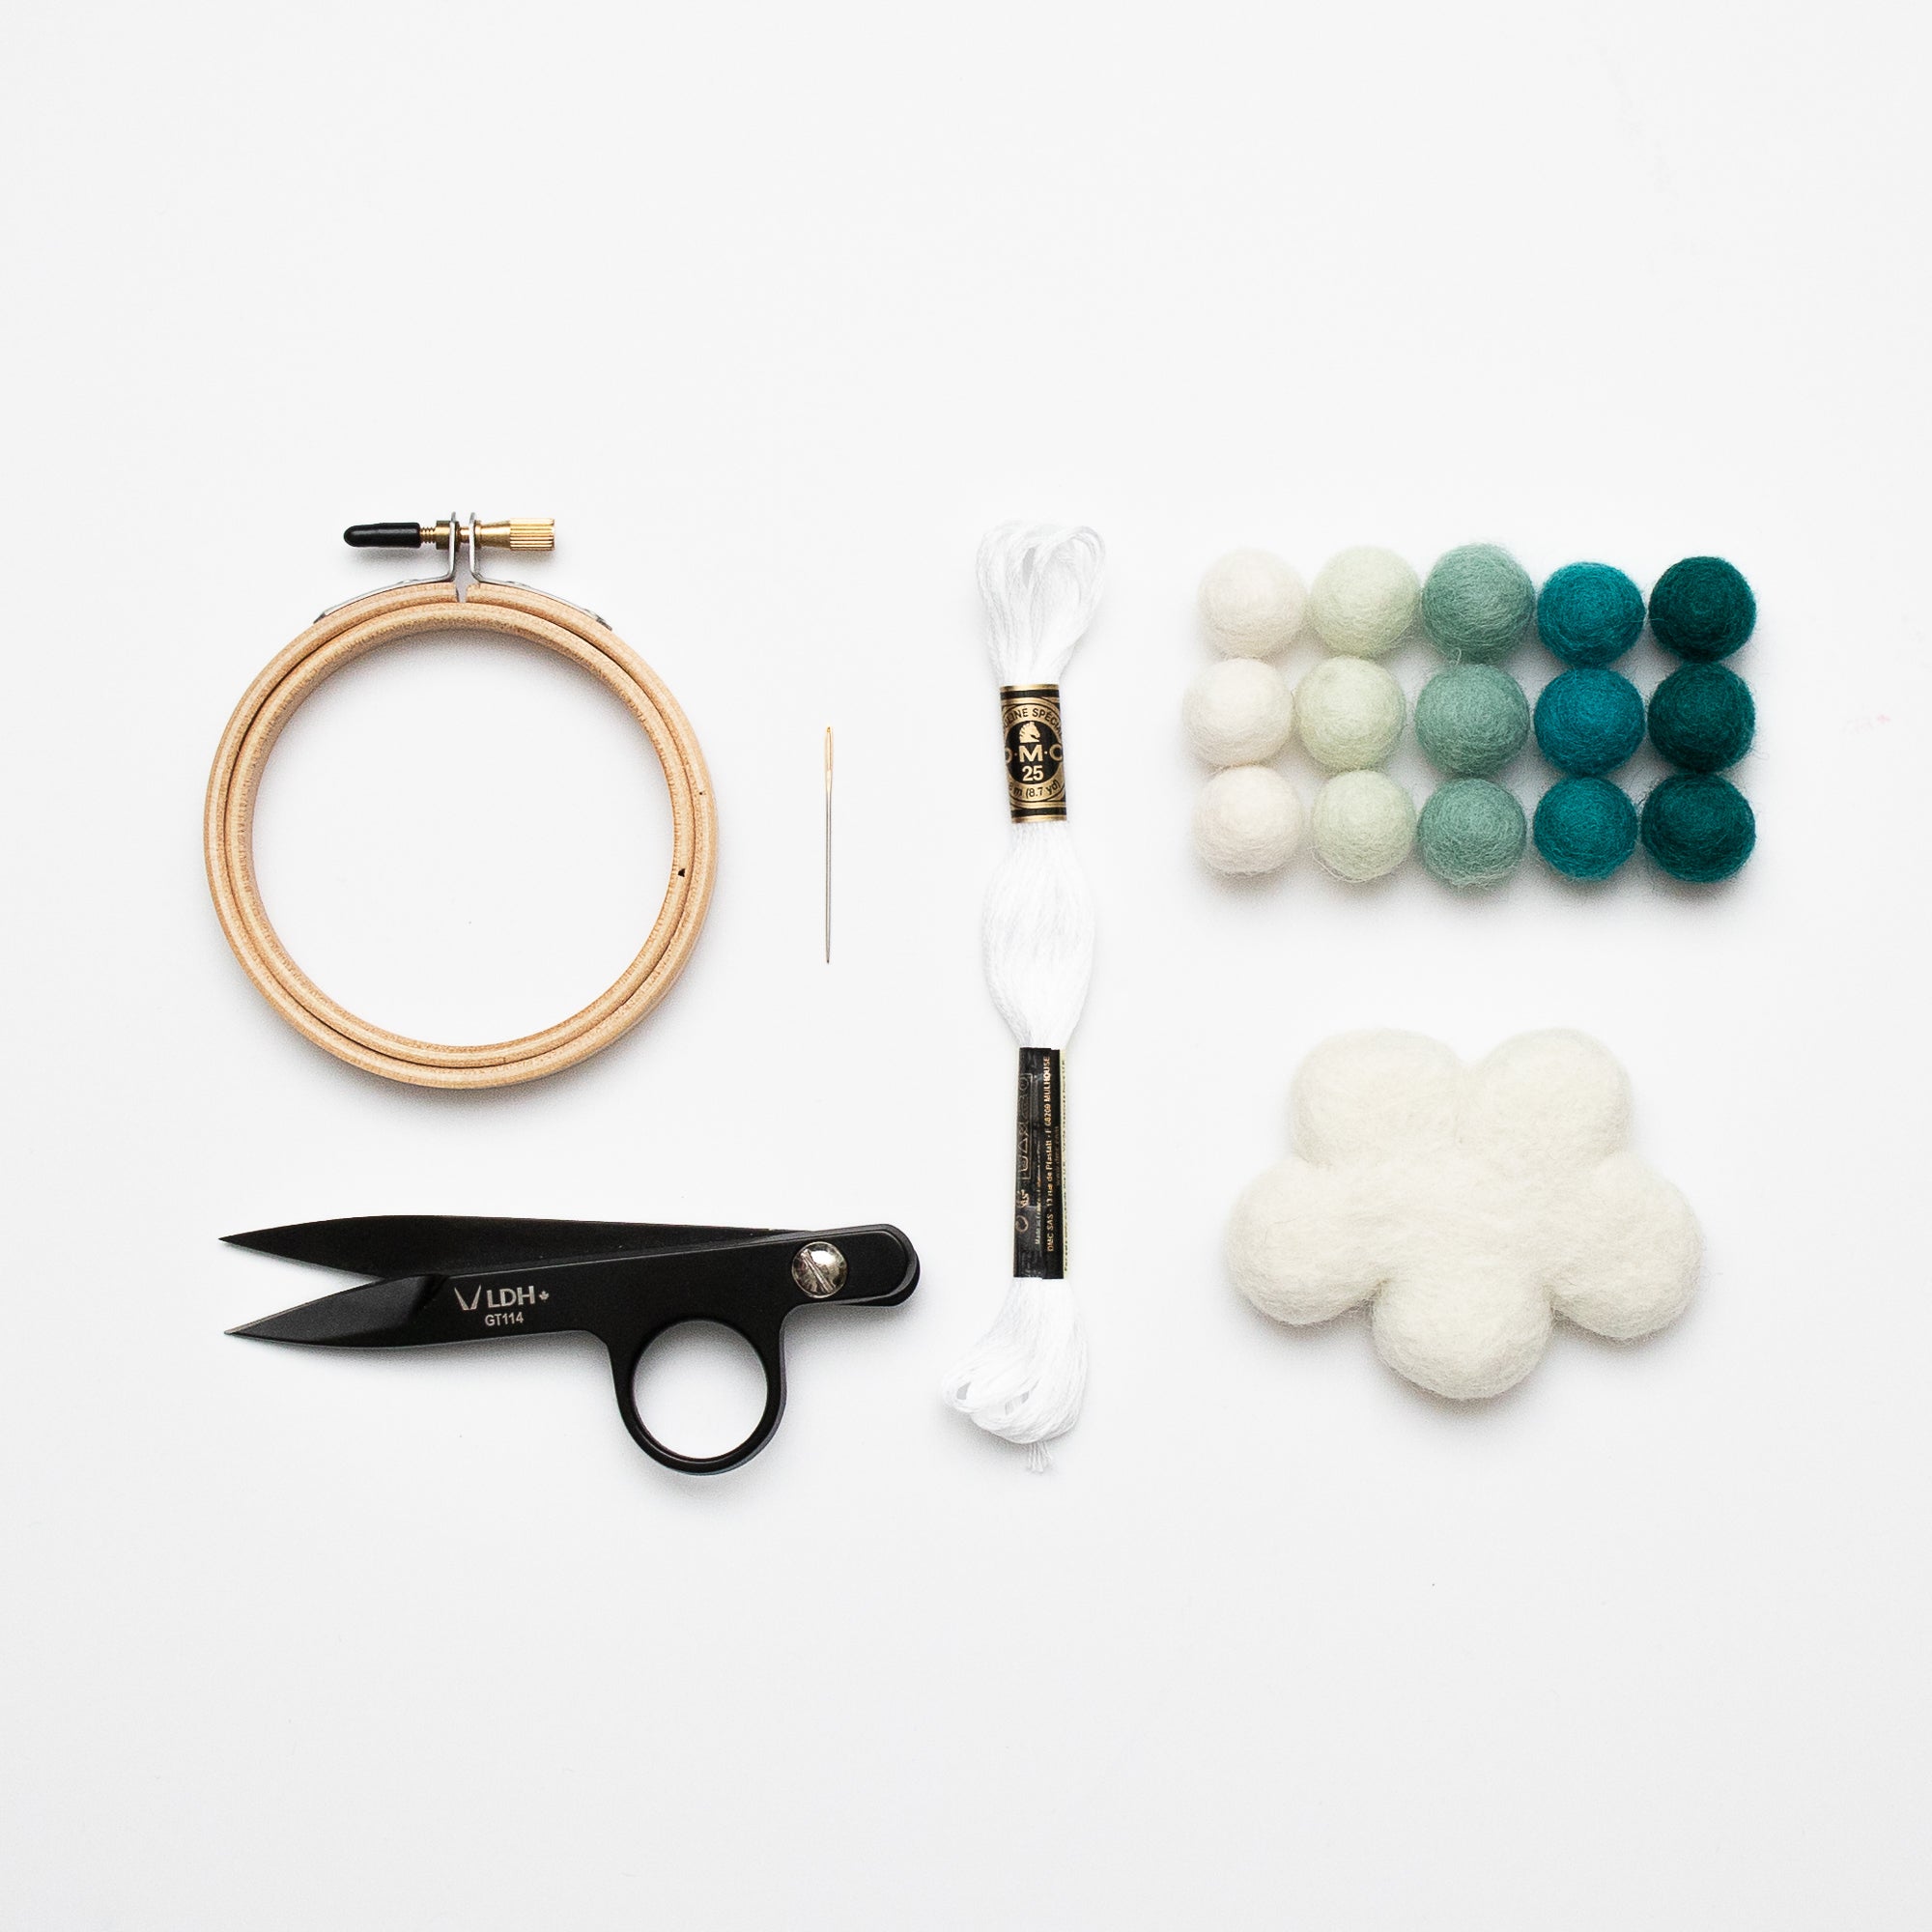
Supply List:
Felt cloud
Three small felt poms in White
Three small felt poms in Mint
Three small felt poms in Swan
Three small felt poms in Peacock
Three small felt poms in Turquoise
Embroidery floss in white or any color of your choice
Tapestry needle
3" wood embroidery hoop
Thread snips
Note: Do not allow babies to play with felt poms.
Directions:
1. Cut one 24" piece of embroidery floss, and six 20" pieces.
2. Thread your 24" embroidery floss through the top two felt cloud humps. It helps to squish the two humps together while doing this since your needle is shorter than your cloud. Pass your thread through the cloud until it is in the center. Tie each side of your thread to the inside of the embroidery hoop with the cloud hanging in the center. Tie your cloud as close the hoop as possible - you don't want it dangling too far down! Leave the ends of your embroidery floss long. They will become your hanger.

3. Tie a knot at the end of each 20" length of floss, and thread three poms onto each. Trim the knots at the bottom of each length of floss.

4. Beginning with the lightest pom color, tie each length of floss to the inside of the embroidery hoop behind the cloud. As you add darker poms, create a cascade effect by hanging each one a little lower. The exact length doesn't matter, so choose whatever looks best to you! When you like the look of your mobile, trim down the extra embroidery floss where it is tied to the hoop.

5. Close your embroidery hoop by putting the outside layer on. This helps to keep all of your embroidery floss lengths in place, so make sure they look evenly spaced! The long embroidery floss that holds the felt cloud should be sticking up in the opposite direction of the rest of your strands.

6. Thread the final length of 20" embroidery floss through the eye of your embroidery hoop, and tie it to the embroidery hoop. Gather all three long threads together and tie them in a loop above the mobile, making sure that the hoop is hanging evenly while you tie. And you're done! Hang your miniature mobile up, or simply hold it up high to dazzle any little one!


Congrats - you made a baby smile today! Even on the rainiest of days, this mobile will bring cheer and fascination to any baby in your life!

Thank you to our guest blogger Laura of @lmhquilts for designing and writing this tutorial! Check out Laura's website, and stay tuned for more tutorials on our blog!


