Share
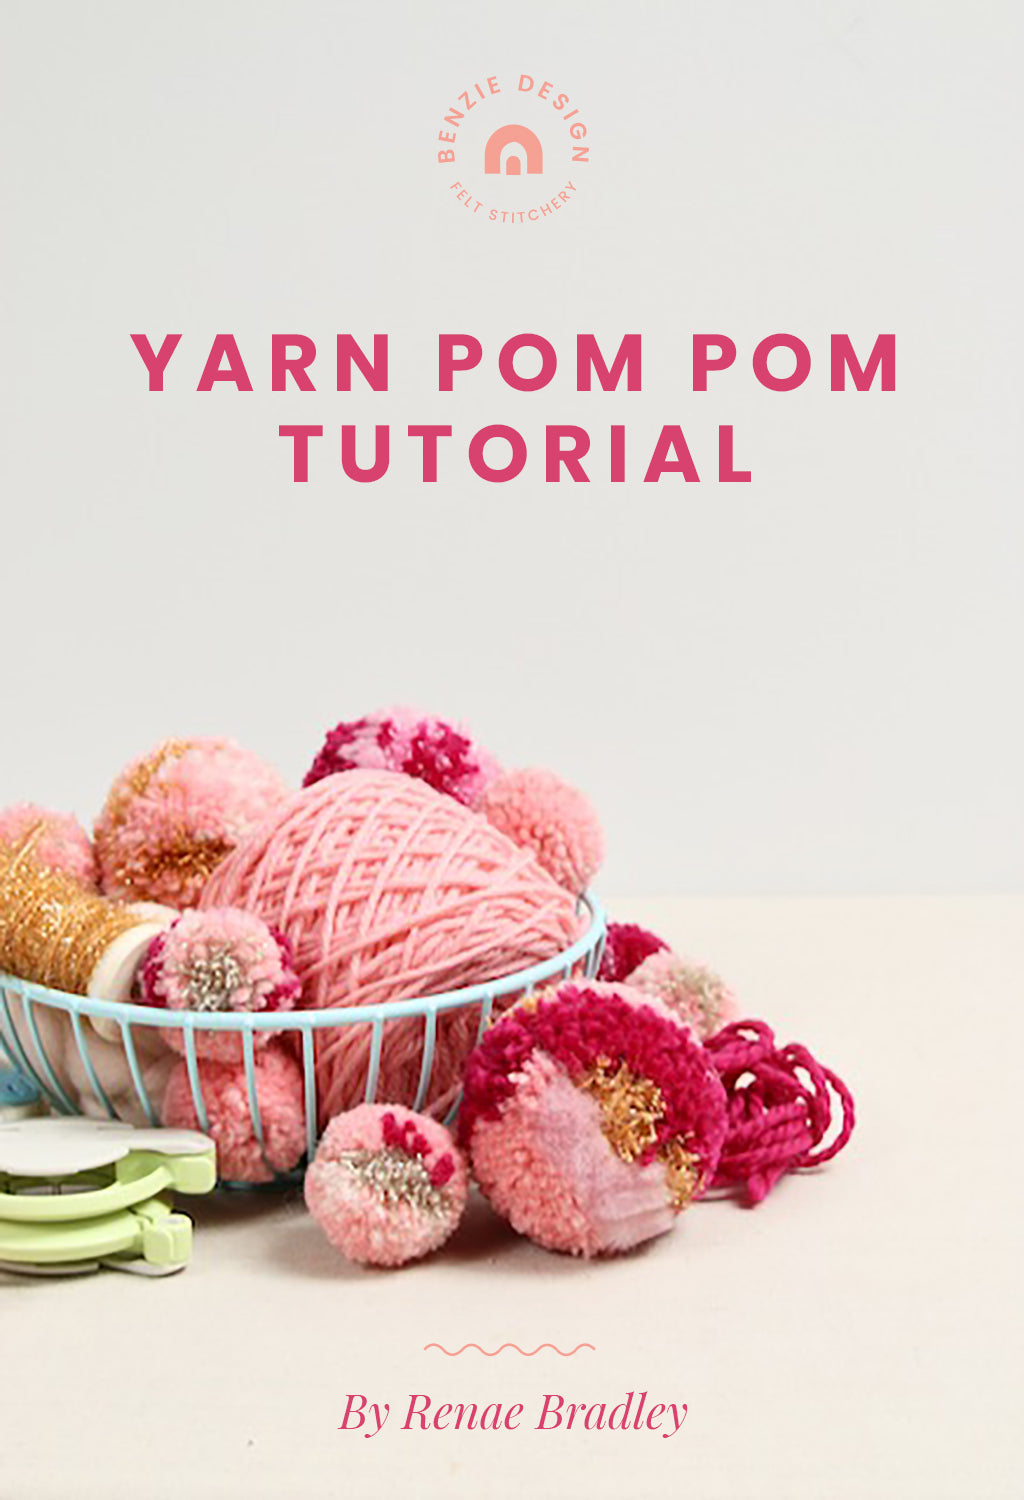
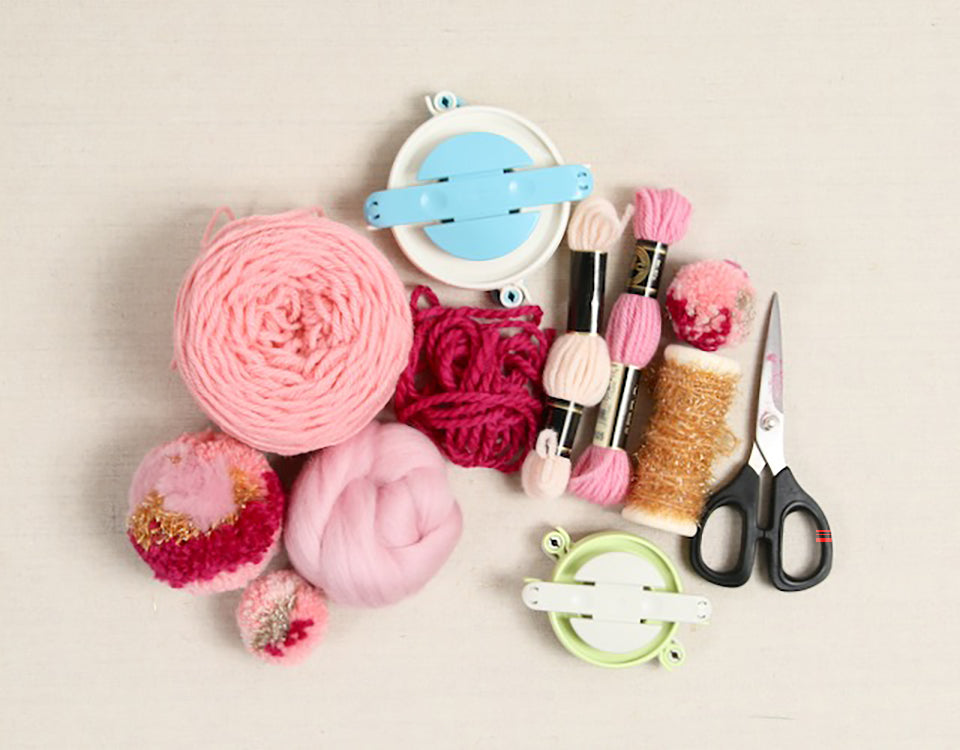
Making yarn poms is a low stress craft that anyone can learn to do! Use a variety of fibers in one pom, such as different thicknesses of yarn, roving, tinsel trim and even strips of fabric, to create something truly spectacular. Besides the yarn, you only need two tools: the Clover Pom Maker and sharp scissors with a small tip. With these tools, you'll be able to make pom poms without breaking a sweat!
Skill Level: Beginner
Time: 10 minutes
Directions:
1. Familiarize yourself with the pom maker. Notice how the parts open and close. You can slide open the arcs or pull it apart in two pieces. To start making the pom, slide open half of the maker. Wrap the yarn around the arc.

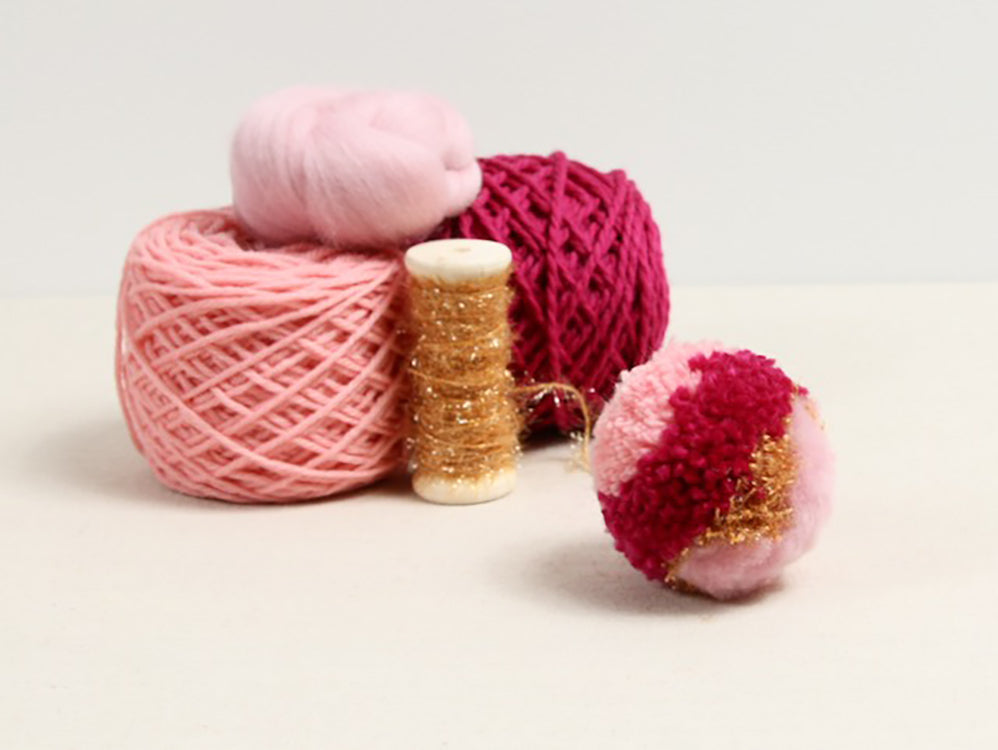
2. Continue to wrap yarn around the arc. We love a variety of fibers. In this example we added thin and thick yarn, tinsel trim and roving. Keep filling up the arc until it's nice and full!

3. Once the arc is full, push it back into place in the pom maker.

4. Repeat Steps 1-3 on opposite side of pom maker.

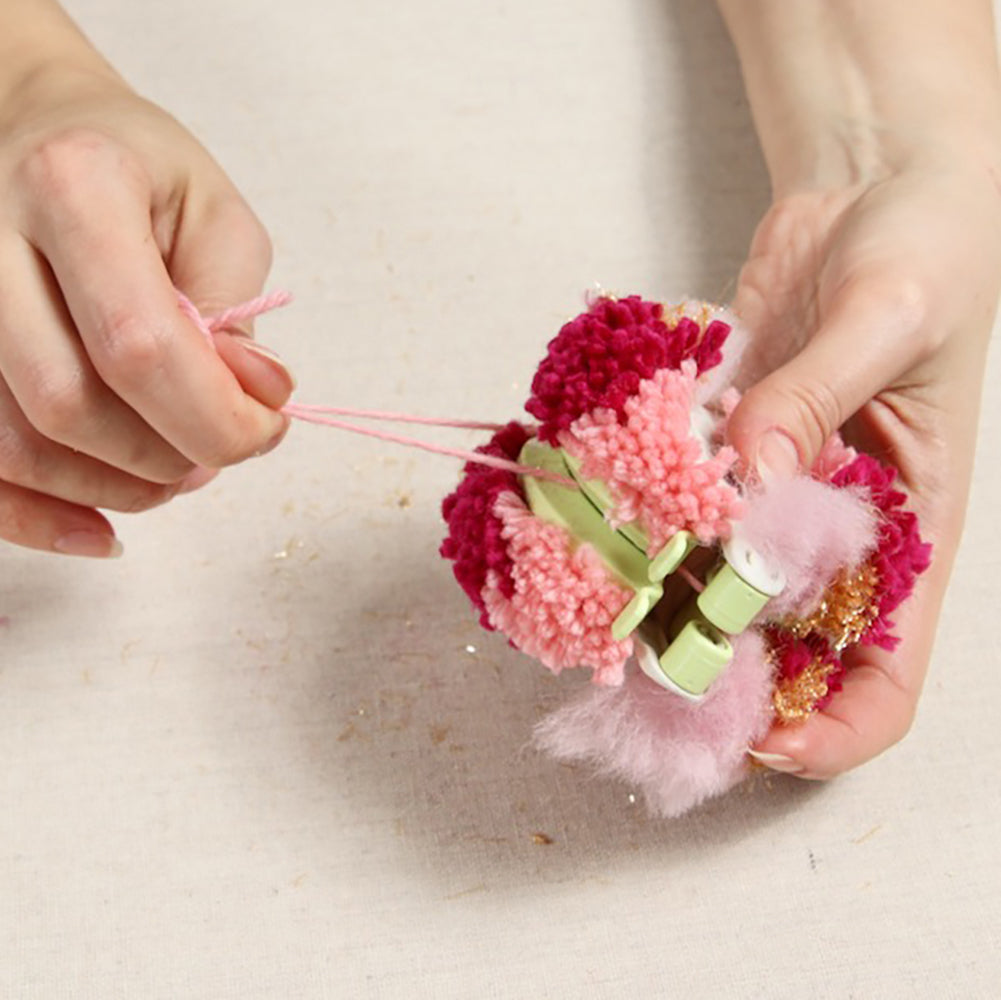
5. Position the scissors at the end of wrapped arc. Place tip of the scissors under the yarn, between the arms of the arc, and start cutting. Be careful to keep the pom maker intact. Cut all the way around and watch the yarn pop open - our favorite part!

6. Cut an additional length of yarn and tie a double knot around the center of the pom, where the pom maker comes together. Make sure it's nice and tight! Tie an extra knot or two to make sure it's secure.
7. Now open up the pom maker and trim, trim trim! The more you trim off the yarn pom, the neater it will look.

And that's how easy it is to make a yarn pom pom! The hard part is stopping...

Stay tuned for more tutorials from Benzie Design!


