
We're "putting a bird on it." A hummingbird, to be exact. Maker Team member Penny of @happystitchery dreamt up these fanciful patches that can be used as embellishments or to cover up that pesky ketchup stain. The only problem will be deciding which item of clothing is worthy of such special treatment!
If, like me, you have a tired piece of clothing that deserves a new lease on life, then these colorful patches are just the thing. The little felt hummingbird and flower are sure to bring a splash of color to your wardrobe - just in time for Spring and Summer!
Skill Level: Beginner
Time: 2 hours
Additional Supplies:
Hummingbird Pattern (click to download)
Flower Pattern (click to download)
Directions:
1. Begin by printing the patterns above onto the dull side of freezer paper.
2. Cut out all the pattern pieces, making sure to leave a little extra room around each border. Iron the pieces onto the corresponding colors of felt (see color charts).

3. Cut all the felt pieces using a pair of sharp scissors. Carefully peel the freezer paper off.

4. Starting with the hummingbird design, sew the corresponding sequins onto the wings using one strand of matching embroidery thread.

5. For the eye, sew a sequin onto the head piece. Take two strands of DMC B5200 and, using a straight stitch, stitch around the eye.

6. Now that all the sequins have been added, start gluing the hummingbird together. Add glue to the Thistle body, before placing it on top of the Chartreuse background.

7. Glue on the Magenta wing, then the Peacock head.

8. Repeat with the Aqua wings, followed by the Lemonade and finally Cyan wings.

9. Your hummingbird design is now finished! Use the patch at this stage or, if you would like it to look like a real patch, add a thread edge in the next step.

10. For an optional thread edge, take two strands of DMC 600 and whip stitch a border around the edge of the hummingbird. Make sure to fill in every gap when sewing around the edge.

11. Using one strand of DMC 907, sew a Clover sequin to the middle of the flower. With two strands of DMC B5200, sew long straight stitches on each of the petals.

12. Add glue to the back of the Aqua circle and add it to the Chartreuse piece of felt.
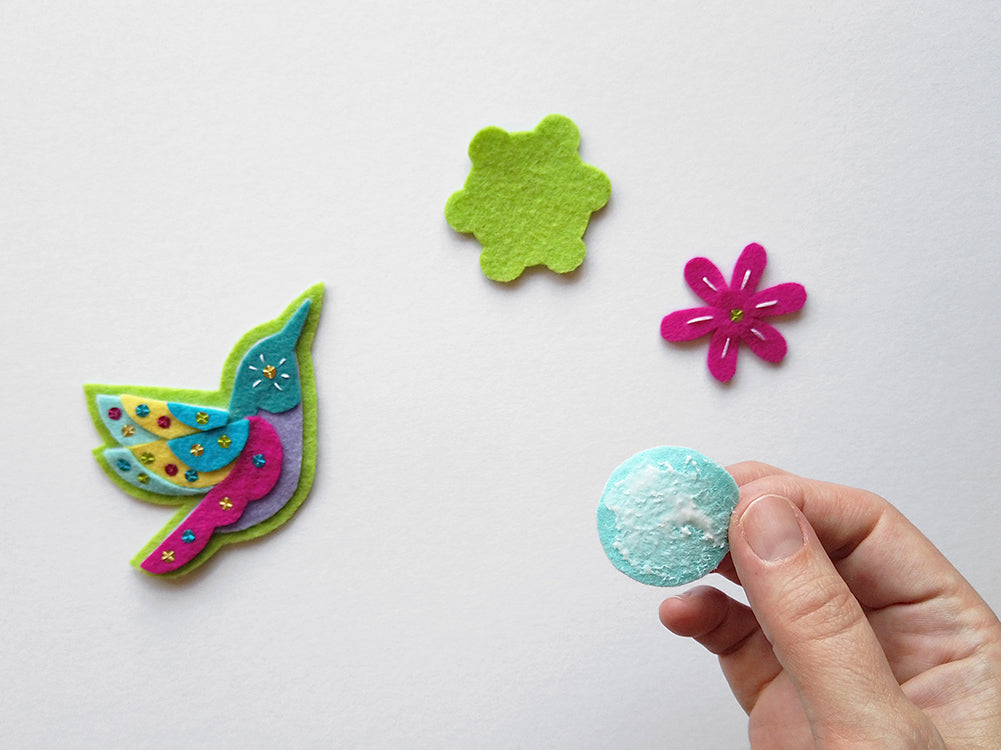
13. Lastly, glue the flower into place.

14. To give the flower a more patch-like look, whip stitch around the outer edge of the Chartreuse felt using two strands of DMC 600.

15. Add the patches to clothes with a simple running stitch and one strand of DMC 907 through the Chartreuse felt. If you don't want to permanently attach them to an article of clothing, glue on a pin back and wear the patches on everything!

I hope you had fun making these little patches. Make them your own with different color combinations or embellishments!

Thanks to Penny for designing and writing this tutorial! You can follow her on Instagram @happystitchery or visit her website. Stay tuned for more tutorials from the Benzie Design Maker Team!


